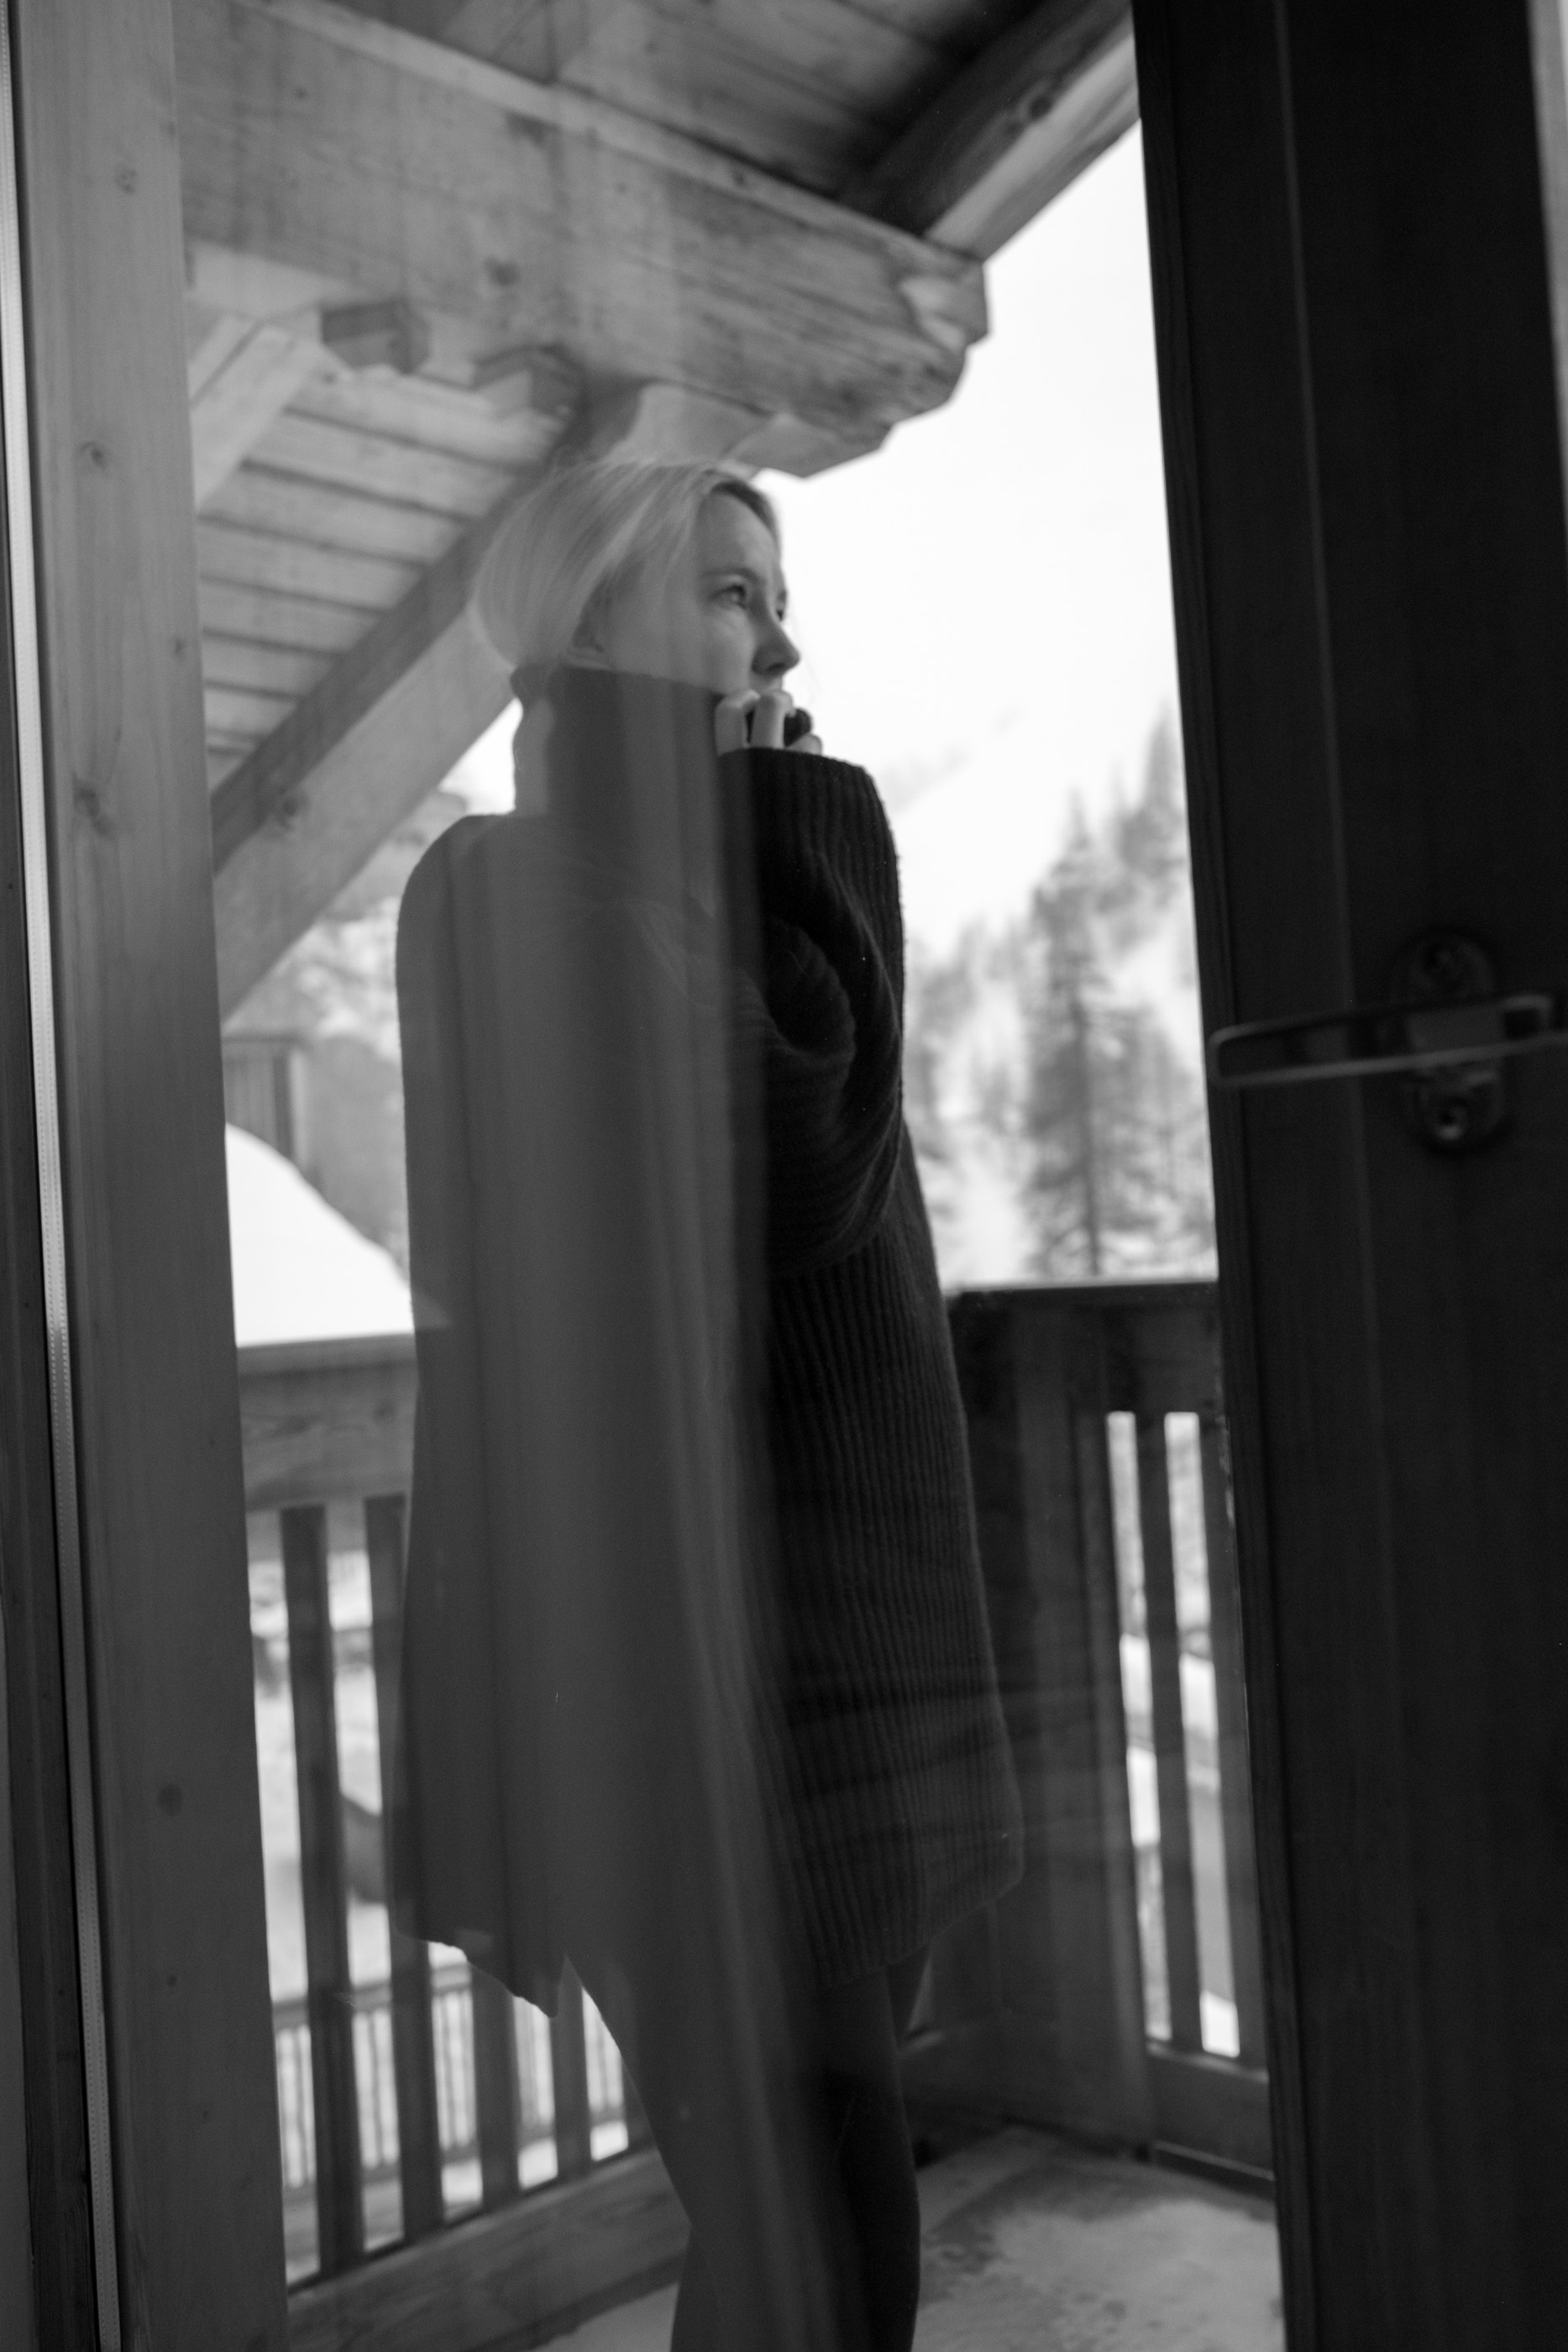
THE REVIVAL OF SELF PORTRAITURE & MY TIPS AND EXPERIENCE FROM OVER EIGHT YEARS OF BLOGGING & AND SHOOTING SELF PORTRAIT
My thoughts, experiences and tips on shooting #selfportraits
It’s funny when trends come back in fashion, when something that was seen as just so uncool, is now the hottest thing in town to wear. And how even those of us with the strongest opinion on certain trends can eventually embrace them as society normalizes them (although that said, I still don’t believe I’ll ever wear flares again). It’s how I feel about self portrait photography. A trend, or at the time necessity, we all used to embrace as bloggers, but one that quickly fell out of ‘fashion’ as having an Instagram husband or professional photographer became the done thing (you know, a real step in proving you were the real deal and not just some weirdo who took pics of themselves on a tripod), but one that seemingly has come back around and even has it’s own hashtag.
Self portrait photography, not that I would have known to call it that at the time, was how this all started. For almost 5 or so years I posted daily photos of my outfits and I would say at least 90% of those were taken on a tripod and remote outside my house or back home in Winchester. I used to shoot my looks before or after work, and when I needed to, at bulk on the weekend. I would even drive to locations on my own, set up my tripod and shoot a variety of looks with my car as my changing room (the latter still happens today, no shame). Not to mention the tripod being an essential item for any holiday abroad … I even shot self portrait in Saudi Arabia which I have to say got some looks.
Whilst it became au fait for bloggers to hire photographers or employ their Instagram husband in more recent years gone by – partly driven by the fact blogs got serious, and so in turn did visuals, and partly because it truly is easier to get shots with a helping hand versus juggling everything on your own (I rely on my sisters and Jase tons for my photos these days), the tide is starting to turn again and these days self-portraiture has become a ‘thing’ in it’s own right.
I’ve noticed loads of bloggers and instagrammers I follow sharing their self-portrait style, hashtagging their images and celebrating the art of self portraiture. Because 8 years on (I started blogging in 2011) I can really appreciate what started as a means to an end, is in fact an art form in it’s own right. And whilst I try to get a helping hand from my family or Jase for my shoots these days, or absolute strangers (read this post, it’s not a joke), I still rely on my tripod (or a tree / stack of books / wall) every now and then for a little self-portraiture myself. Because what you can’t deny is that for those of us without the permanent insta-husband or professional on hand, it gives you the freedom and flexibility to shoot what you want, when you want, regardless of being on your own.
–
HOW I SHOOT SELF PORTRAITURE
–
Historically all my outfit posts were shot on my Canon camera, with a tripod and remote control. Years back these items were featured in my bloggers tool kit essentials & original photography tips posts, as for me, they truly were an essential element of my blogging kit and process.
A remote control is essential if you shoot on low aperture, because you need the remote to ensure your subject (you) is in focus, if you use timer alone this doesn’t always prove to be a success (in fact it never is a success). The remote is a great way of still allowing that beautiful depth you achieve with a low aperture and ensuring you are in focus. You can use a self timer on the remote, which these days I use to ensure I can hide the remote before the snap gets taken – back in the day if you look carefully you can see the remote in most my outfit pics as I’d just shoot without timer.
Test shots are key to ensure your composition and lighting is right, and after a few attempts you get to know the right height and positions for your tripod, making it much easier to master as time goes on.
These days I still use my canon and remote option, but I also have a fuji XT2 alongside my 5Diii which is great for travelling, and as it’s a connected camera I can use my phone as a live screen and remote, this makes things tons easier as you can physically see the shot your about to take on your phone, can adjust all settings remotely (versus running back and forth to adapt things) and can again use the timer to ensure you have time to hide the phone if it’s not part of your desired shot.
Tech has definitely made self-portraiture easier and helps avoid the constant running back and forth to tweak settings, and avoids the masses of out of focus shots that inevitably happen when you can’t see what you’re shooting, at it’s simplest level even the advances of a remote helped avoid tons of shots of me running back to my spot and not quite making it in time all those years ago.
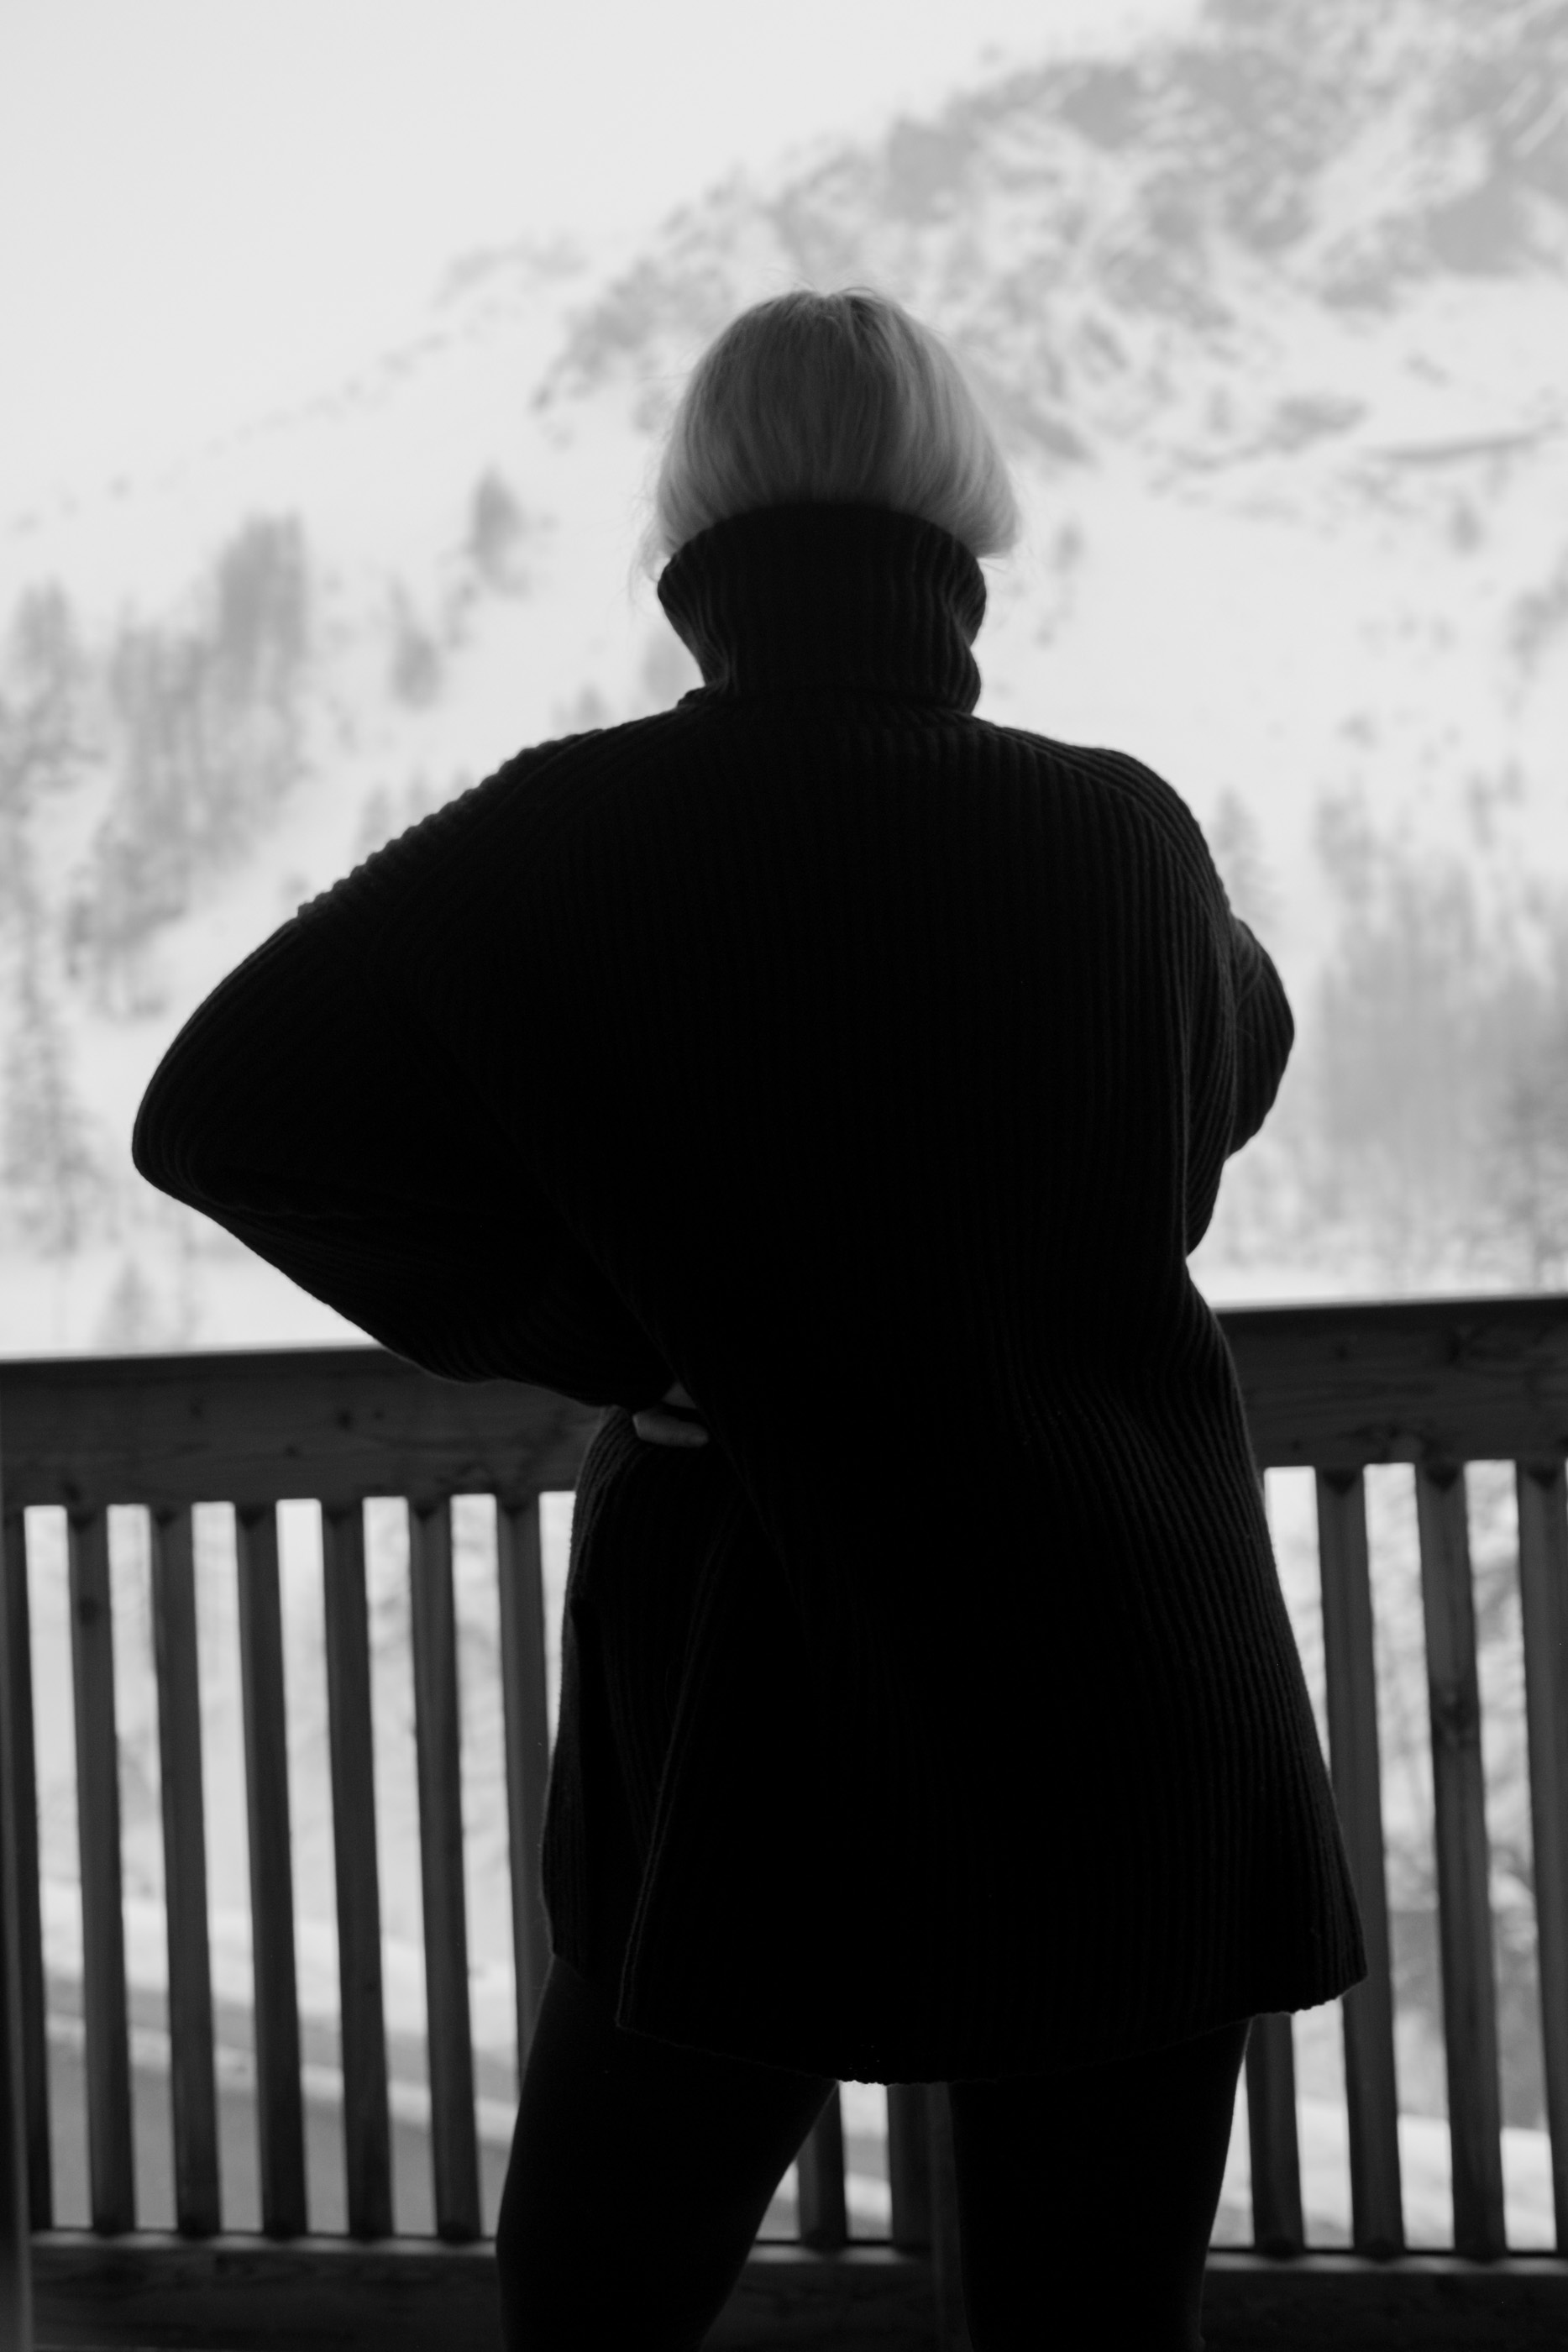
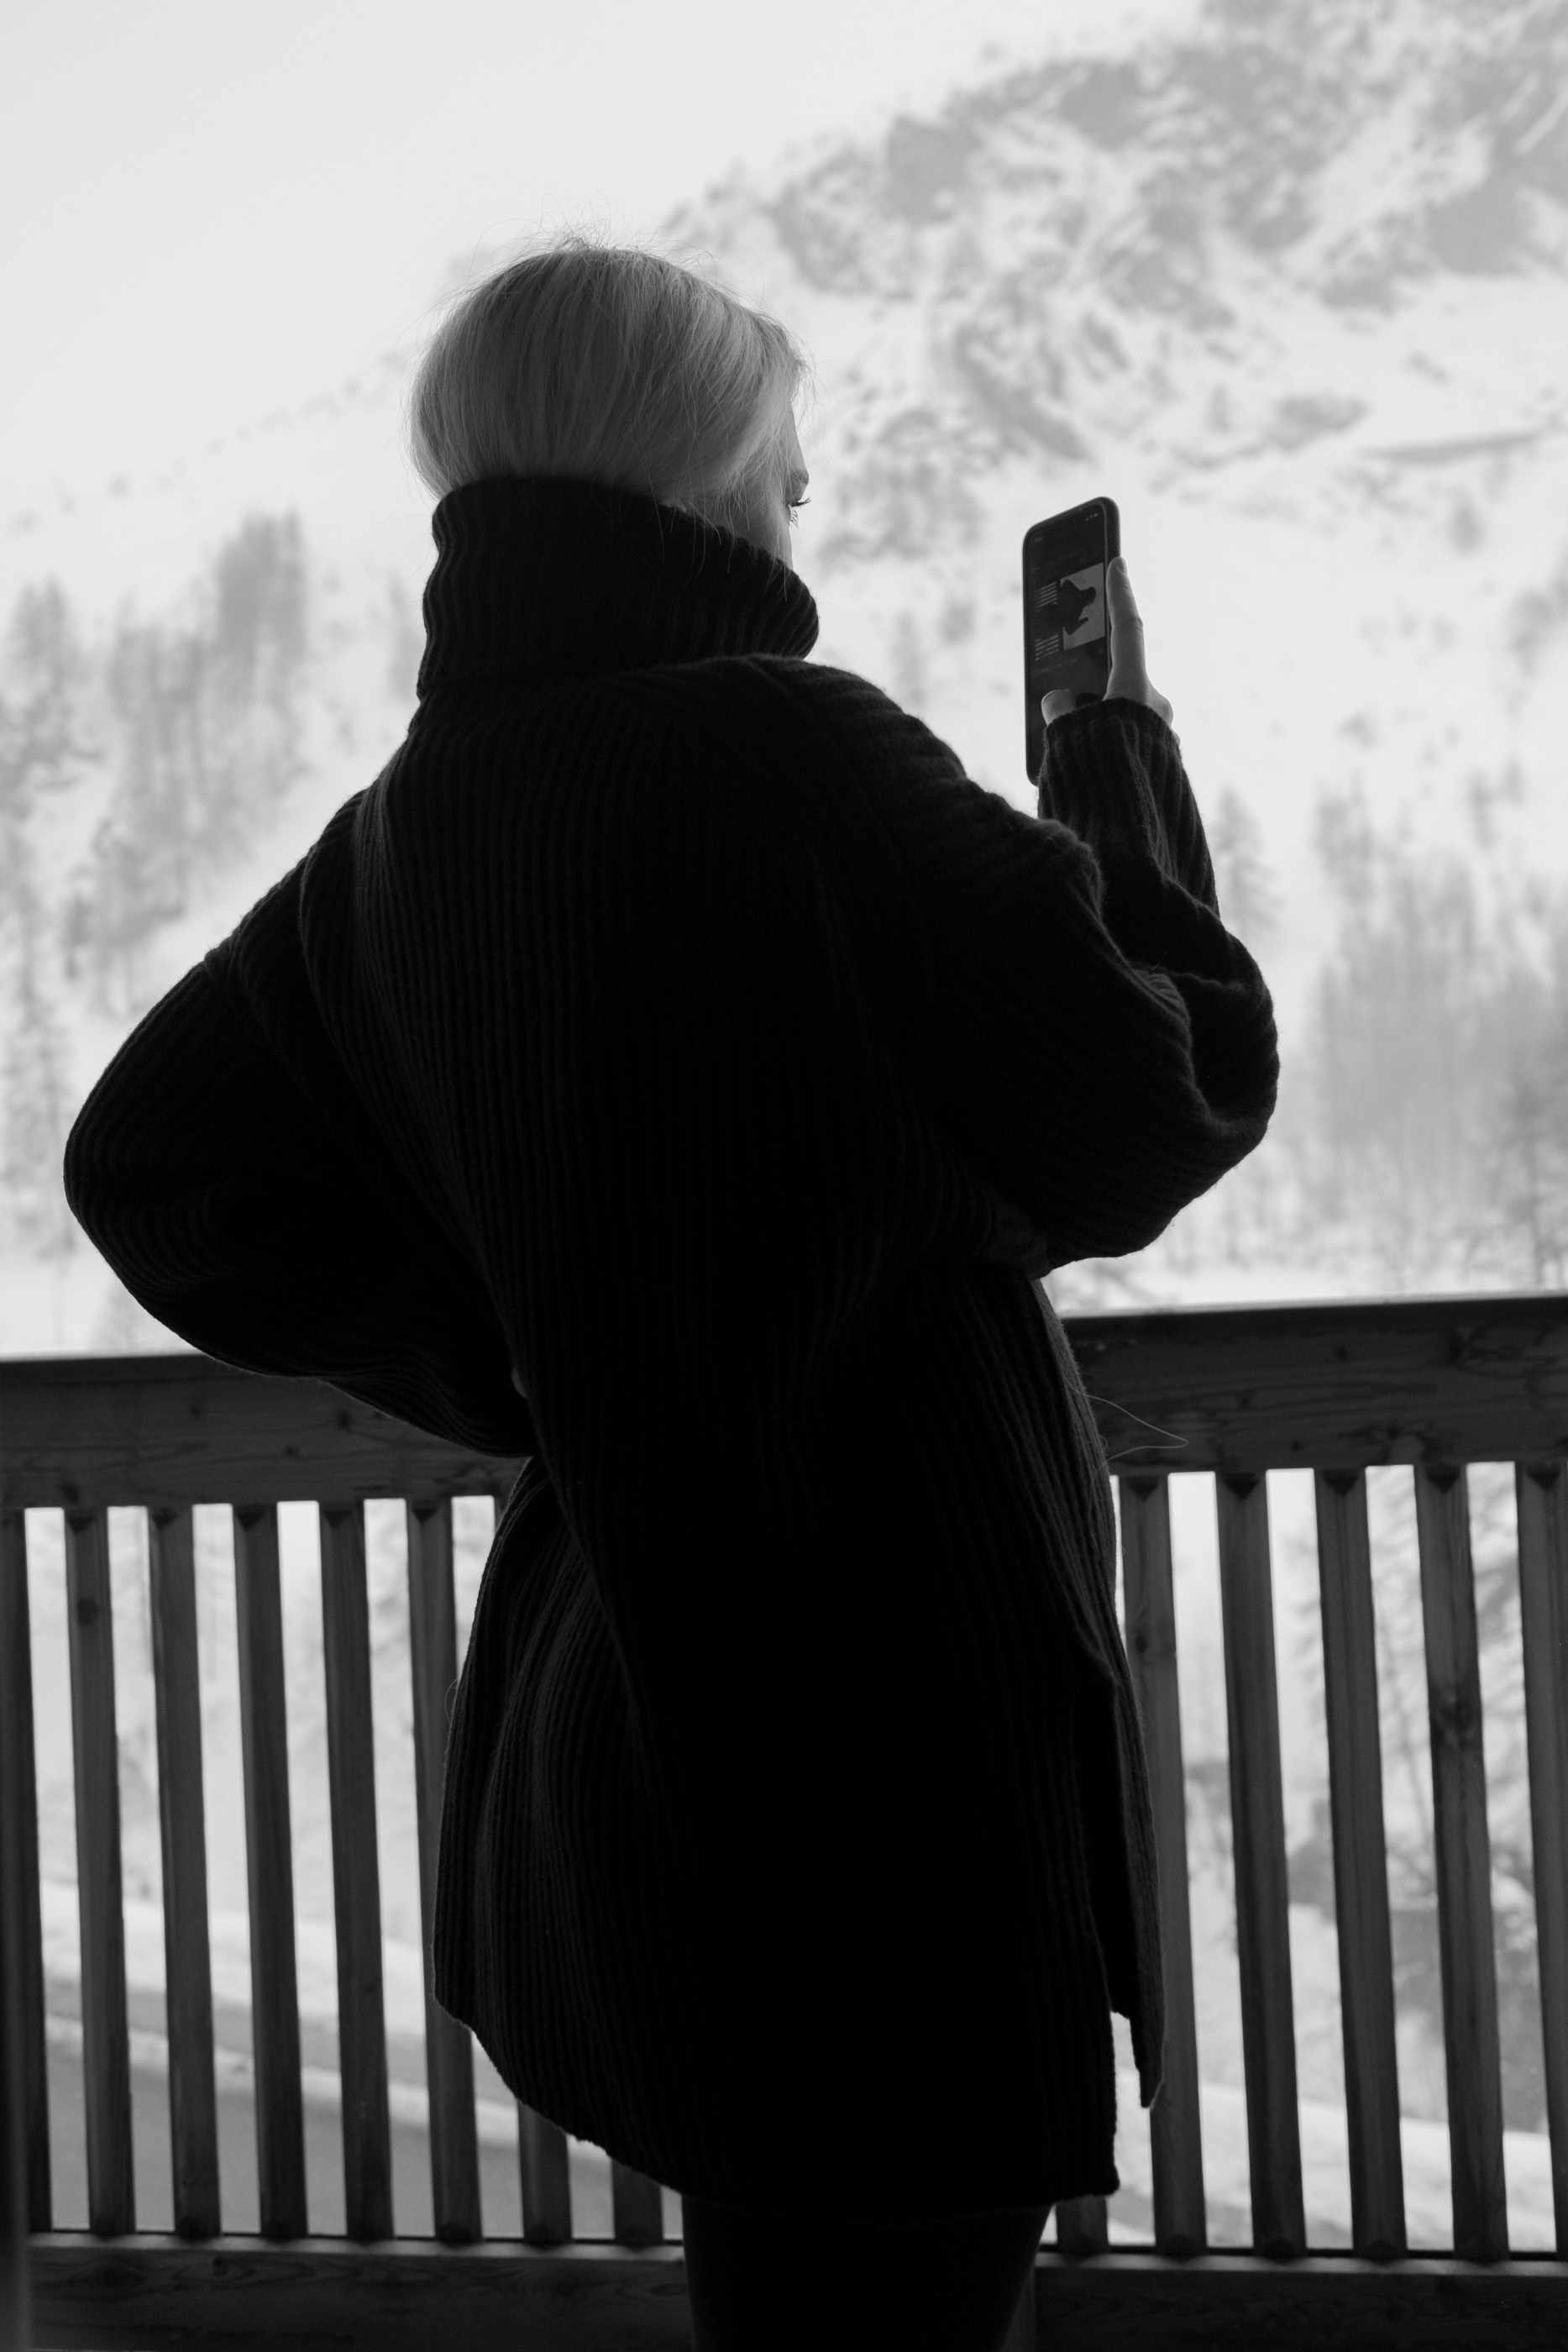
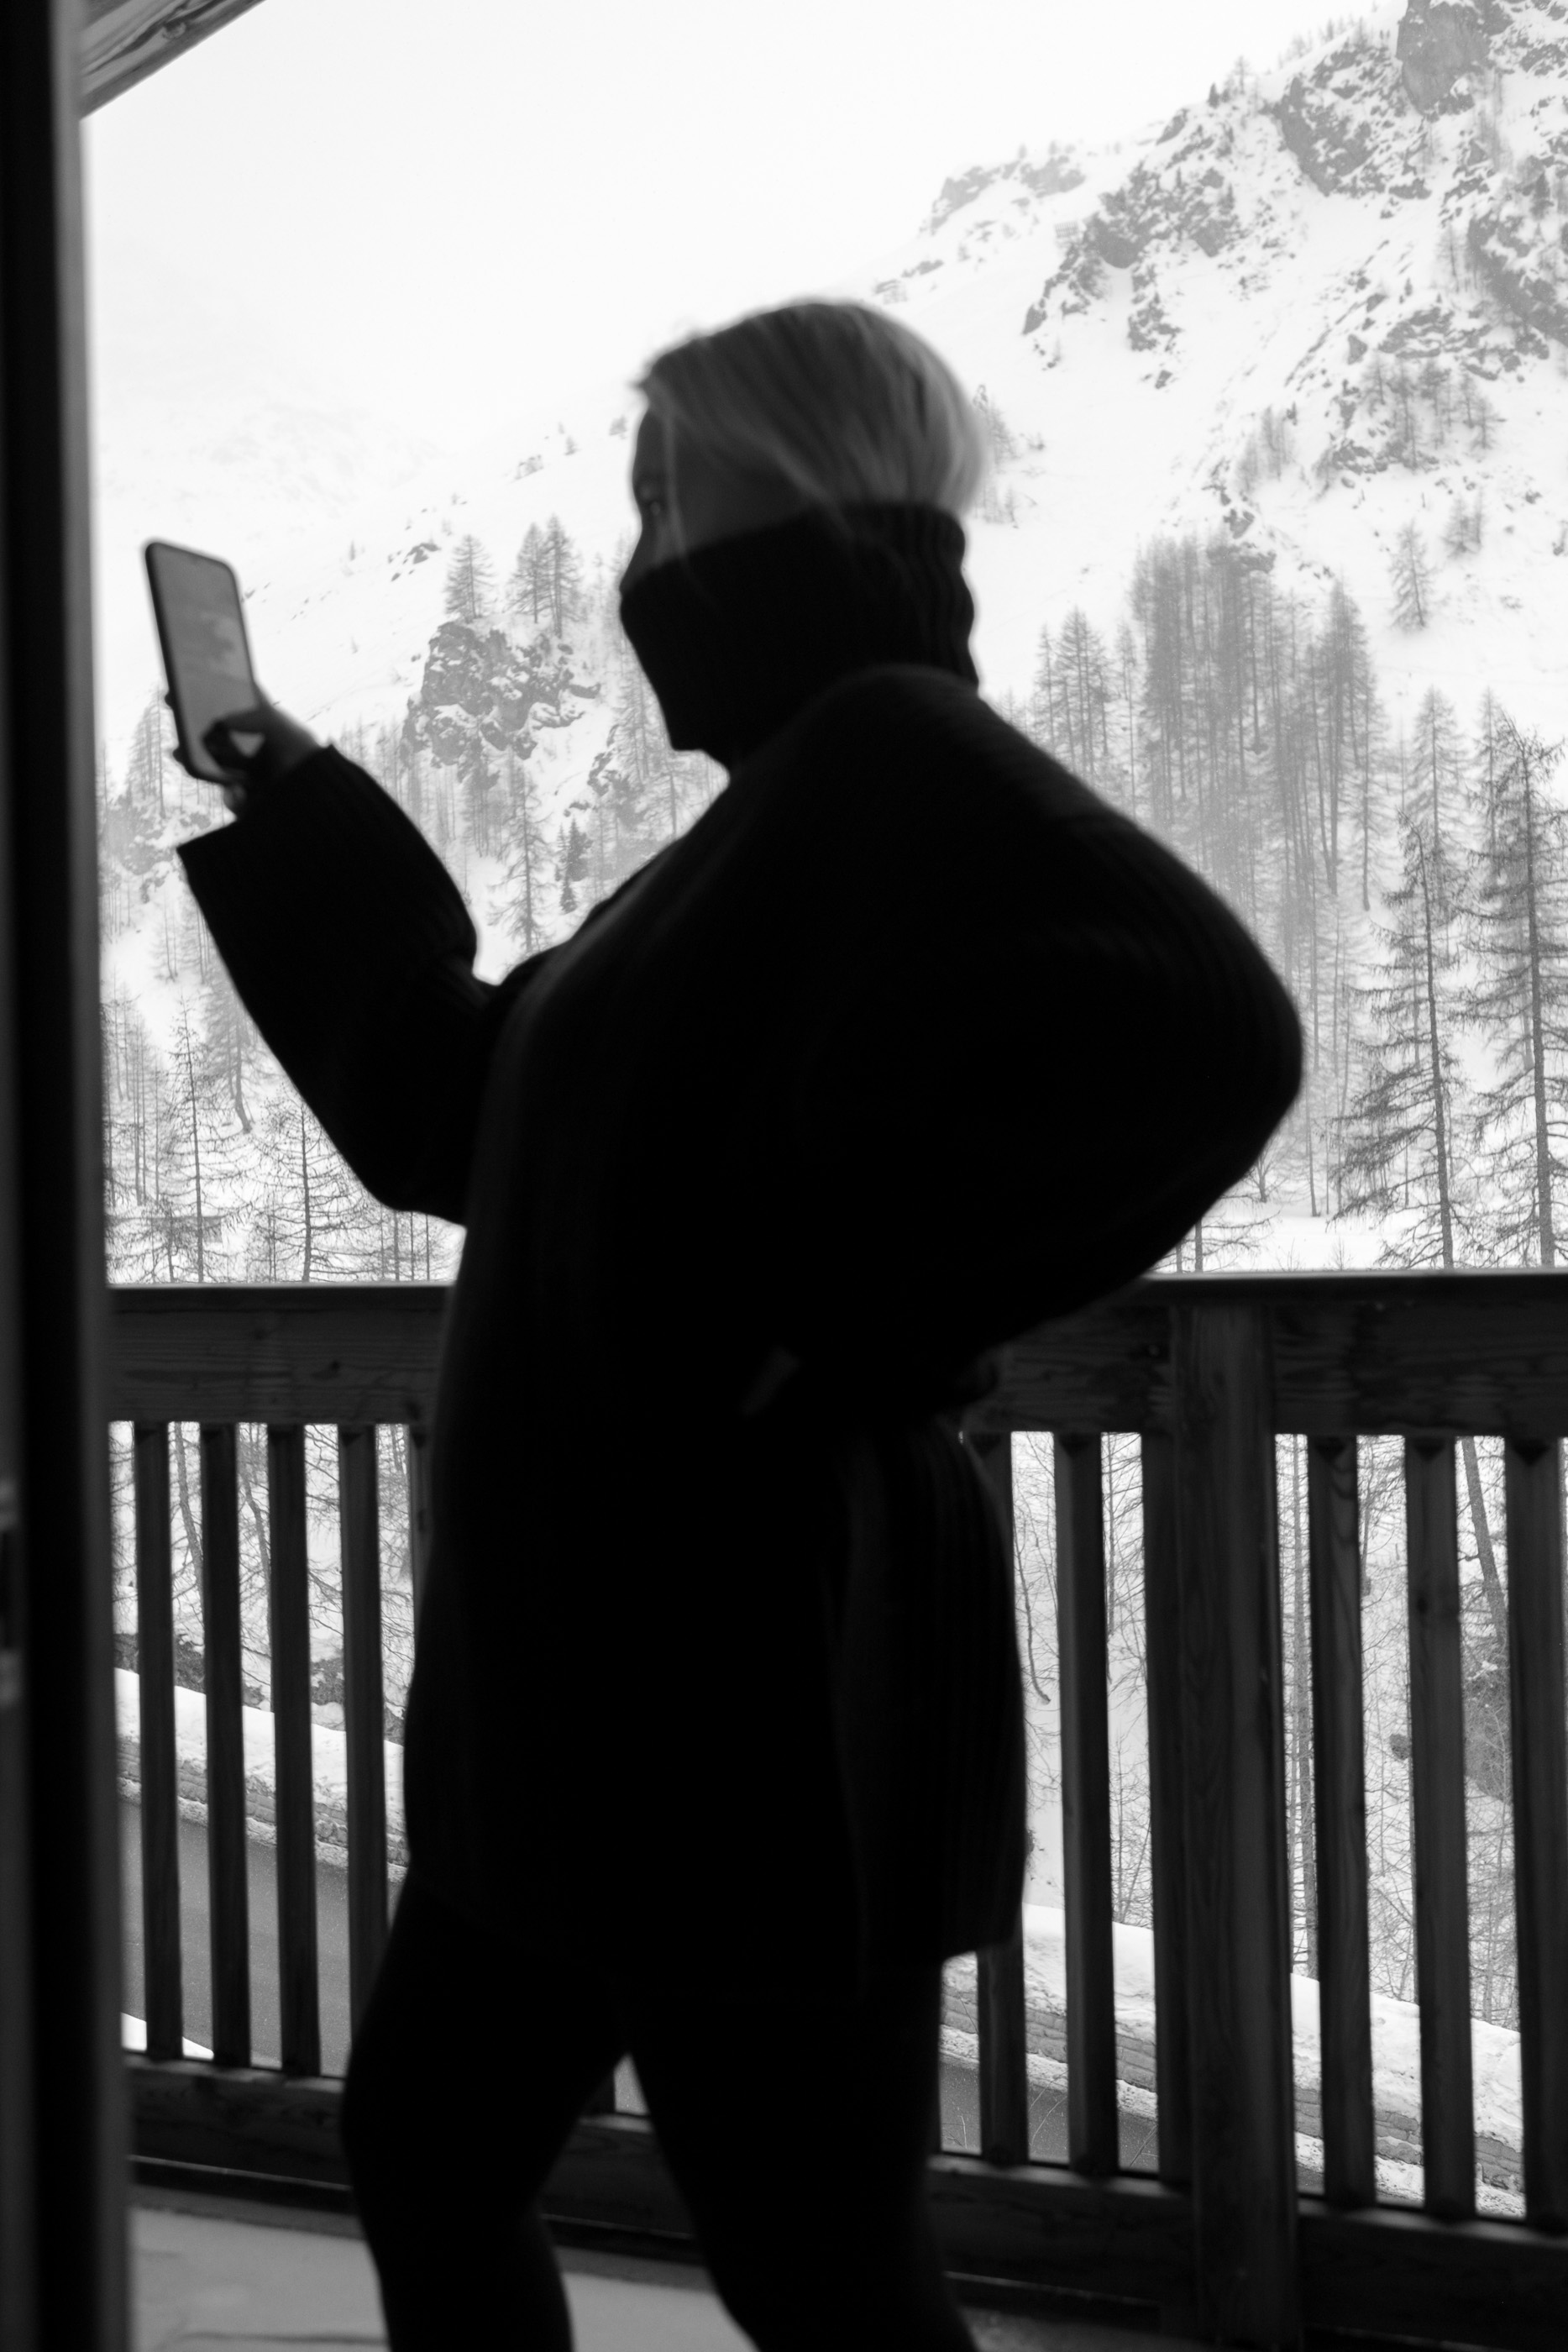
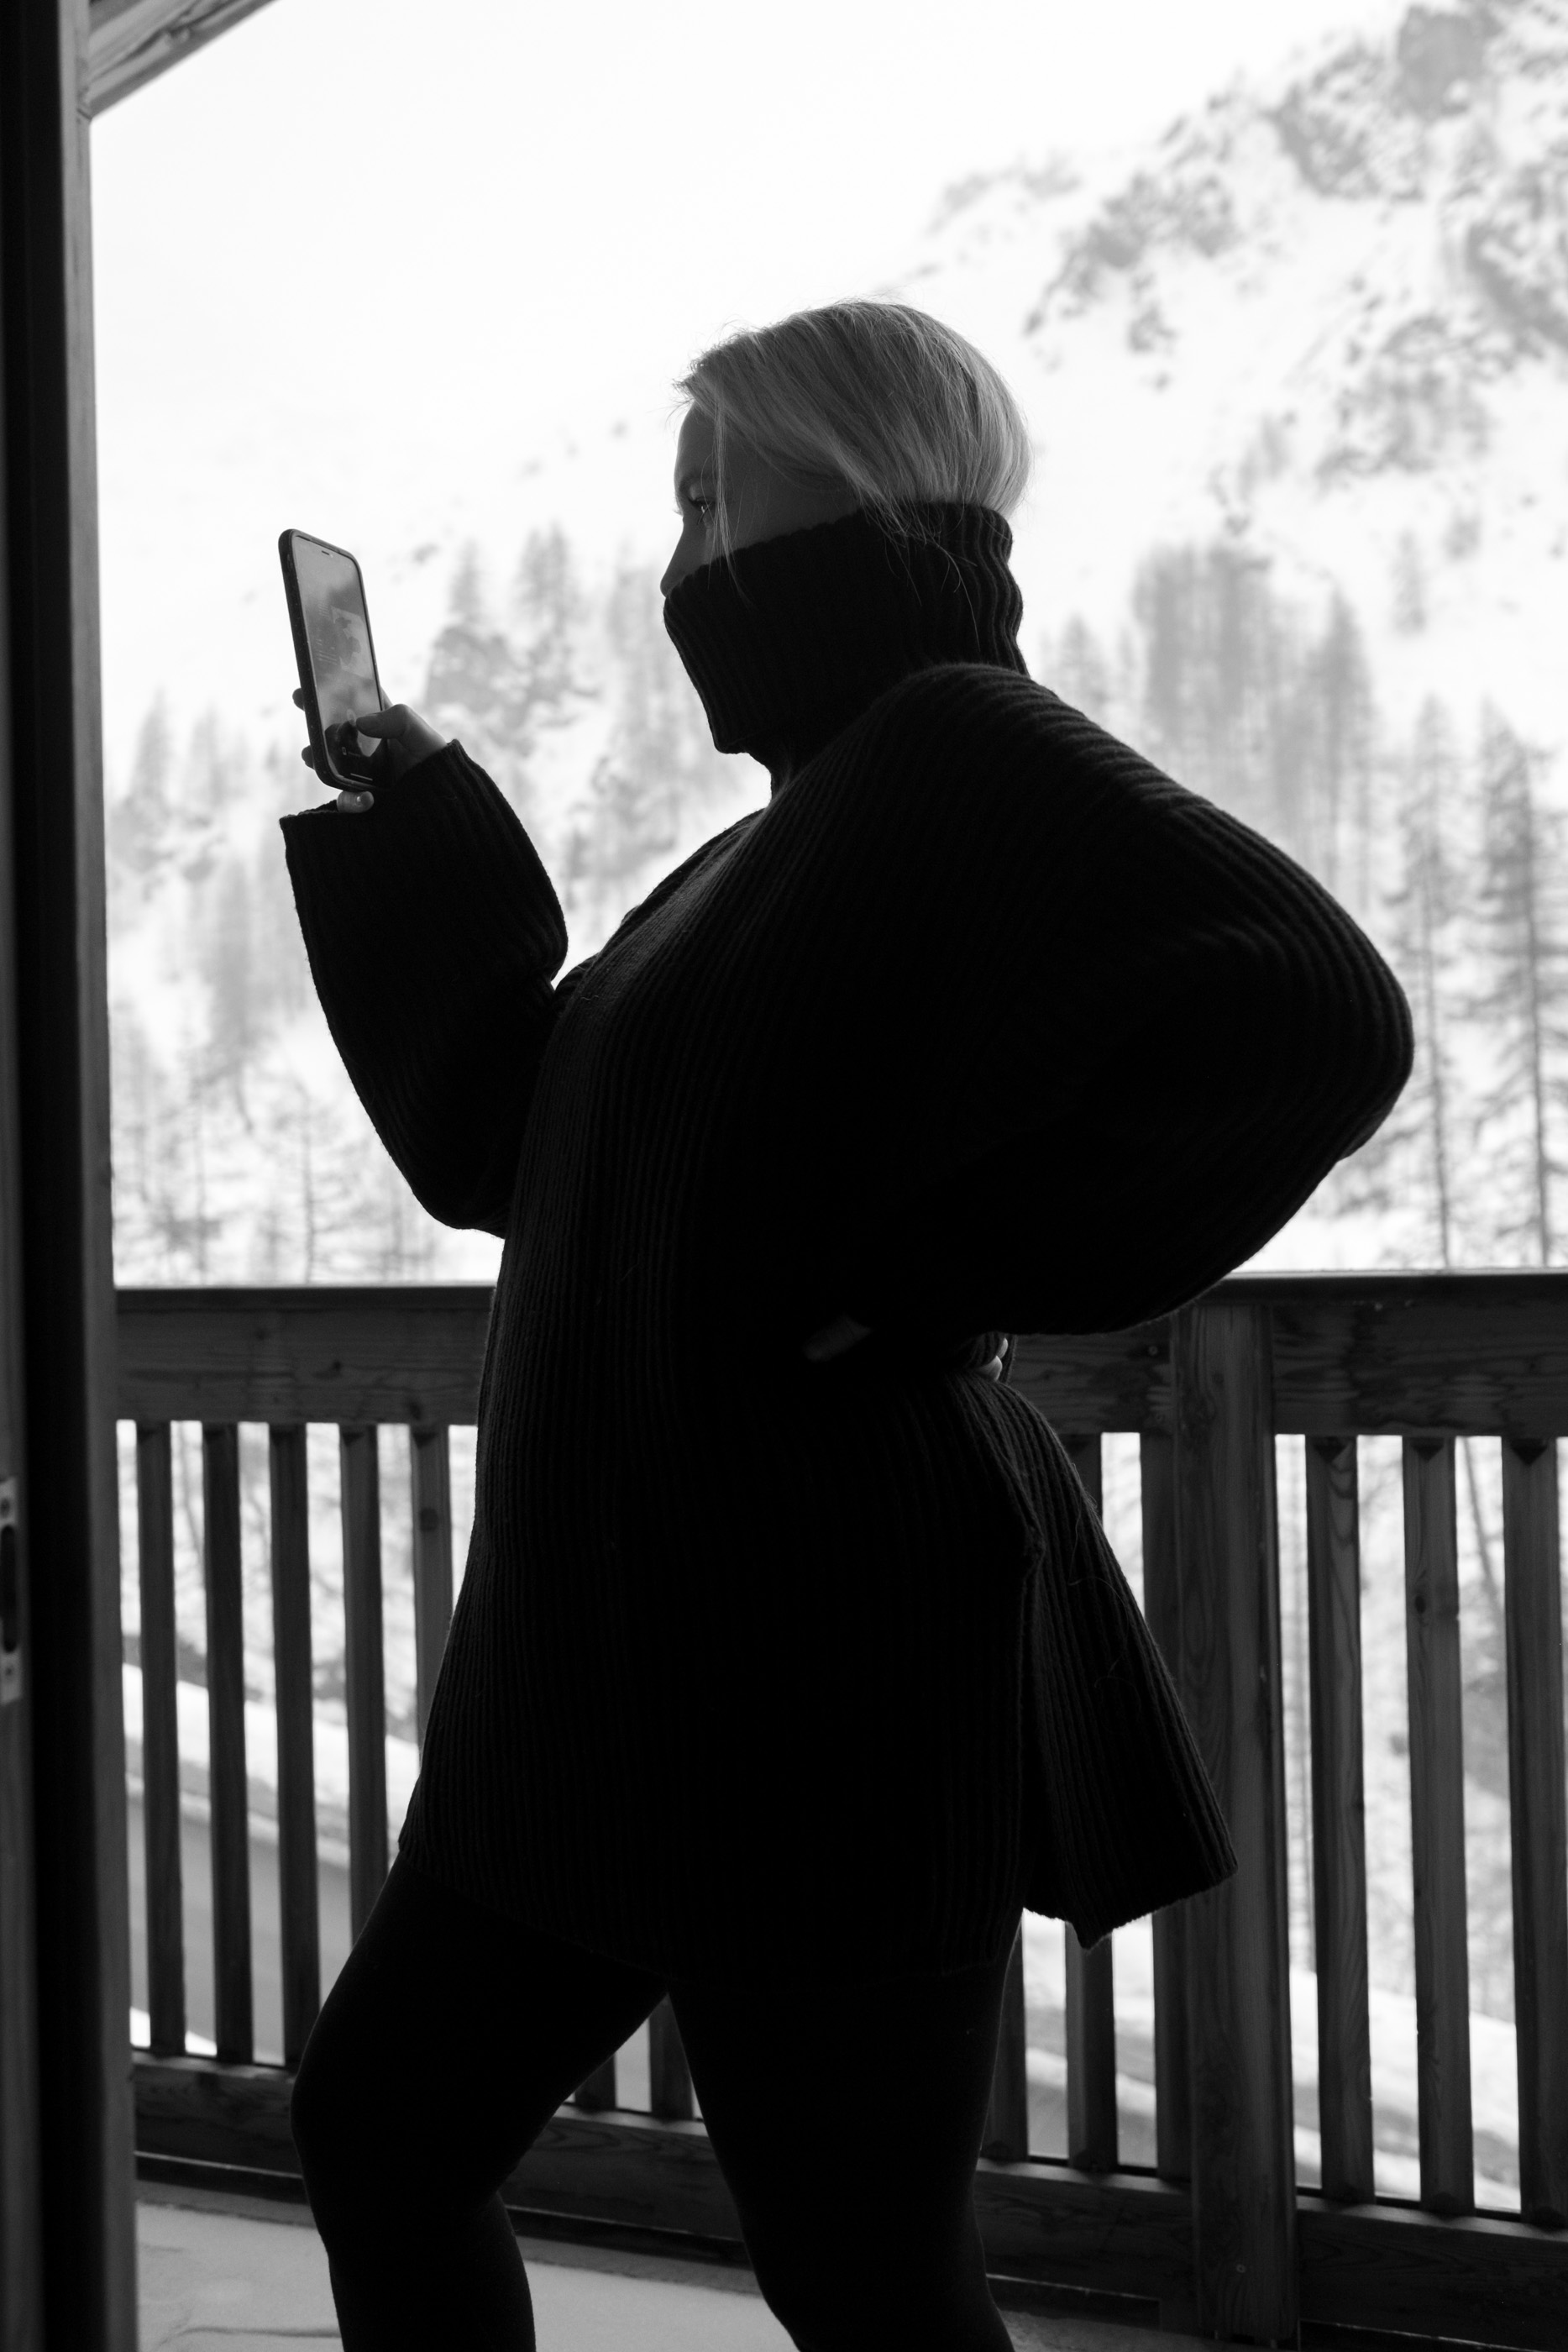
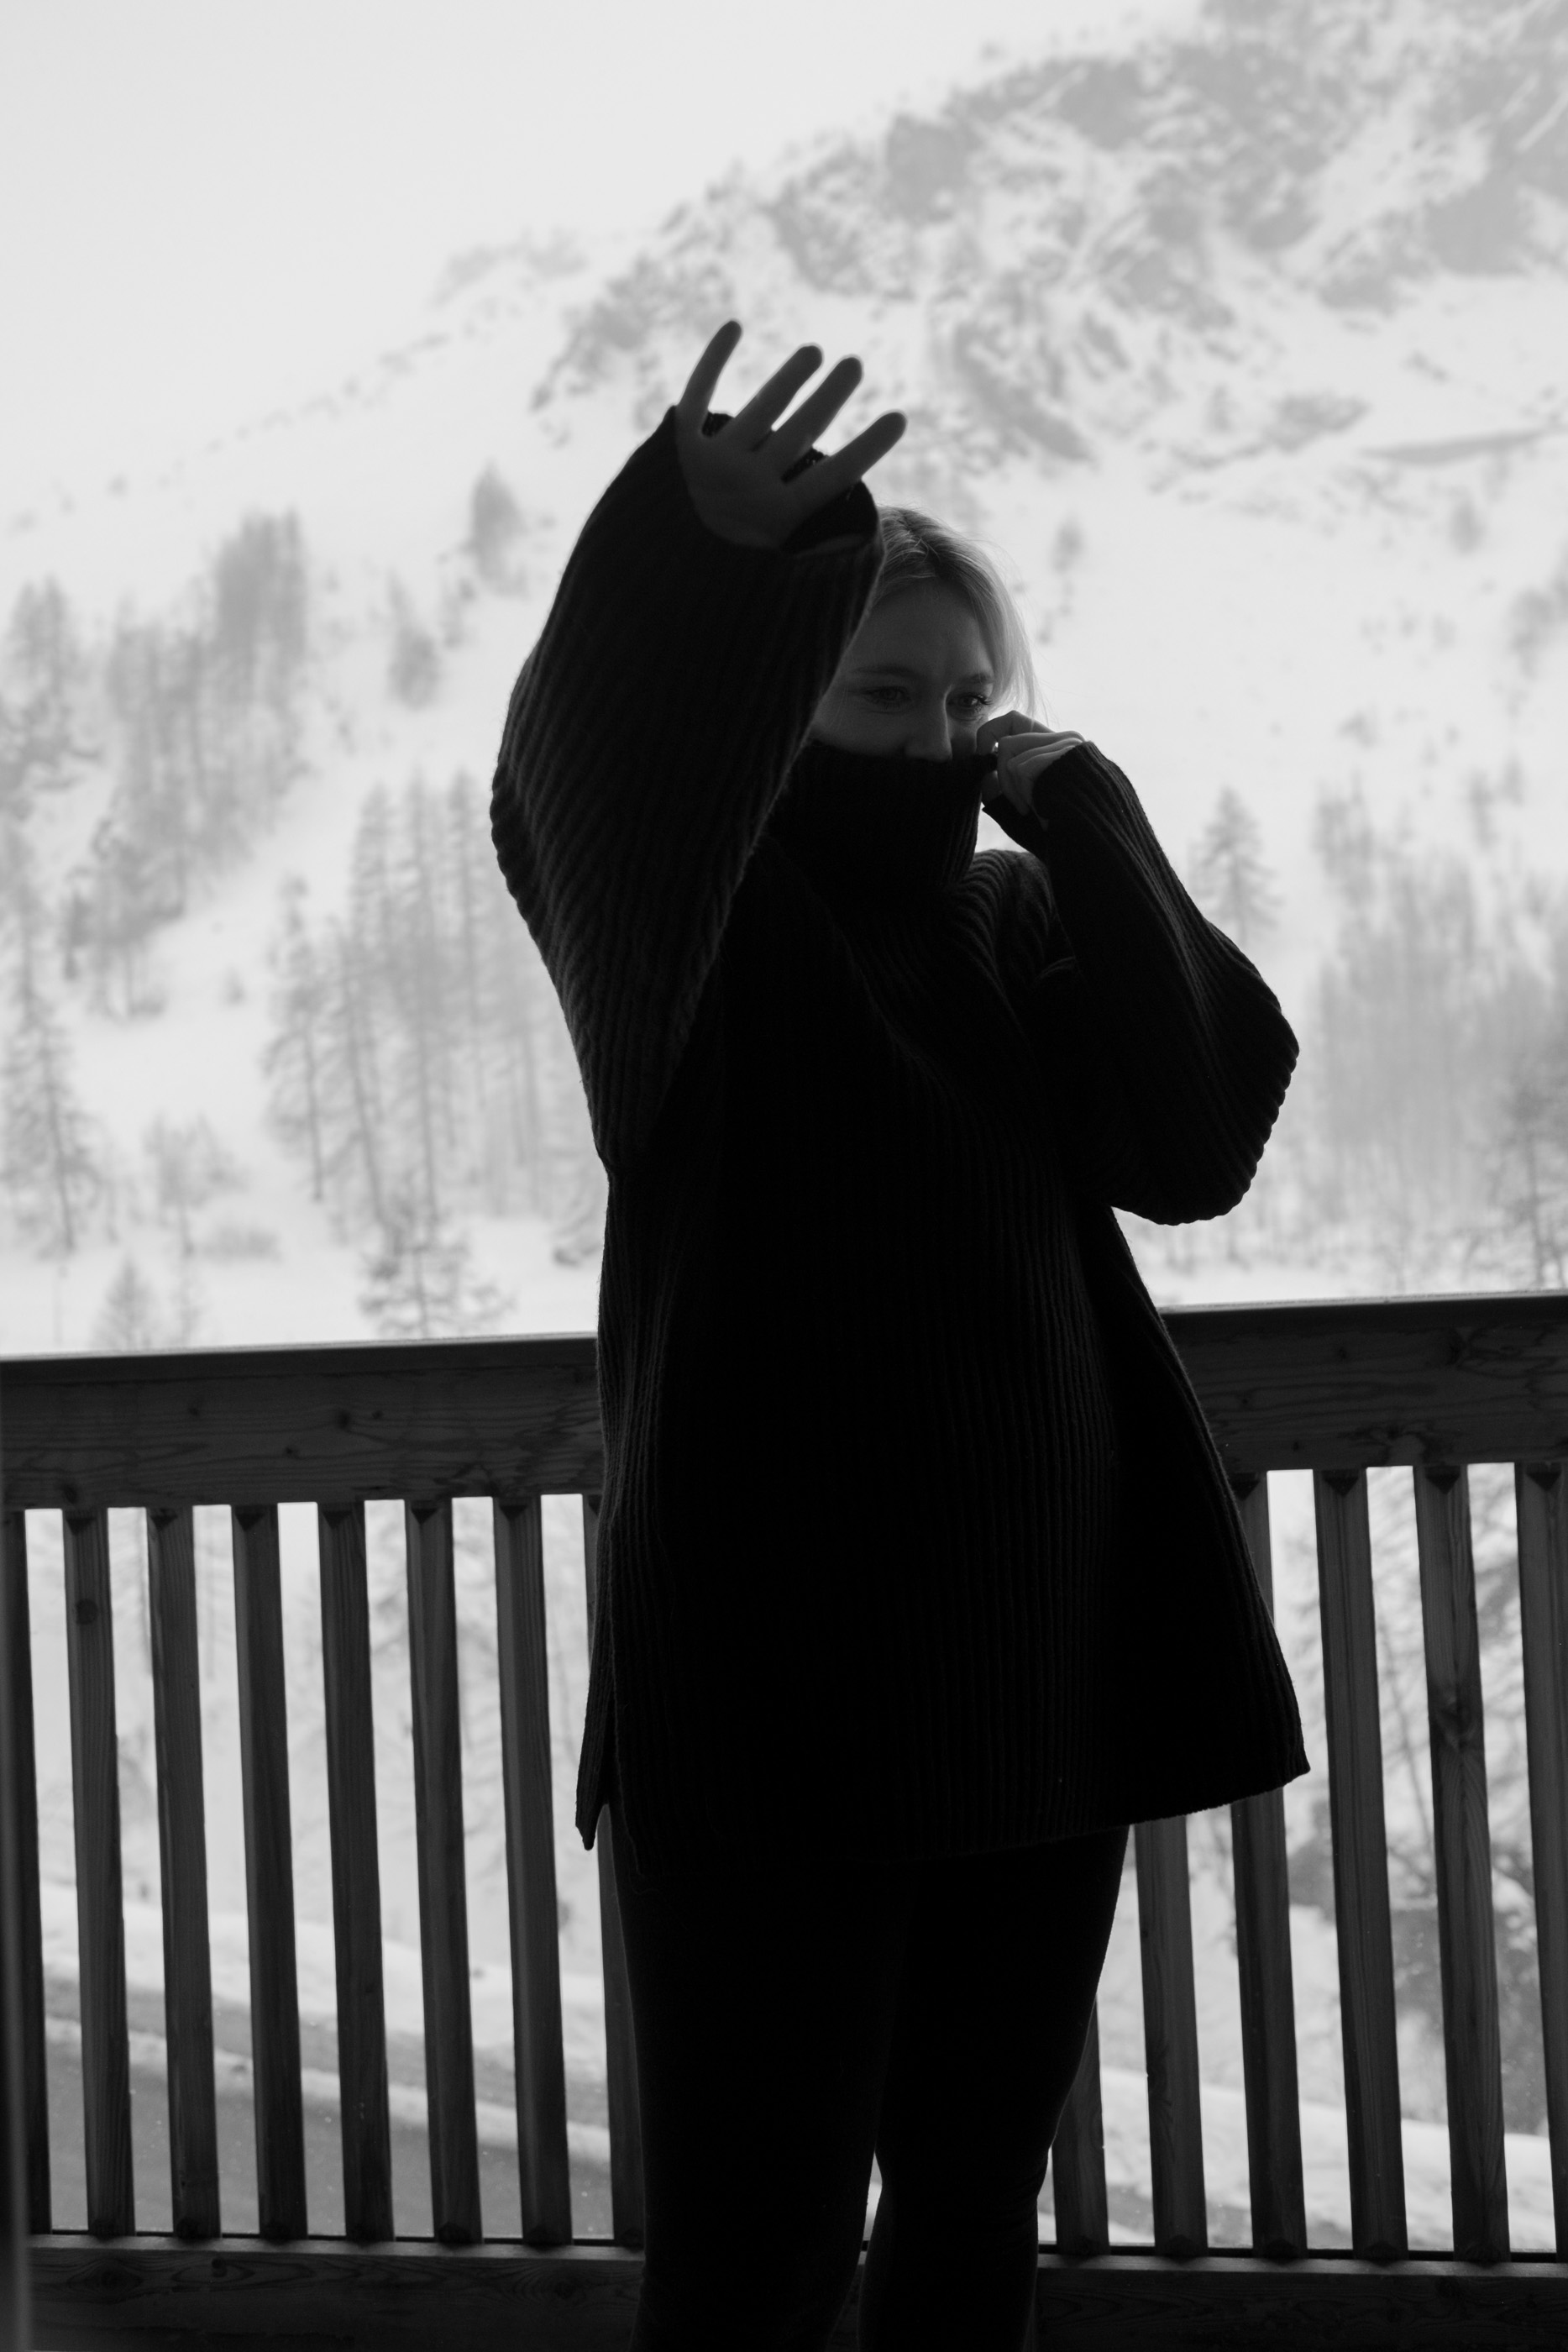
MY TIPS FOR SHOOTING SELF PORTRAITURE
–
CONFIDENCE
–
You need confidence, confidence to just do your thing in the street regardless of who’s walking by, giving you weird stares, or even getting in your shot pretending to be funny – the latter used to happen a lot believe it or not. Confidence comes with practice, so don’t worry if the first time feels a little nervewracking, you’ll get used to it the more you do it, and you’ll also get quicker the more you master the art.
–
QUIET SPOTS & TIMES
–
In the first instance, opt for quiet locations or off peak times of day to capture your shots. Standing outside your local coffee shop at 8am with all the morning commuters isn’t going to be the easiest of times or places to shoot, but with a little planning you can often find a great location with little interruption around.
–
KNOW YOUR CAMERA (AND KIT)
–
Knowing your camera is key for two reasons, firstly for getting the best shot because knowing how to shoot manual and what are the optimal settings for your desired image is essential, and secondly because the more you know your kit (tripod included) the quicker the process will become. In my peak tripod usage I was super efficient and quick with shooting what I needed and would be able to capture great compositions and angles that you’d think would require a photographer to capture. Don’t forget to adjust your tripods height, angle and the camera to get a strong variety of photos.
–
USE A REMOTE OR APP
–
After years of not using either, I can’t recommend an app or remote enough. If you’re a fan of shooting low aperture like I am then the remote functionality Is essential to ensuring your photos are in focus. It also saves you the drama of constantly running back and forth as mentioned earlier.
–
MAKE THE MOST OF IT
–
One of the things that’s handy when you’re shooting on a tripod, or shooting #selfportraiture is maximizing the time you have all your kit set up. The one downside of self portraits aside from the embarrassment factor, is they naturally take longer than a shoot with a photographer. Based on that it’s a good idea to maximise your shoot and try and capture multiple looks or visuals in the one session – whether its changing a few garments to make a few different looks, or going to a few different locations nearby to create content for a few different posts, It all helps make the most of the time you’re efforts.
–
And there you have it, my thoughts, experience and tips of shooting self portrait. I really hope you’ve found it helpful or interesting, if you want to read more about my photography journey or photography tips then just head here as there’s tons of posts written over the course of 8 years on the topic.


Thank you for sharing your experience! Your tips are great, will be keeping them in mind! ❤️❤️
Charmaine Ng | Architecture & Lifestyle Blog
http://charmainenyw.com
So beautiful!
x Lisa | lisaautumn.com