A PHOTOGRAPHY TUTORIAL : LEARNING TO SHOOT ON MANUAL
Photography is one of my favourite things about blogging, and over the last 5 years i’ve really worked on upping my game, getting the most out of my camera and really creating shots that are not only quality but interesting and creative too. I’ve gone from basic auto shots on a point and shoot to a serious camera kit, shooting manually and juggling multiple lenses to really create the shots i’m looking for.
I’ve talked a little about my own photography kit here and shared numerous photography tutorials to help you guys develop your own photography skills and take great pictures for your own blog, but today I wanted to focus on one thing specifically, shooting on manual. Because it’s learning to use your camera properly that will really allow you to take incredible photographs for your blog or just generally.
It doesn’t really matter what camera you use, a professional level camera kit, a mid range DSLR, a snazzy new point and shoot, or even your iPhone, it’s learning what it takes to capture an image properly, and also how to play around to create different affects that’ll help you create beautiful photographs. Regardless of your equipment.
Todays photography tutorial is solely focussed on helping you understand your camera, and importantly all the things you need to know and understand to be able to shoot on manual. Because it’s shooting on manual (or at least off auto) that really allows you to create beautiful photos, capture light and colour in the way you want, and bring to life a moment in an incredible way.
WHY YOU SHOULD STOP SHOOTING ON AUTO
So i’ve talked about the benefits of shooting on manual a little bit already, but really the point is to stop shooting on auto. Whilst auto is great for a quick and easy picture and super clever in that it can adjust itself automatically, what it doesn’t allow you to do is capture a moment in its full, whether thats the colour, light, depth of field, brightness, white balance … you’re restricted and the difference is without doubt noticeable. So first off I wanted to share all the various manual ways you can shoot.
M (Manual):
You are in control of all the camera settings, and responsible for creating the perfect balance to capture the moment in the way you desire. You are in control of aperture, shutter speed, ISO, focus settings, white balance. Everything.
AV(Aperture Priority):
Aperture priority means you’re in control and chose the aperture setting (the F number), whilst you’re camera will sort out the right ISO and shutter speed dependent on the natural light available. Your aperture refers to the size of the hole where light is let in, but also affects the depth of field. If you were looking to create beautifully bokeh photos, you’d probably want to shoot on a low AP setting (like F1.4 or F1.8).
S / TV (Shutter Priority):
Shutter priority means that just like the AV setting, you are in control of setting your shutter speed (the speed in which your camera captures the moment), and your camera will sort out the aperture. This mode is really helpful for sports photography, when no matter what, you need to ensure the fast pace moment is captured clearly and with focus, fixing a high shutter speed means you will be able to capture the moment quickly, and your camera will ensure the light is right.
Focus
The final thing to note when shooting on manual is the various focus settings on offer; Spot, centre weighted average, evaluative or Al Focus and Al servo (best for moving subjects as it fixes a focus on a subject even if the subject moves around it’ll keep focussing on that one subject) etc. Ultimately these settings affect what your camera is going to focus on, the centre of the screen, a specific spot you decide to focus on, or a best guess on what your intended ‘main’ subject is. I personally like to shoot on spot focus which means I can manually focus on the specific subject I want to capture, and move my camera a little to adjust the composition slightly before fully committing to the shot, it also means on street style shots I can ensure the subject is focussed but any other people around are blurred out). But really any of these are great, it simply depends what type of photo you’re looking to take.
MY KIT
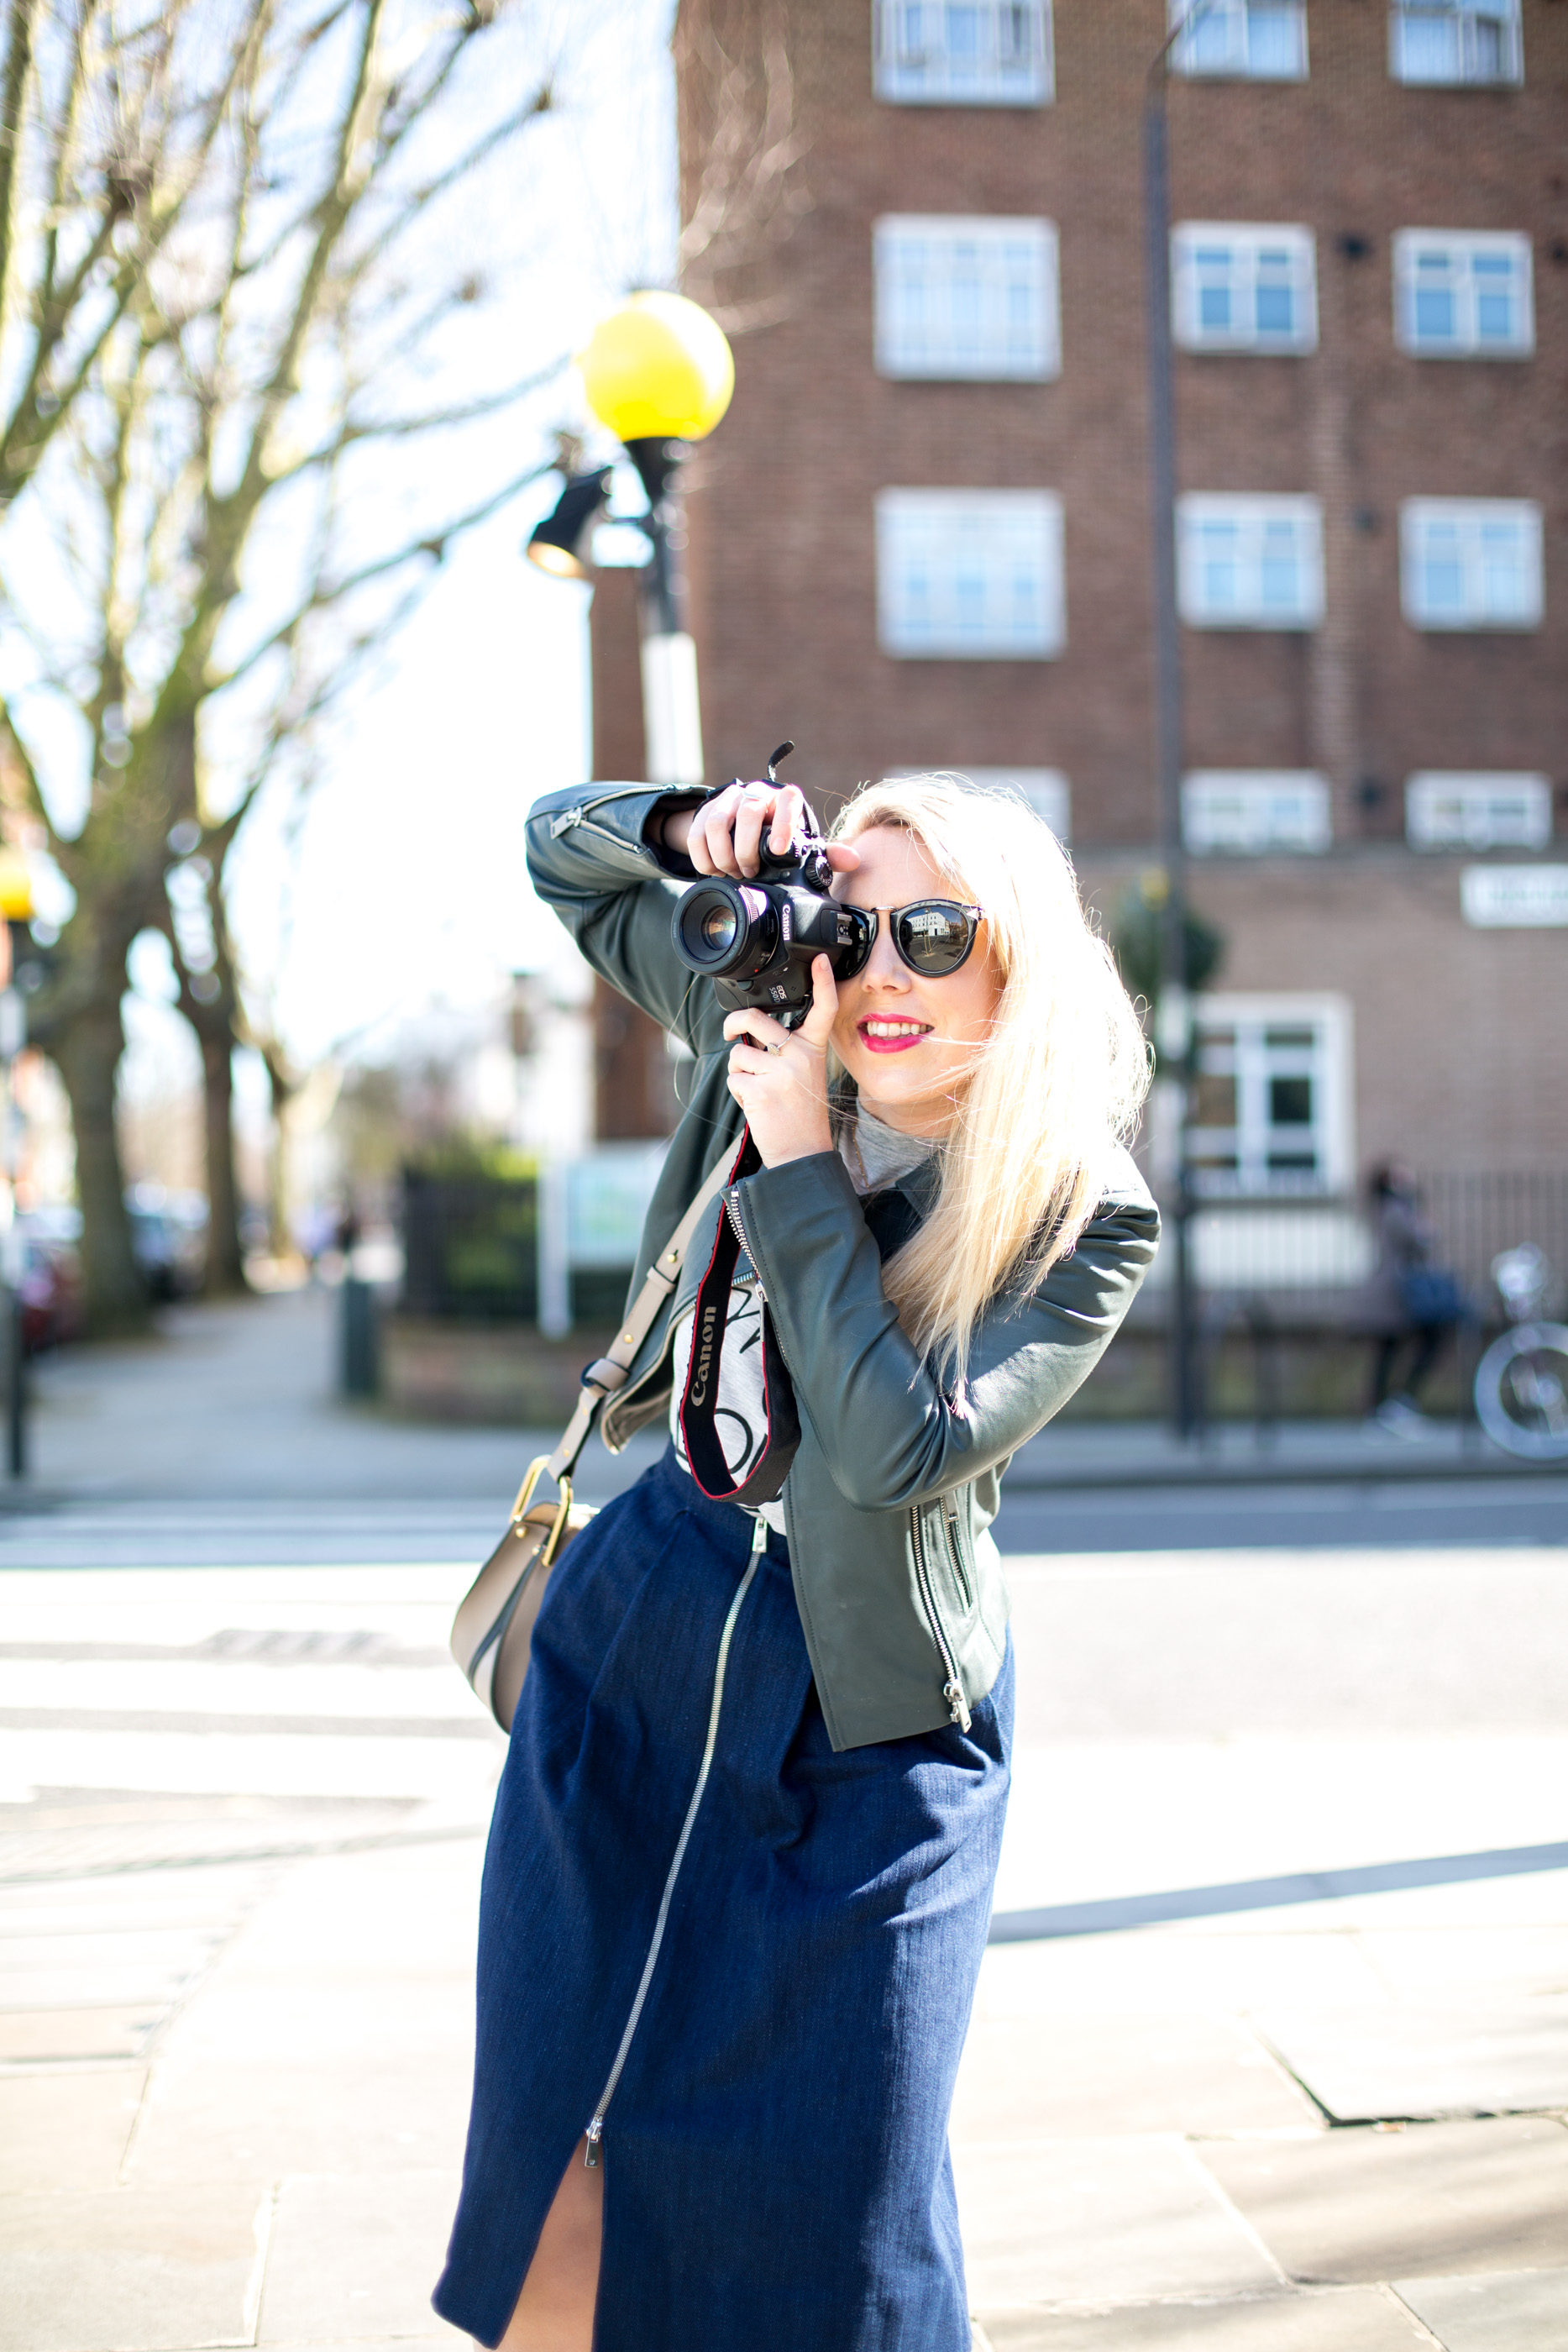
HOW TO SHOOT ON MANUAL
As I mentioned, shooting on manual means you’re in charge of the camera settings, the ISO, the Aperture, the shutter speed and everything else that comes into play. And whilst it’s important to know what each of these means and what they each do, it’s learning and knowing how they work together that is really critical. Because each one affects the other, and it’s finding the perfect balance between all three which will help you shoot the perfect photo.
ISO:
The ISO setting directly impacts your camera sensitivity to light … the higher your ISO the more light let in, the lower your ISO the less light in.
Shooting in direct sunlight will probably require the lowest ISO possible (100), where as shooting at night would require a much higher ISO (2000) to ensure the light is captured as much as possible. The challenge lies in ensuring your photograph retains clarity, and doesn’t become grainy … the lower your ISO the more clear, focussed and sharp your image will be.
I always try and shoot on an ISO of 100 – 300 for my blog photography, ultimately the lower the ISO the better, because the image is more sharp and clear.
Shutter Speed:
Shutter speed is literally the speed of your lens shutter, the quicker the speed (1/8000) the more sharp and in focussed the image will be, the slower the shutter speed (1/800) the more ‘movement’ the shot will capture (often this will result in grainy or ‘noisy’ images). If you imagine in sports photography, a high shutter speed (quick) is imperative to capturing the moment without it blurring or going by.
The shutter speed also obviously affects the amount of light let into the image, whilst the quick shutter speed avoids blurring or movement, it obviously also lets less light in, because it’s so quick. You’re probably starting to see already why everything works together, and how balancing your ISO setting and your shutter speed is important (letting in enough light for a bright picture – ISO, but ensuring your capturing it quick enough so it’s in focus – shutter speed) it’s all about balance.
For my blog photography, I always try and shoot on a high shutter speed, to ensure my photos are crisp and sharp. That means I must ensure my ISO and Aperture settings are working to allow as much light in as possible … so as to avoid a dark image.
Aperture:
Aperture is the F number that you’ll see on your camera screen, it’s also a number which you’ll notice on your lens (for example 85mm F1.8 or 50mm F1.4 – this refers to the maximum aperture the lens is able to offer). The F number is representative of your camera lenses aperture setting; the size of the hole in which the light enters your camera. The F is determined by dividing the diameter by focal length.
What you really need to know is that the smaller the F number (like F1.4 for example) the more light let in, the bigger the number the smaller the hole, and the less light let in (e.g F.8). Clearly your aperture setting and ISO can work together to ensure as much light is let into the photography as possible (to avoid grainy shots) but also to ensure the shutter can be set as high as possible (to ensure the image is in focus and sharp).
But what’s more interesting about aperture and the setting you choose is it’s affect on depth of field …
Depth of Field:
Depth of field refers to the focus of your image, the relativity of your subject versus the background. A shallow depth of field would be an image where a specific subject is in focus, but the rest of the image is not in focus and therefore blurred or bokeh.
This style of shooting is very synonymous with fashion bloggers and street style photographers, where the main subject is crisp and focussed, but the street view or setting behind is soft and blurred. The lower your F number (F1.4 for example) the more shallow your depth of field will be – I shoot most my photos on my F1.4 lens on around a F1.8 or F2 aperture setting.
Equally the higher your aperture (e.g. F8) the more of your image will be in focus, so if you’re shooting landscapes, you’ll probably want a high aperture setting to ensure the bulk of the view is in focus, rather than just one tree or one leaf.
The balancing act is always in making sure your photo is perfectly exposed (ISO / Aperture) but also sharp and focussed (Shutter speed).
YOU SHOULD ALSO READ
. HOW TO IMPROVE YOUR PHOTOGRAPHY . MASTERING PHOTOGRAPHY & YOUR DSLR . HOW TO GET THE MOST OUT OF YOUR DSLR CAMERA . HOW TO CREATE PINTEREST WORTHY BLOG IMAGES & HOW THEY WILL GROW YOUR BLOG . 6 TIPS TO HELP YOU SHOOT GREAT BLOG PICTURES . 5 TIPS TO HELP YOU GET THE MOST OUT OF YOUR OLYMPUS PEN .
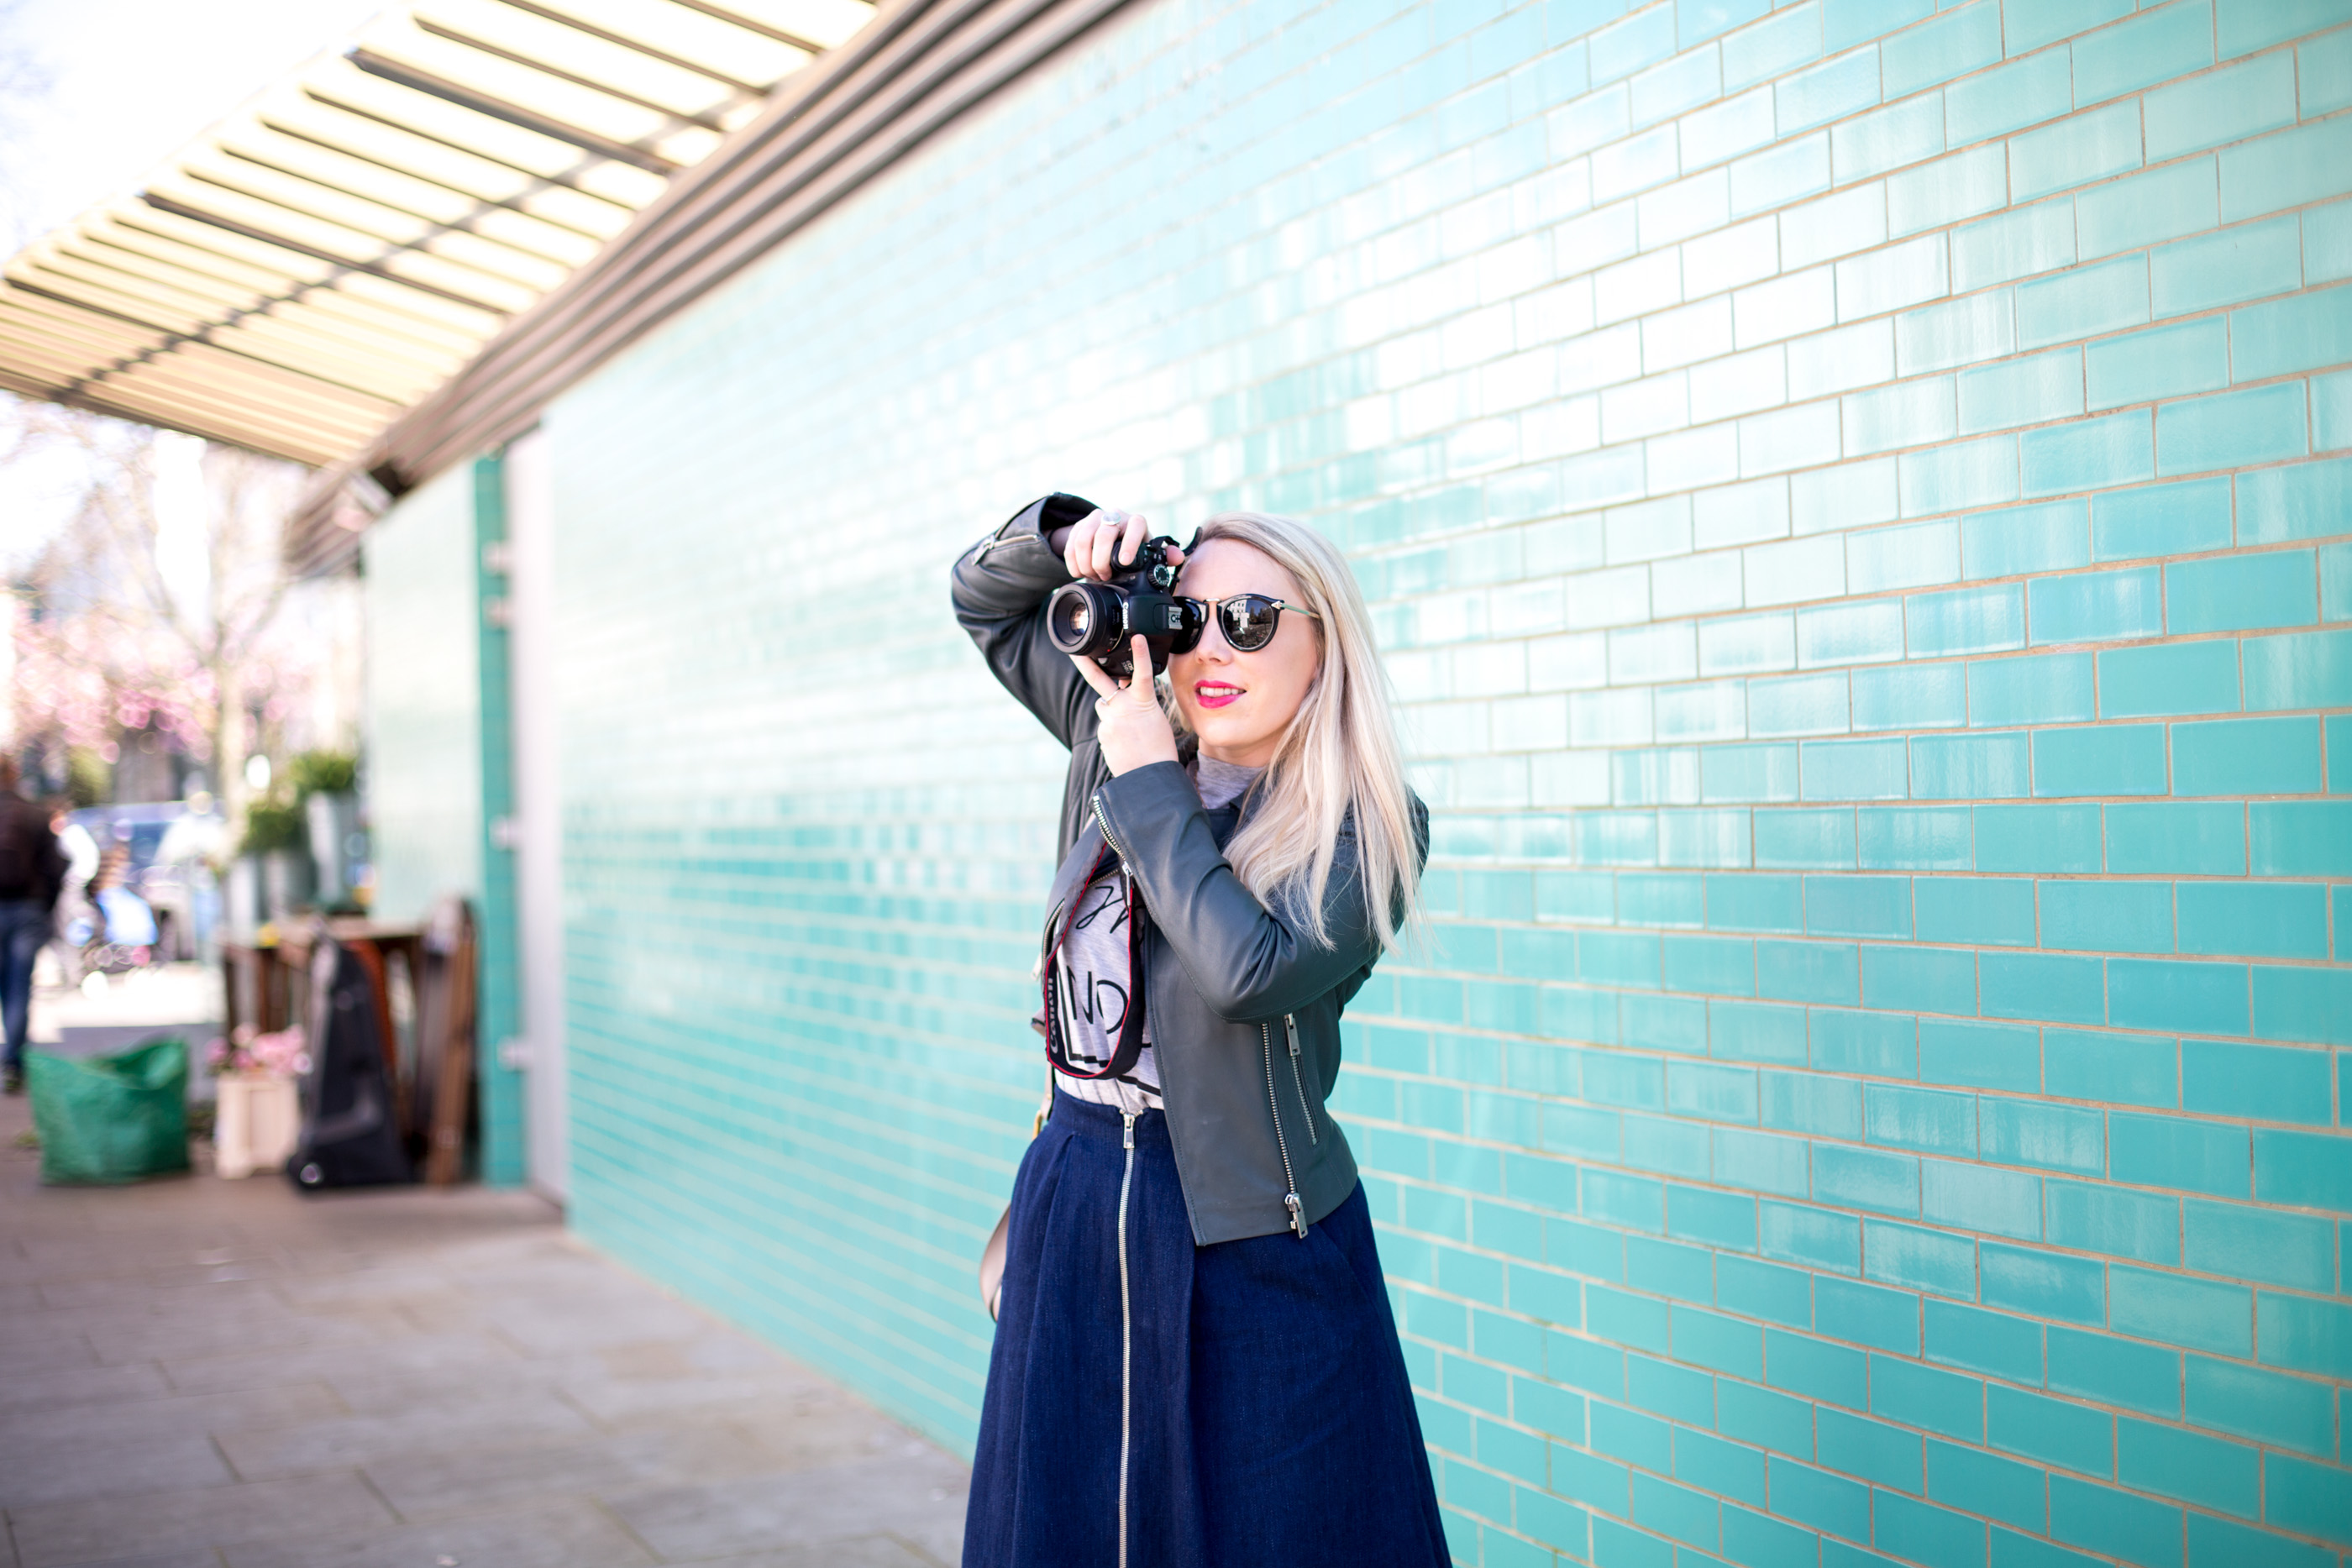
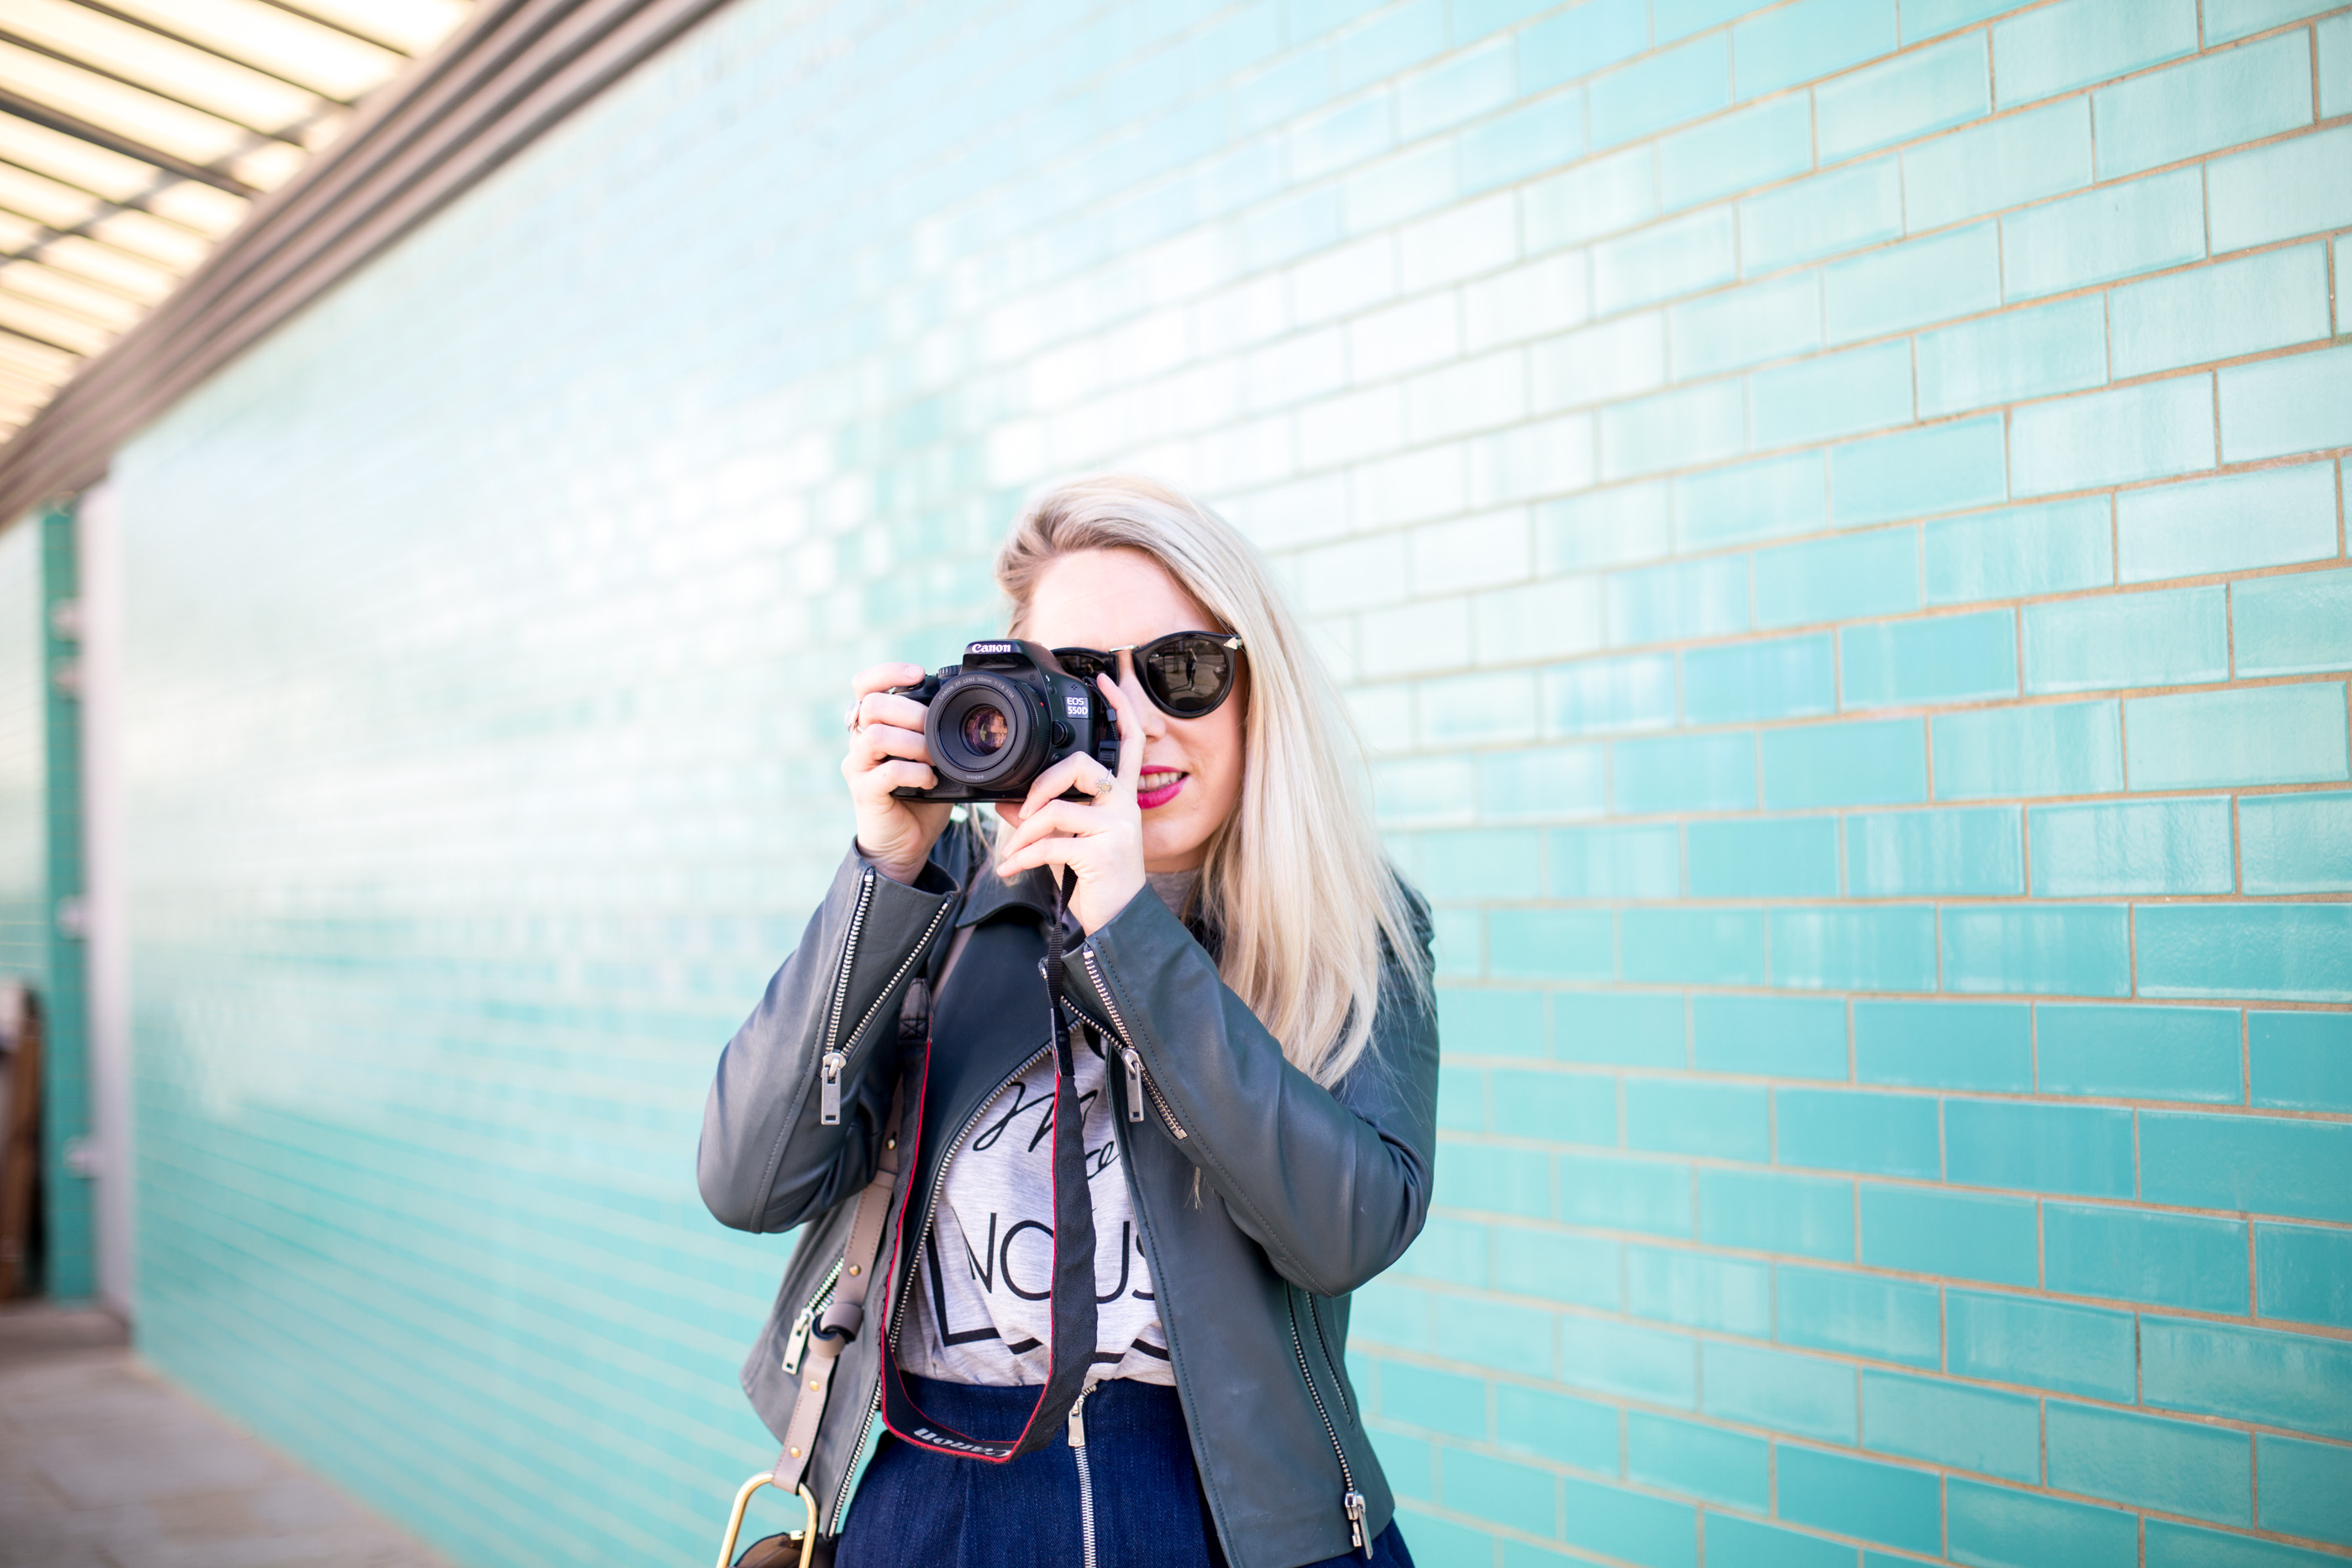
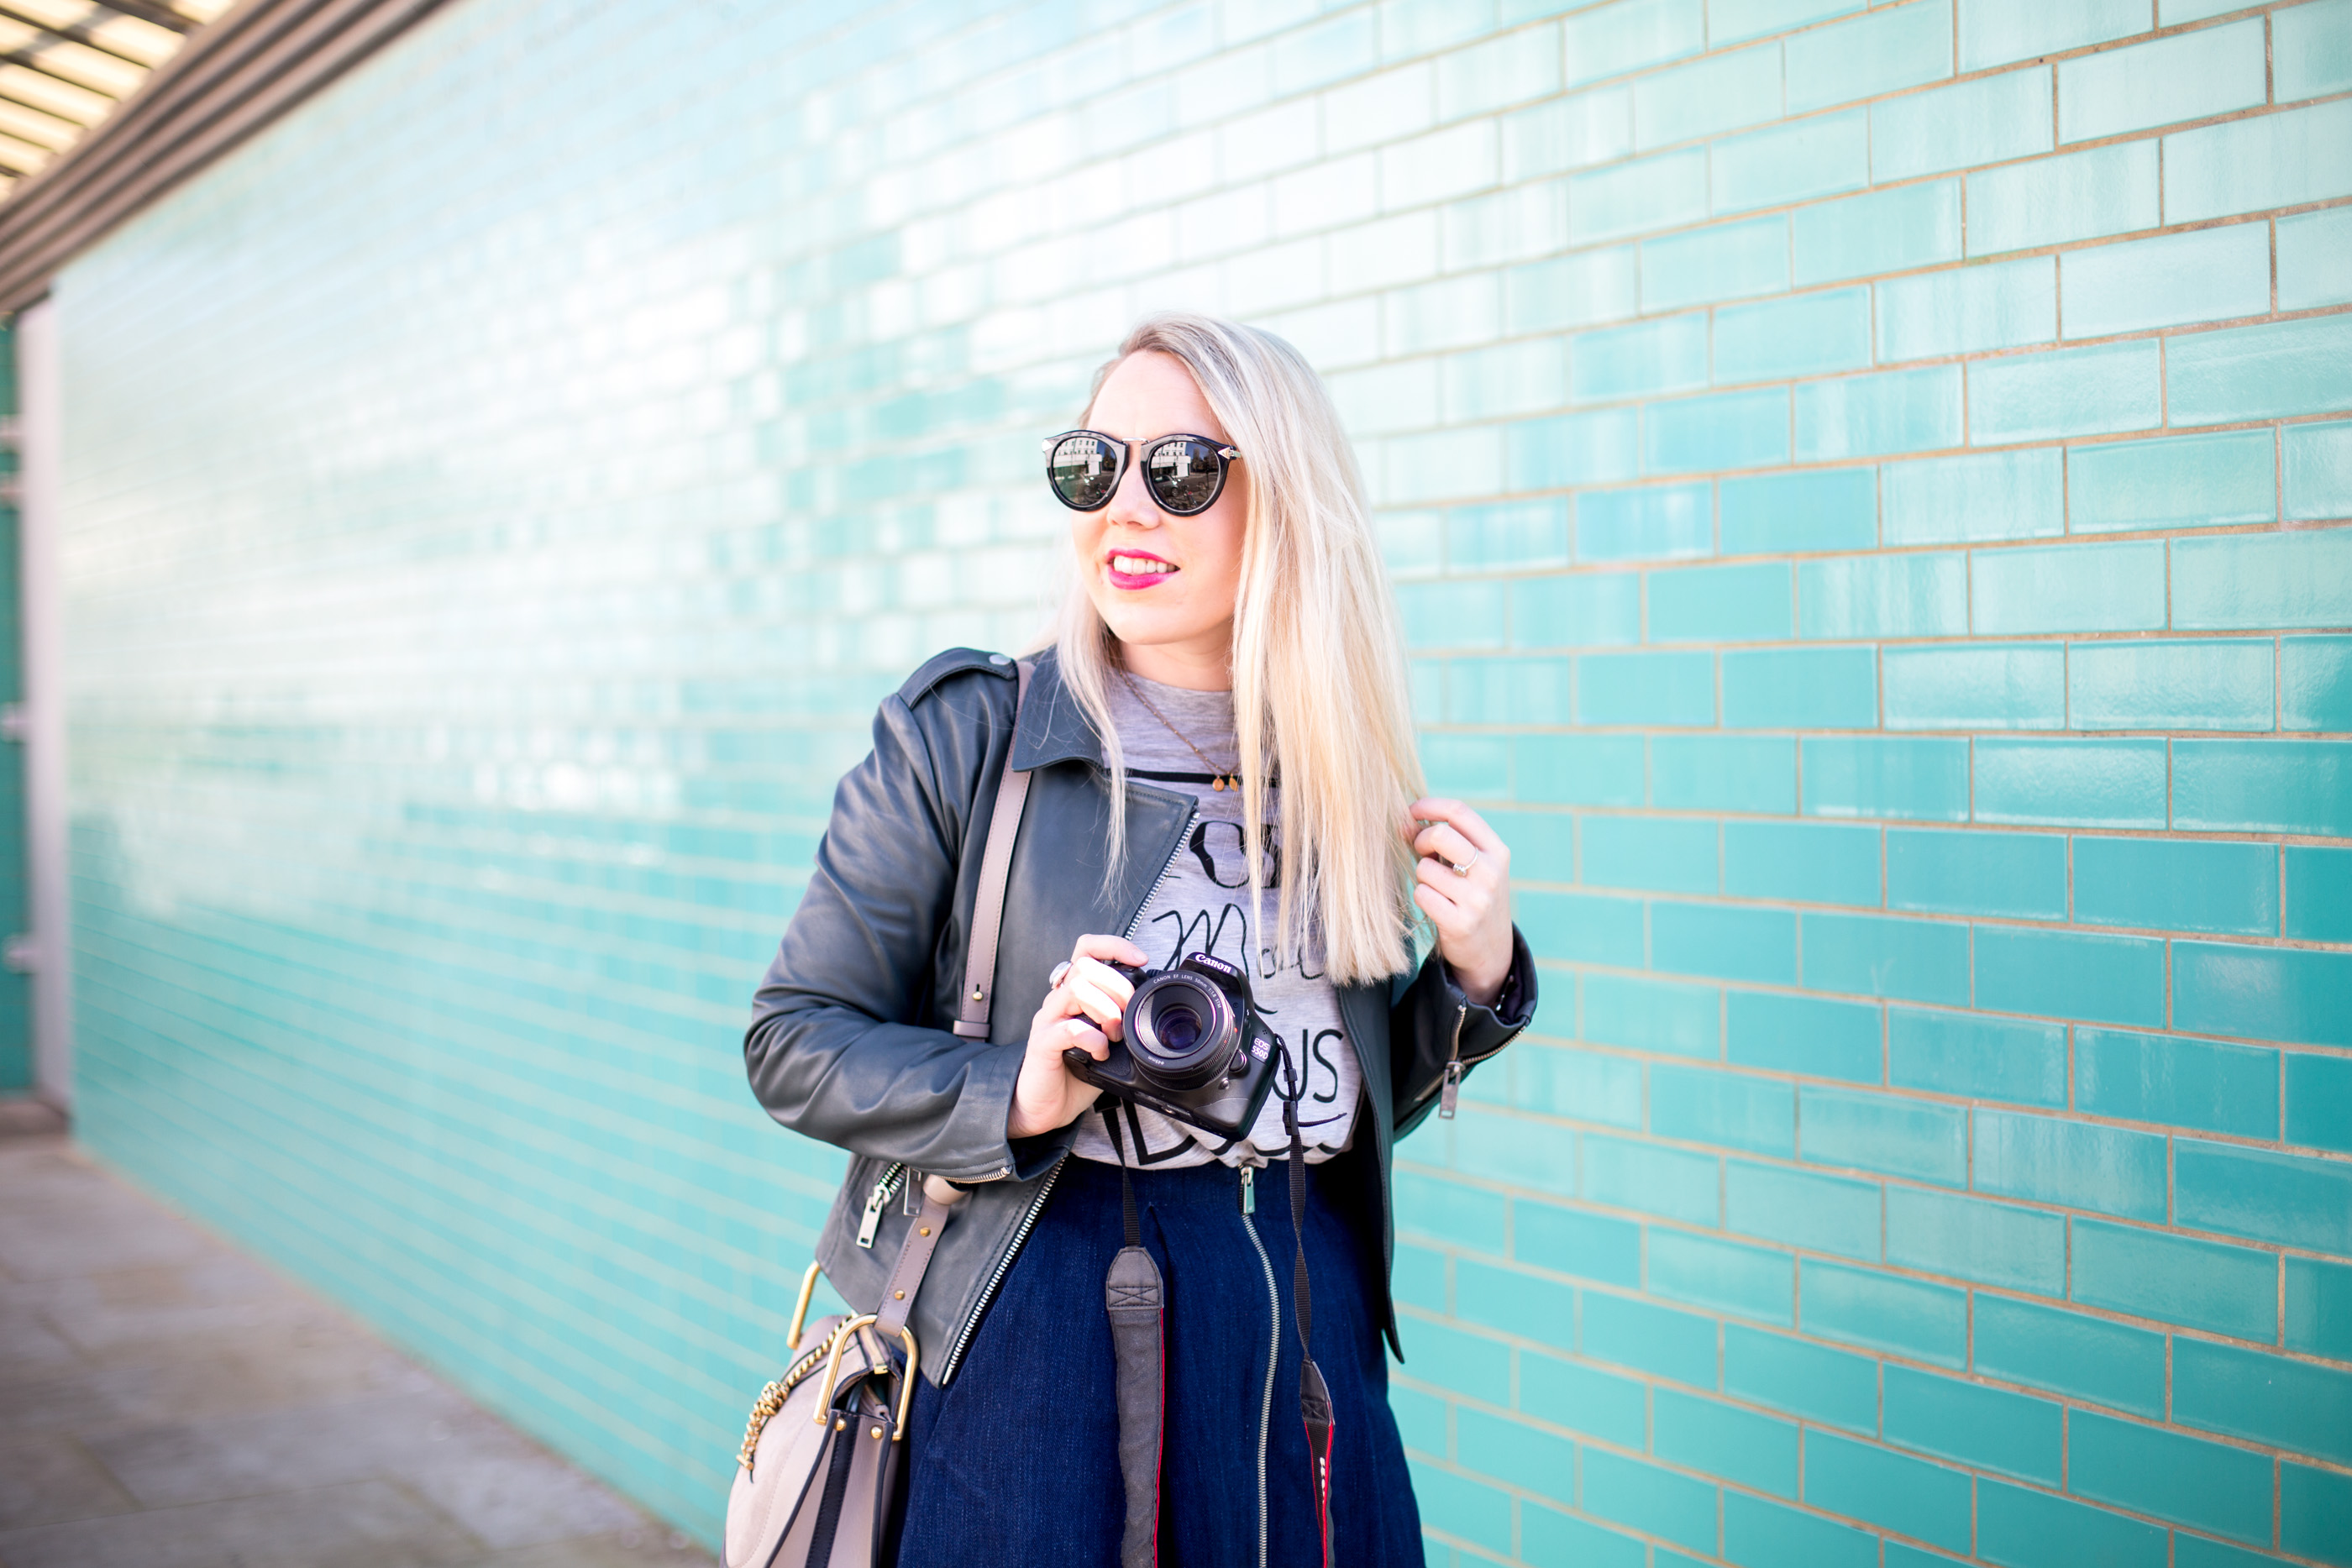
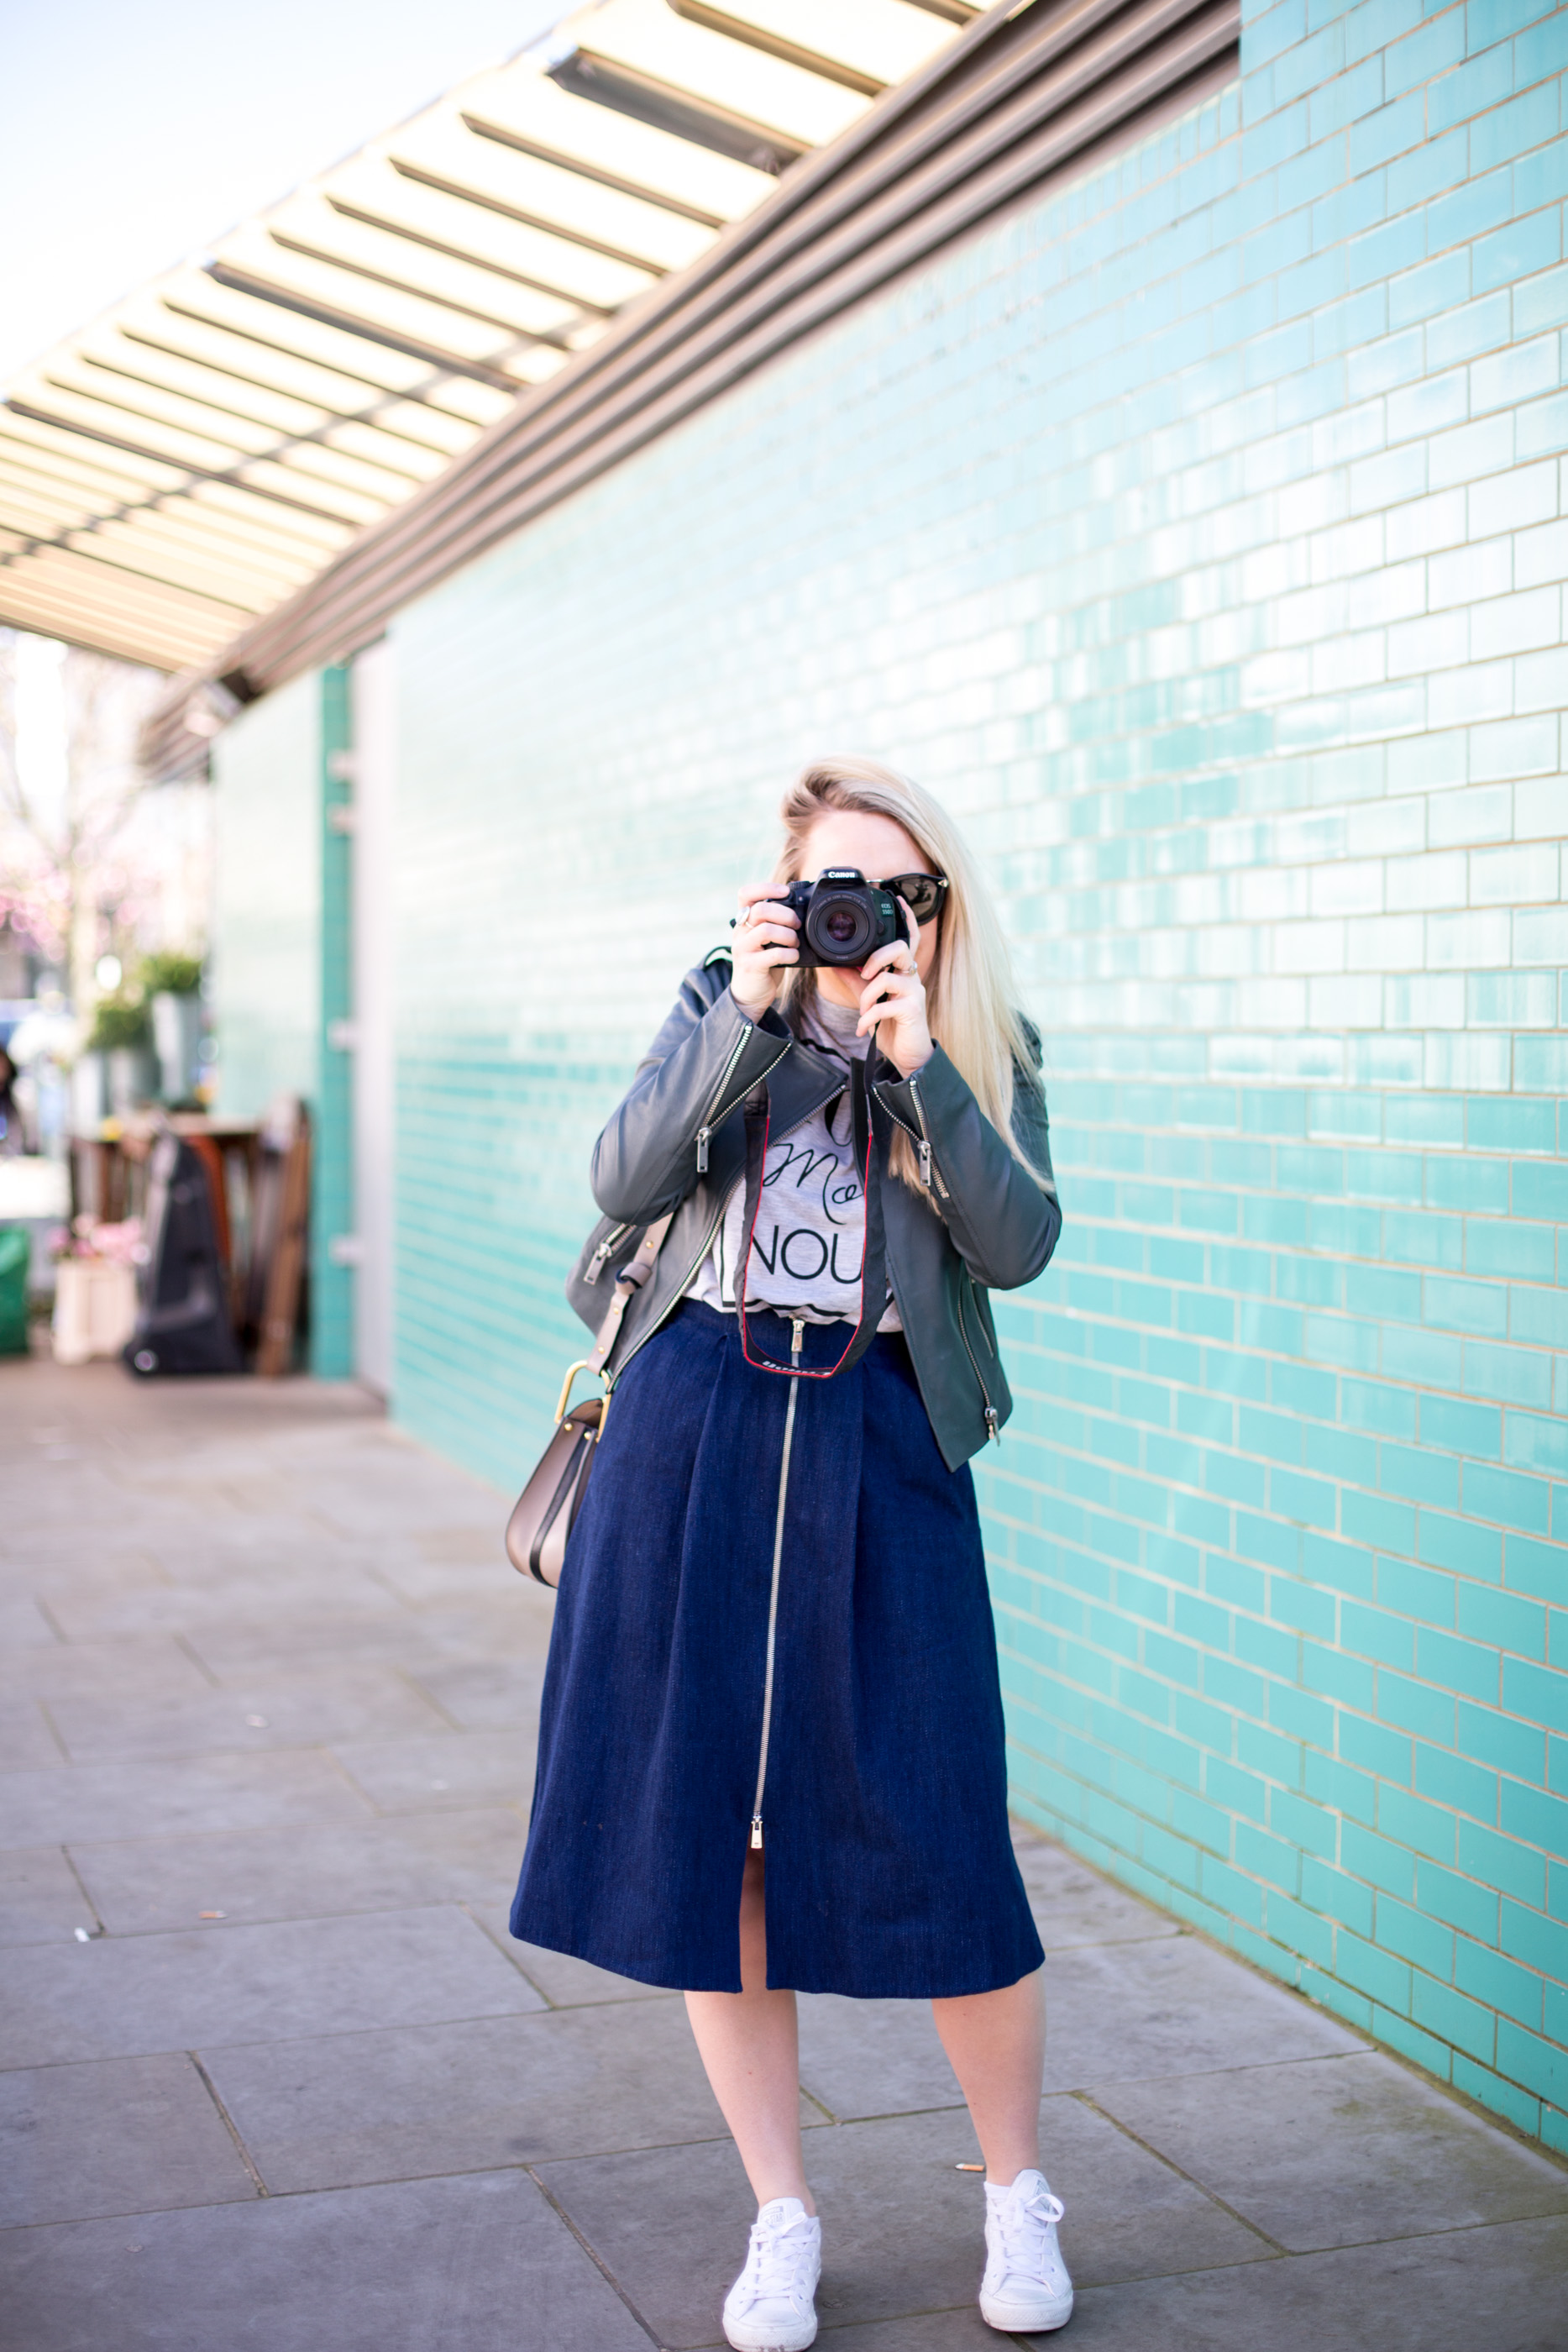
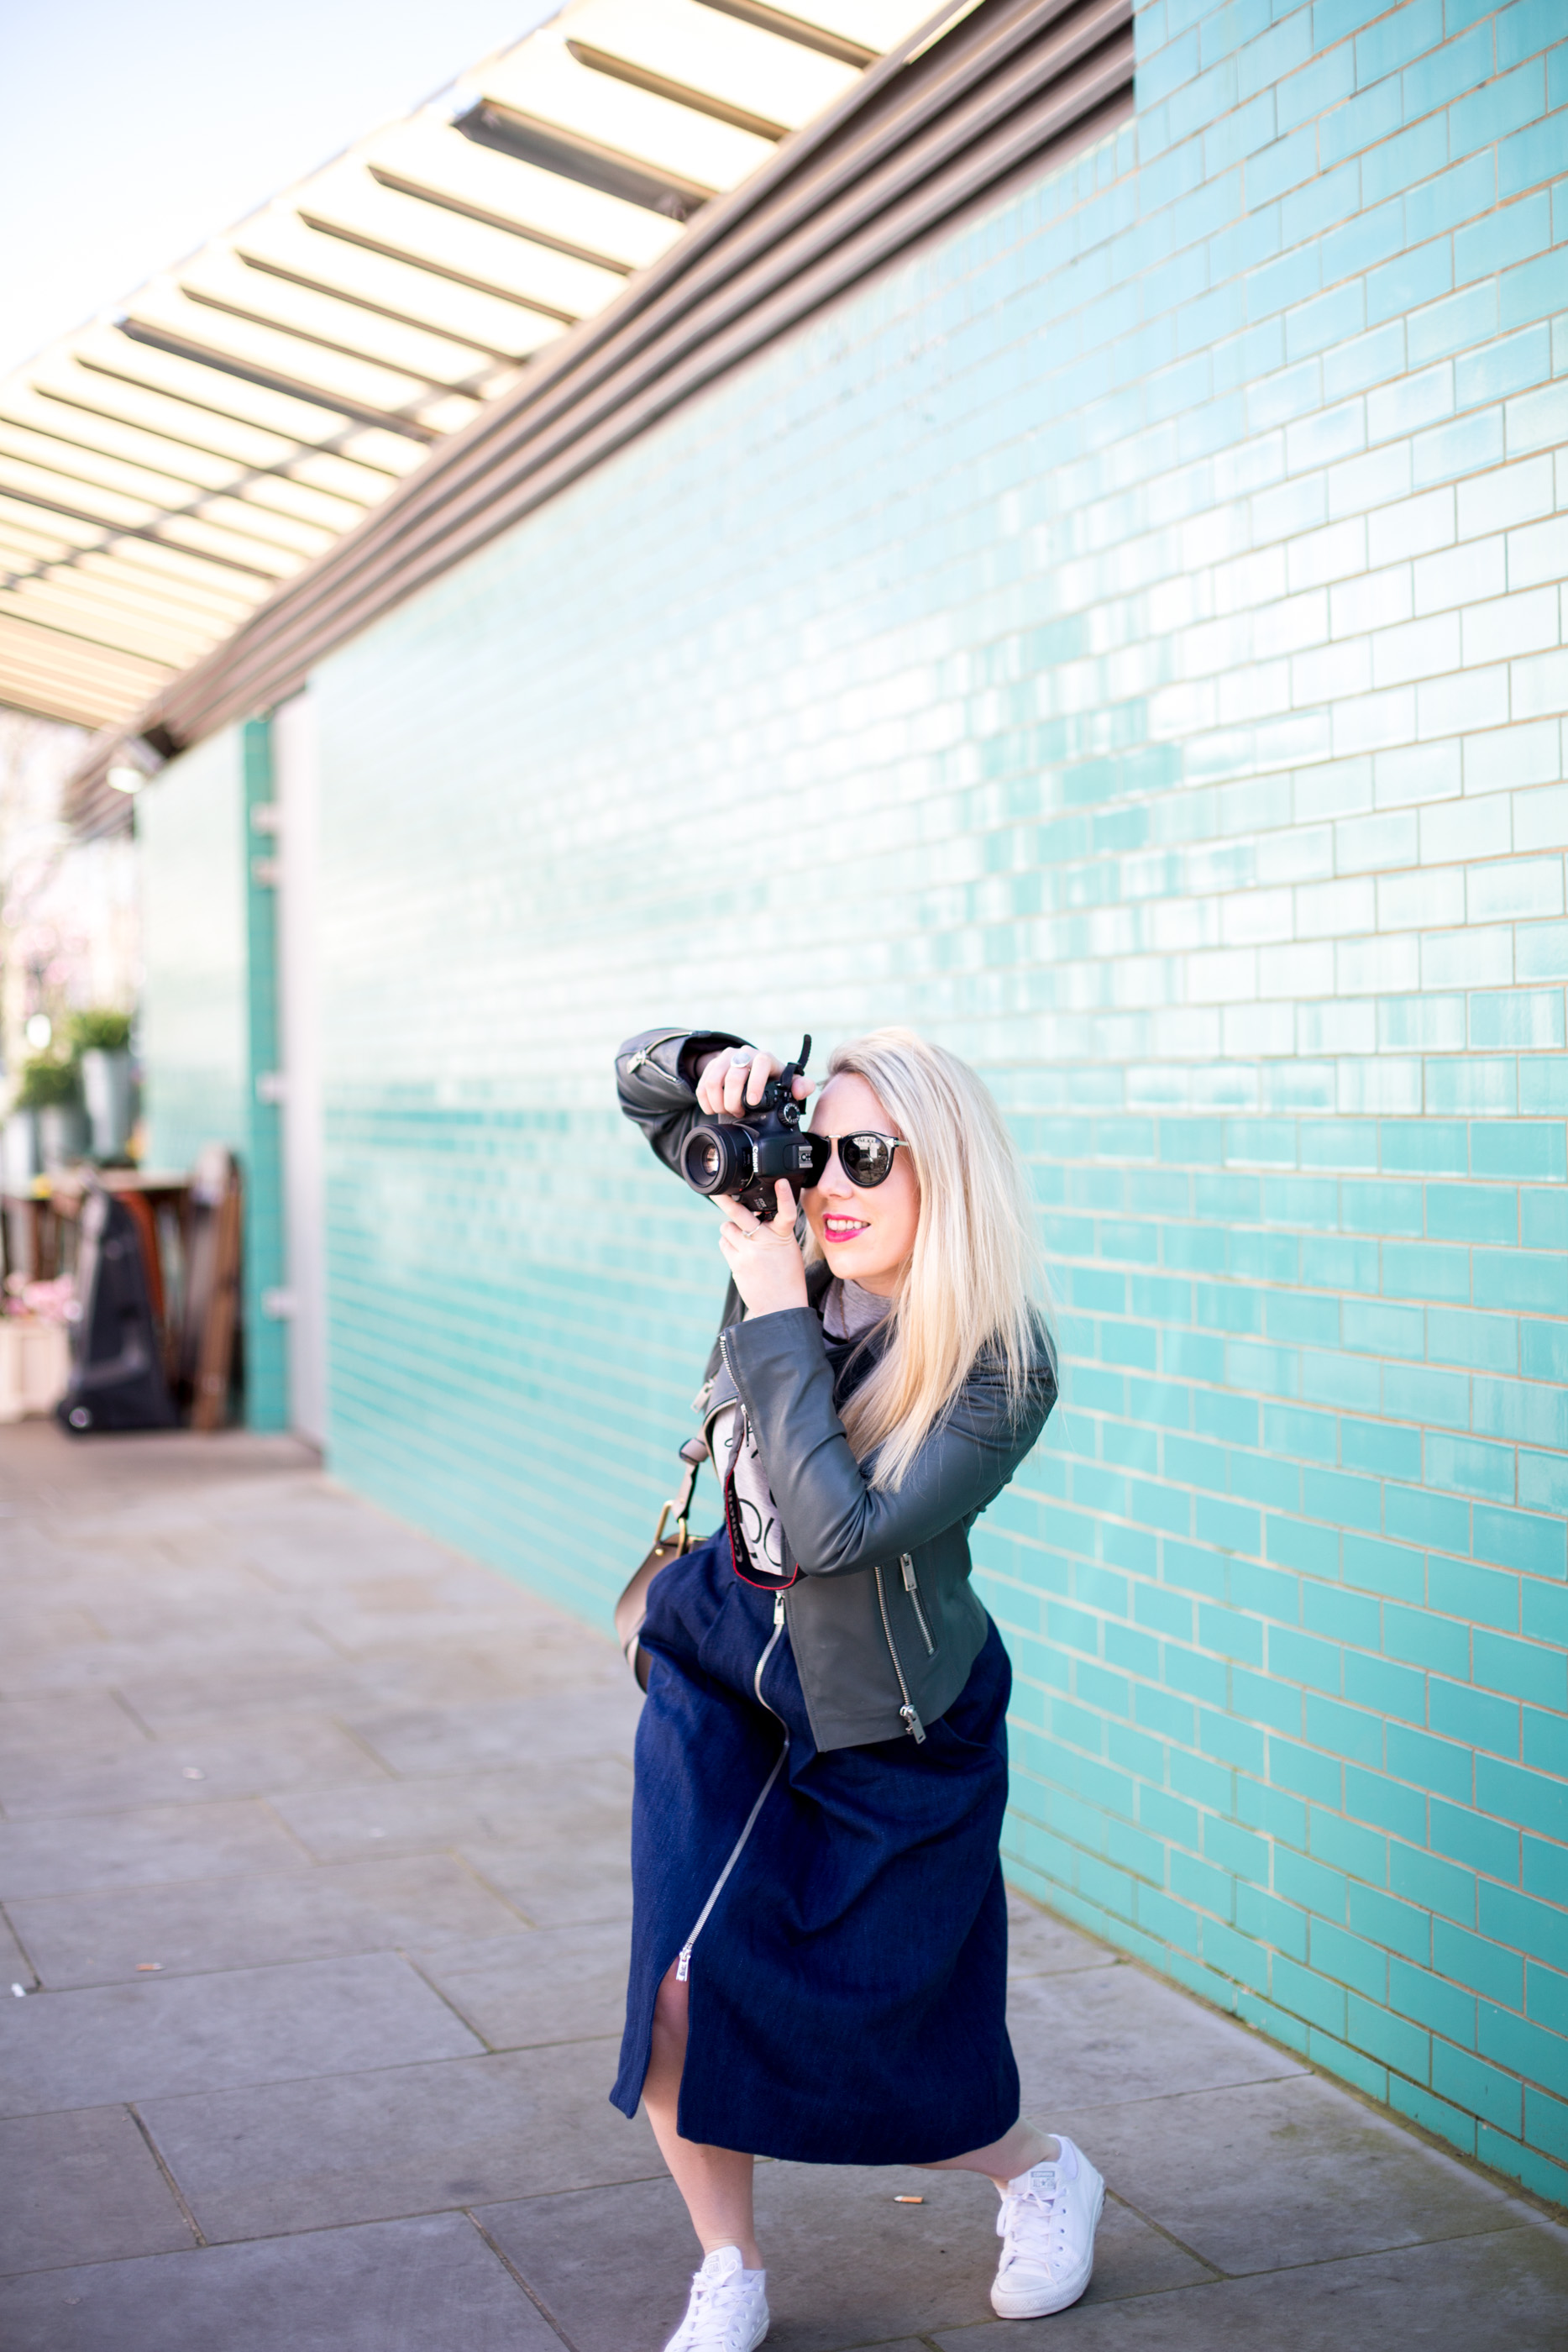
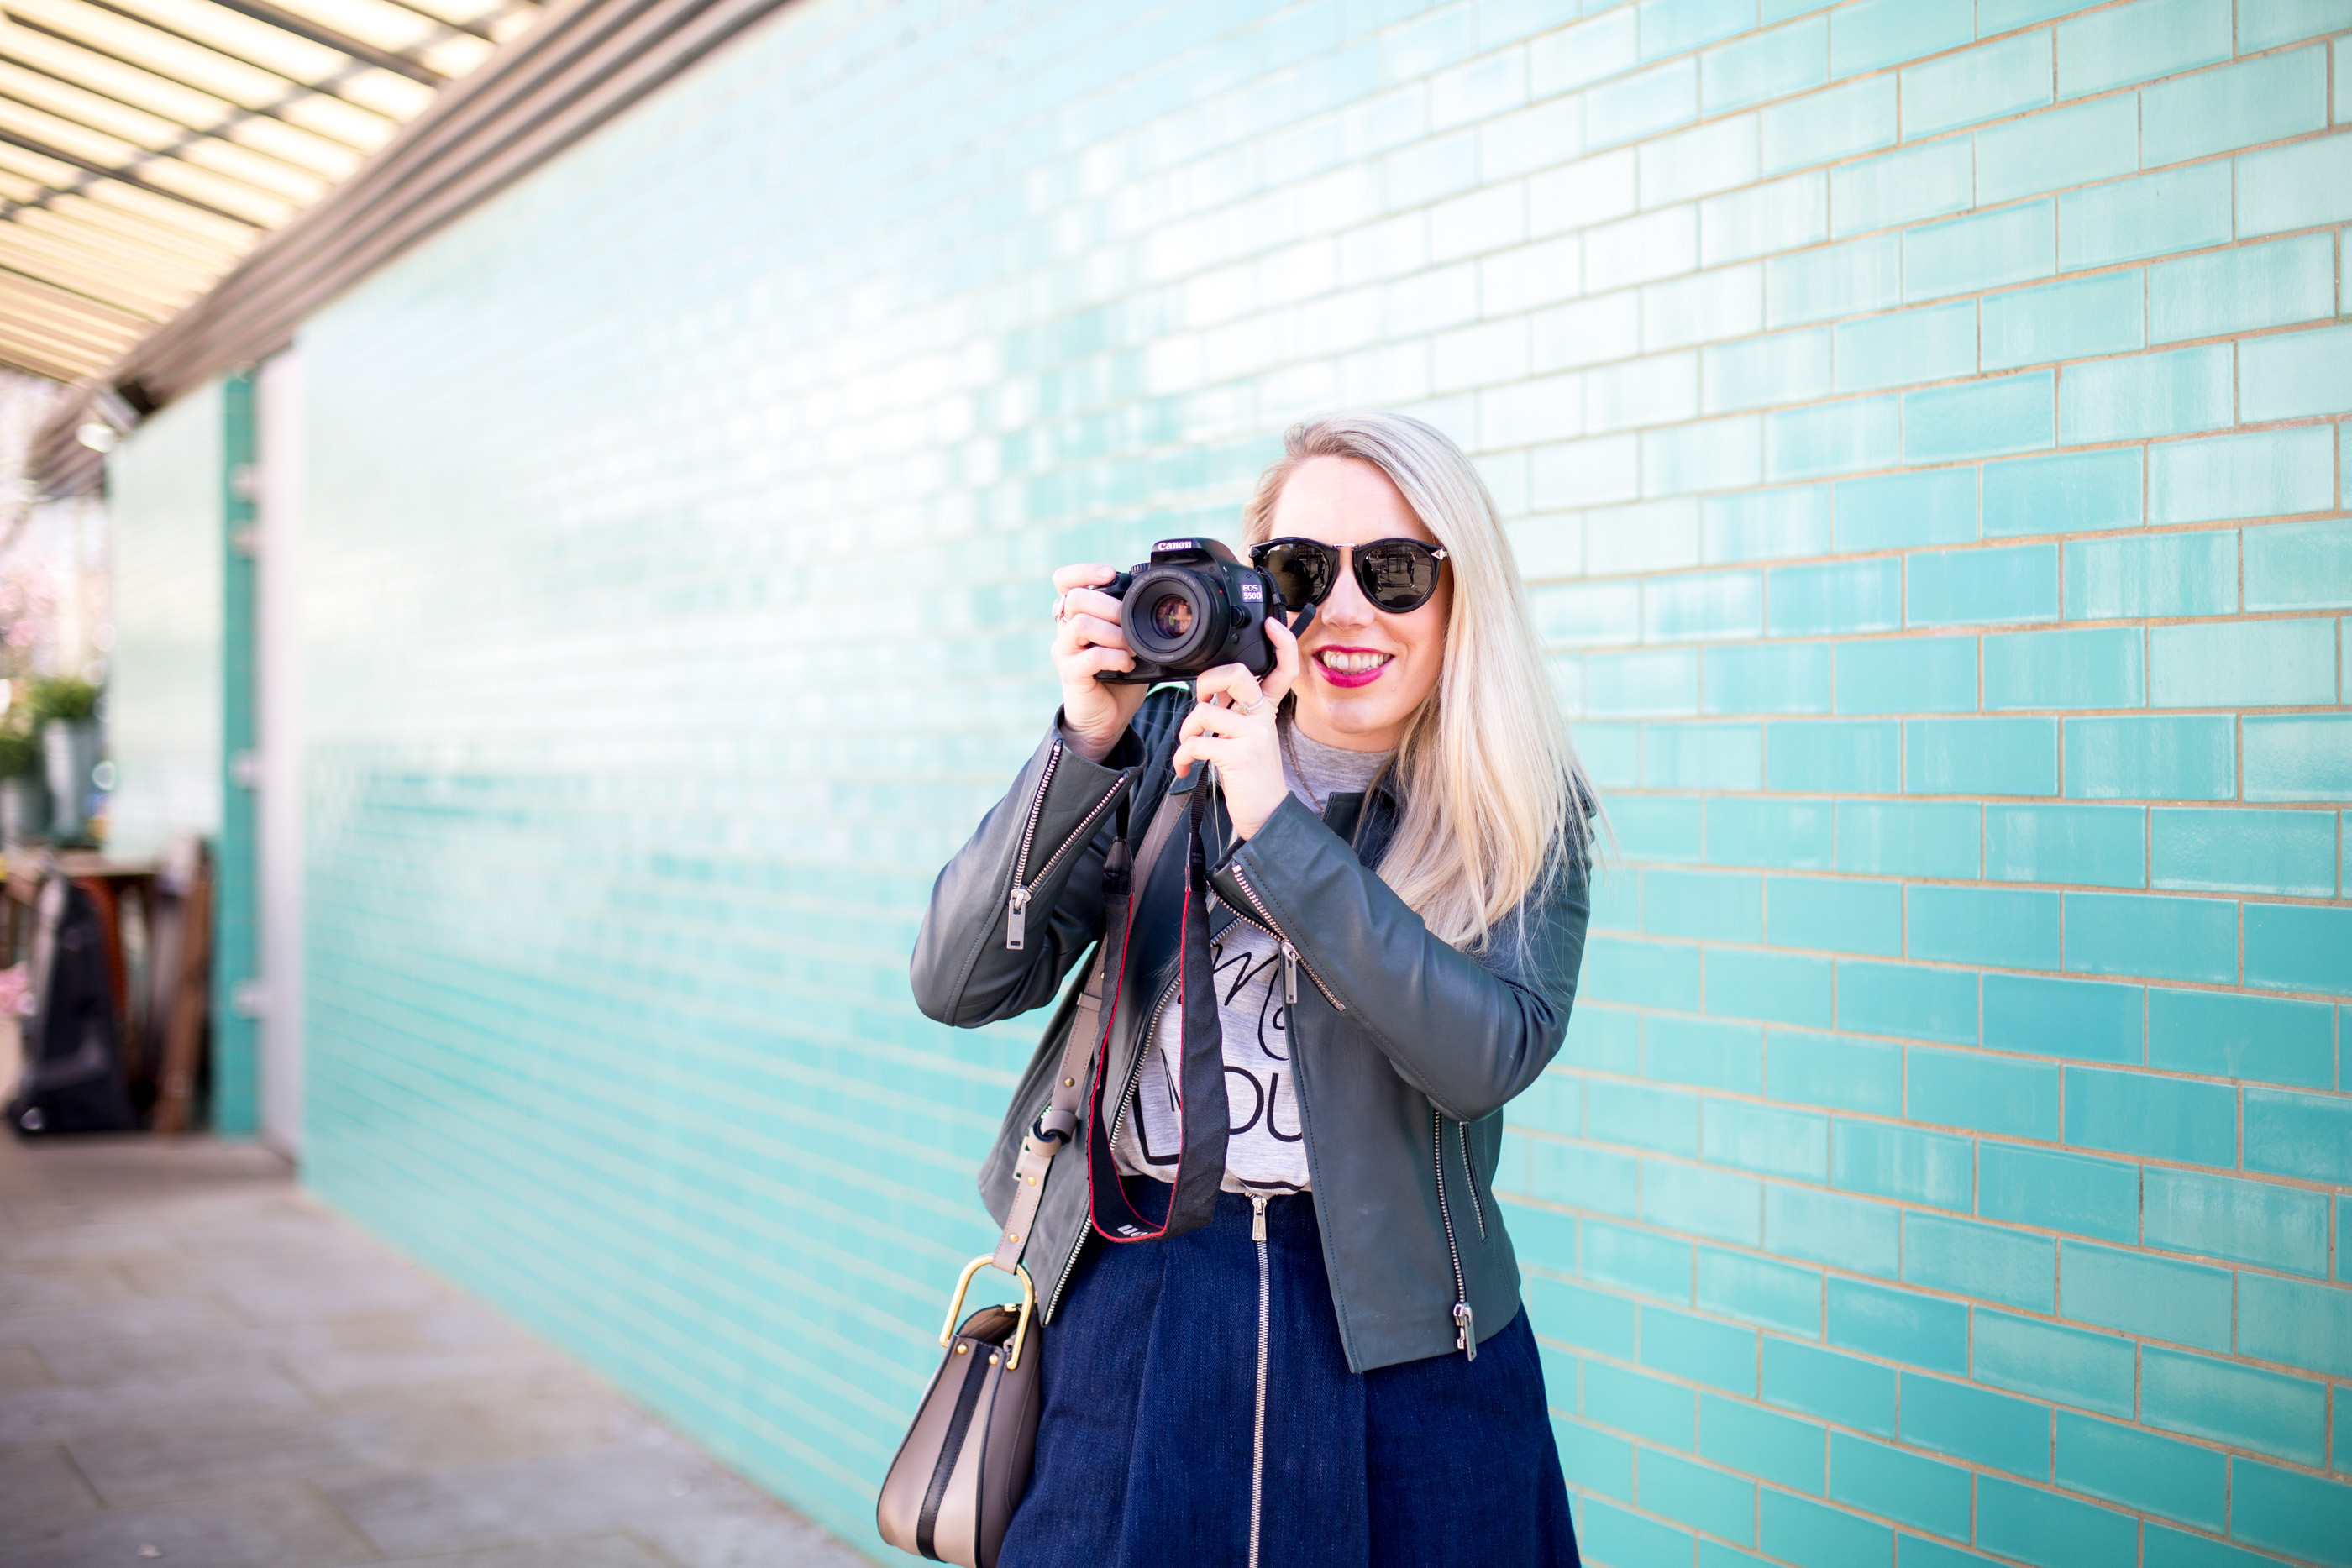
As a case study example, these photos were shot in beautiful sunlight (I was stood in the shadow to avoid direct sunlight washing me out), on an ISO of 100, a shutter speed of 1/1000 with an aperture of F2. The ISO was low because we had a bright day to work with and I wanted a bright and clear photo, the shutter speed was relatively high because we were blessed with a bright day and a low ISO, meaning I could keep the shutter speed high to ensure no movement or lack of focus occurred (high shutter speeds like this mean a very quick shot with great focus and clarity), and finally I had an aperture of F2, a low number to again let as much light in as possible (so I could keep my shutter high) but also to help me create a great bokeh affect in the background (With me in focus, and the background softened out).
All three things work together intrinsically and always affect one other … so it’s really about finding that balance to ensure you get great light (ISO & aperture) but also perfect clarity and focus (shutter speed & aperture).
The only way to really master shooting on manual and the affects of your ISO, Aperture and shutter speed and how they work together is to get out and play with your camera, shoot in different settings, with different natural light, play around with the settings and see the affects for yourself.
Have you found this tutorial helpful? I really hope it helps you understand not only the benefit to shooting on manual but also how to shoot on manual yourself? If you have any other tips please do share them in the comments.


This is so handy! I always try to brave away from the ‘auto’ setting but it can be tricky! X
I just got a Canon and I’ve been shooting on Av or M depending on the situation. I recently took a photo of my hair and my professional photographer friend (who doesn’t know about my blog just yet) commented, “A shoot?!” And I was like… Uuuhhh it’s a selfie. But I guess it made me a bit proud in my very amateur shots. Haha!
Love love the template to your blog. And the note you give to your post.
xRomina | http://www.blaastyle.com
I thought that aperture priority meant you choose the aperture, and iso/shutter speed are set. And then shutter speed priority meant that you could adjust the shutter speed, and the other two would be set. At least that’s what all the other guides have been saying.
What a great article! I only wish my camera was right next to me when I was reading it. I am going to try and play more to acquire better depths of fields and lighting. I really enjoyed the article!!
This post was so freakin helpful! <3 I am a fashion blogger and have been trying to improve my photography so thank you for posting this!
Love,
Thays
http://www.sillycrazyme.com
I recently got my DSLR and I have been struggling a bit on how to use it to get the best pictures, this has been super helpful! Thank you!
xx Daniela / Fashion Shower Blog
I’m definitely pinning this post because my memory is awful and I will forget some of this I constantly try to improve my photos so this should help! Xx
OliviaCheryl.com
Great blog post!
http://www.ebbiesstylehouse.wordpress.com
This is so useful, thank you for writing it. Im trying hard to learn to work with my new Olympus Pen, but I am literally starting at the beginning as i never even used a point and shoot much. Iv just completed a beginners course with Jessops, and the knowledge from that, added to this post has been fab. Im desperate to get out and play with my camera tomorrow!
There are a variety of preset modes in the camera to overcome light colors in different situations. It is best to set white balance manually. Thanks
thank yoou for this amazing blog now my photos are way better then before
your tips does help me alot now i do shoot better then before but still i have to keep on practice