Skip to primary navigation
Skip to main content
Skip to footer
✕
About
Collaborate
CONSULTANCY
MINI MARMALADE
Interiors
Fashion
Travel
wellbeing
Career
Journal
archive
Instagram
Bloglovin’
Facebook
Twitter
Pinterest
STYLE
Travel
WELLBEING
Follow
Instagram
Bloglovin’
Facebook
Twitter
Pinterest
SHOP
SHOP WISHLIST
SHOP INSTAGRAM
About
Blog & Career Tips
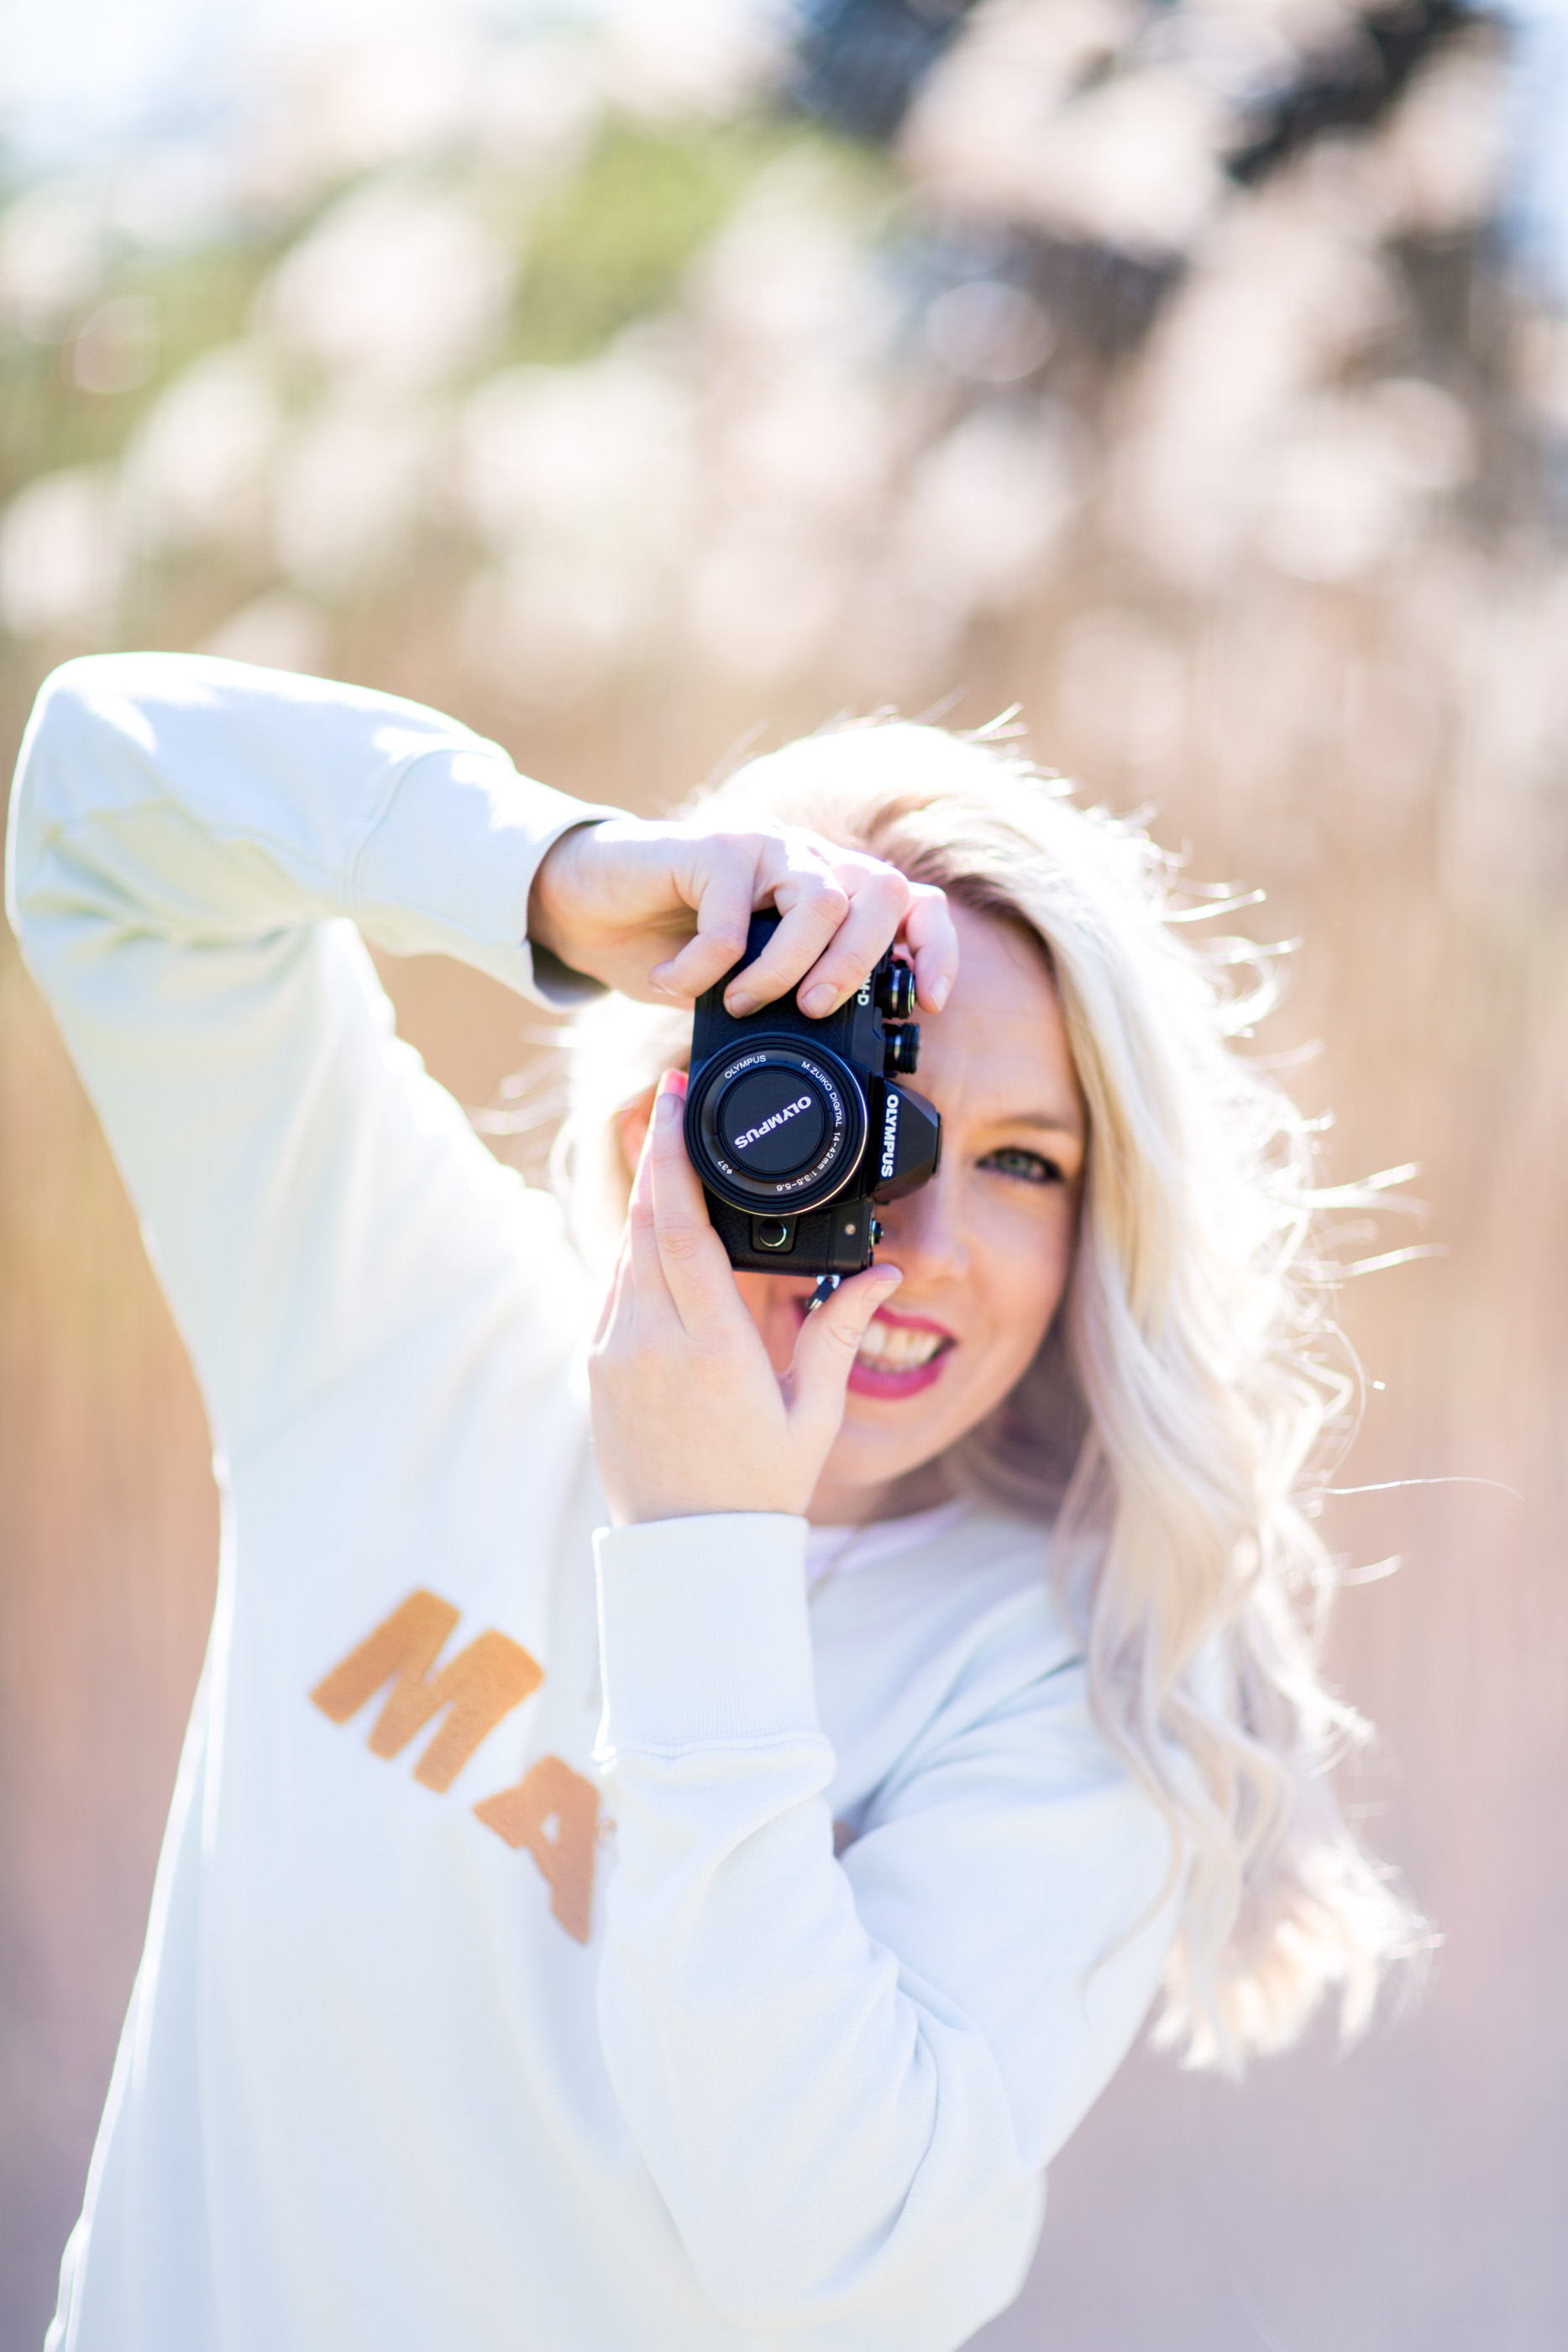
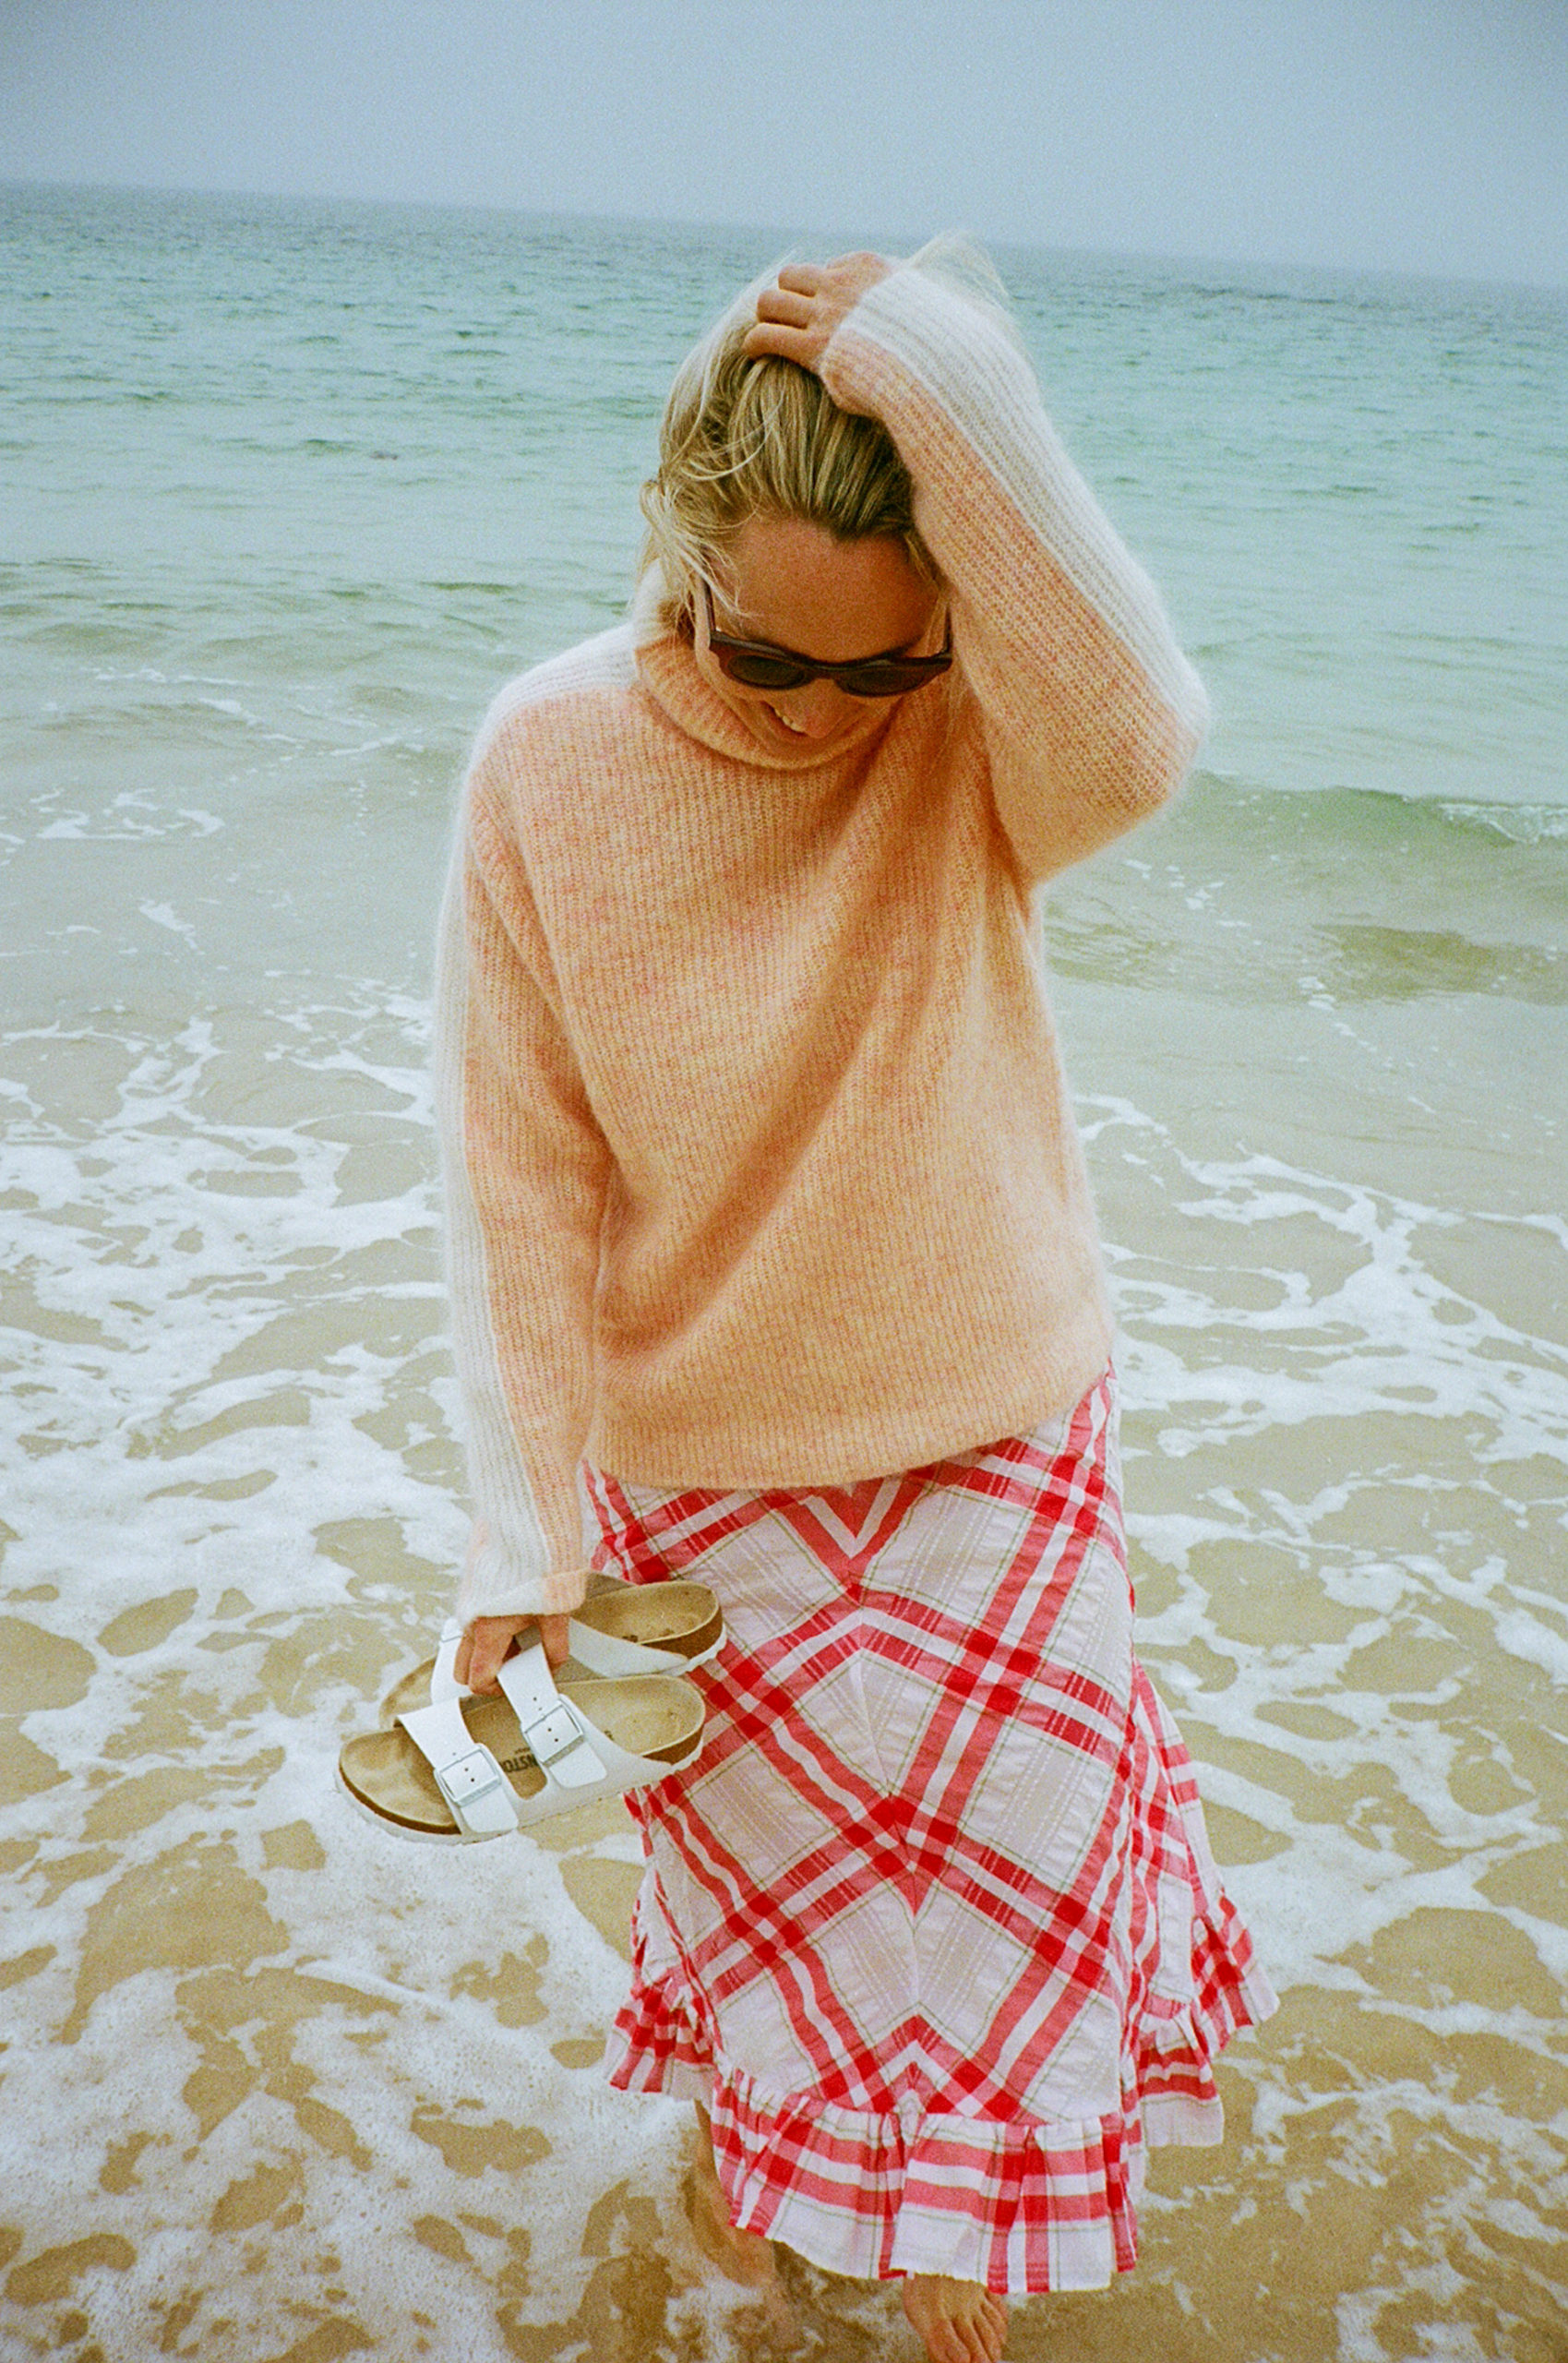
film photography: my cameras, film, photos and tips for shooting film
READ MORE
photography
March 1, 2019
|
Blog & Career Tips
film photography: my cameras, film, photos and tips for shooting film
READ MORE
April 2, 2017
|
Blog & Career Tips
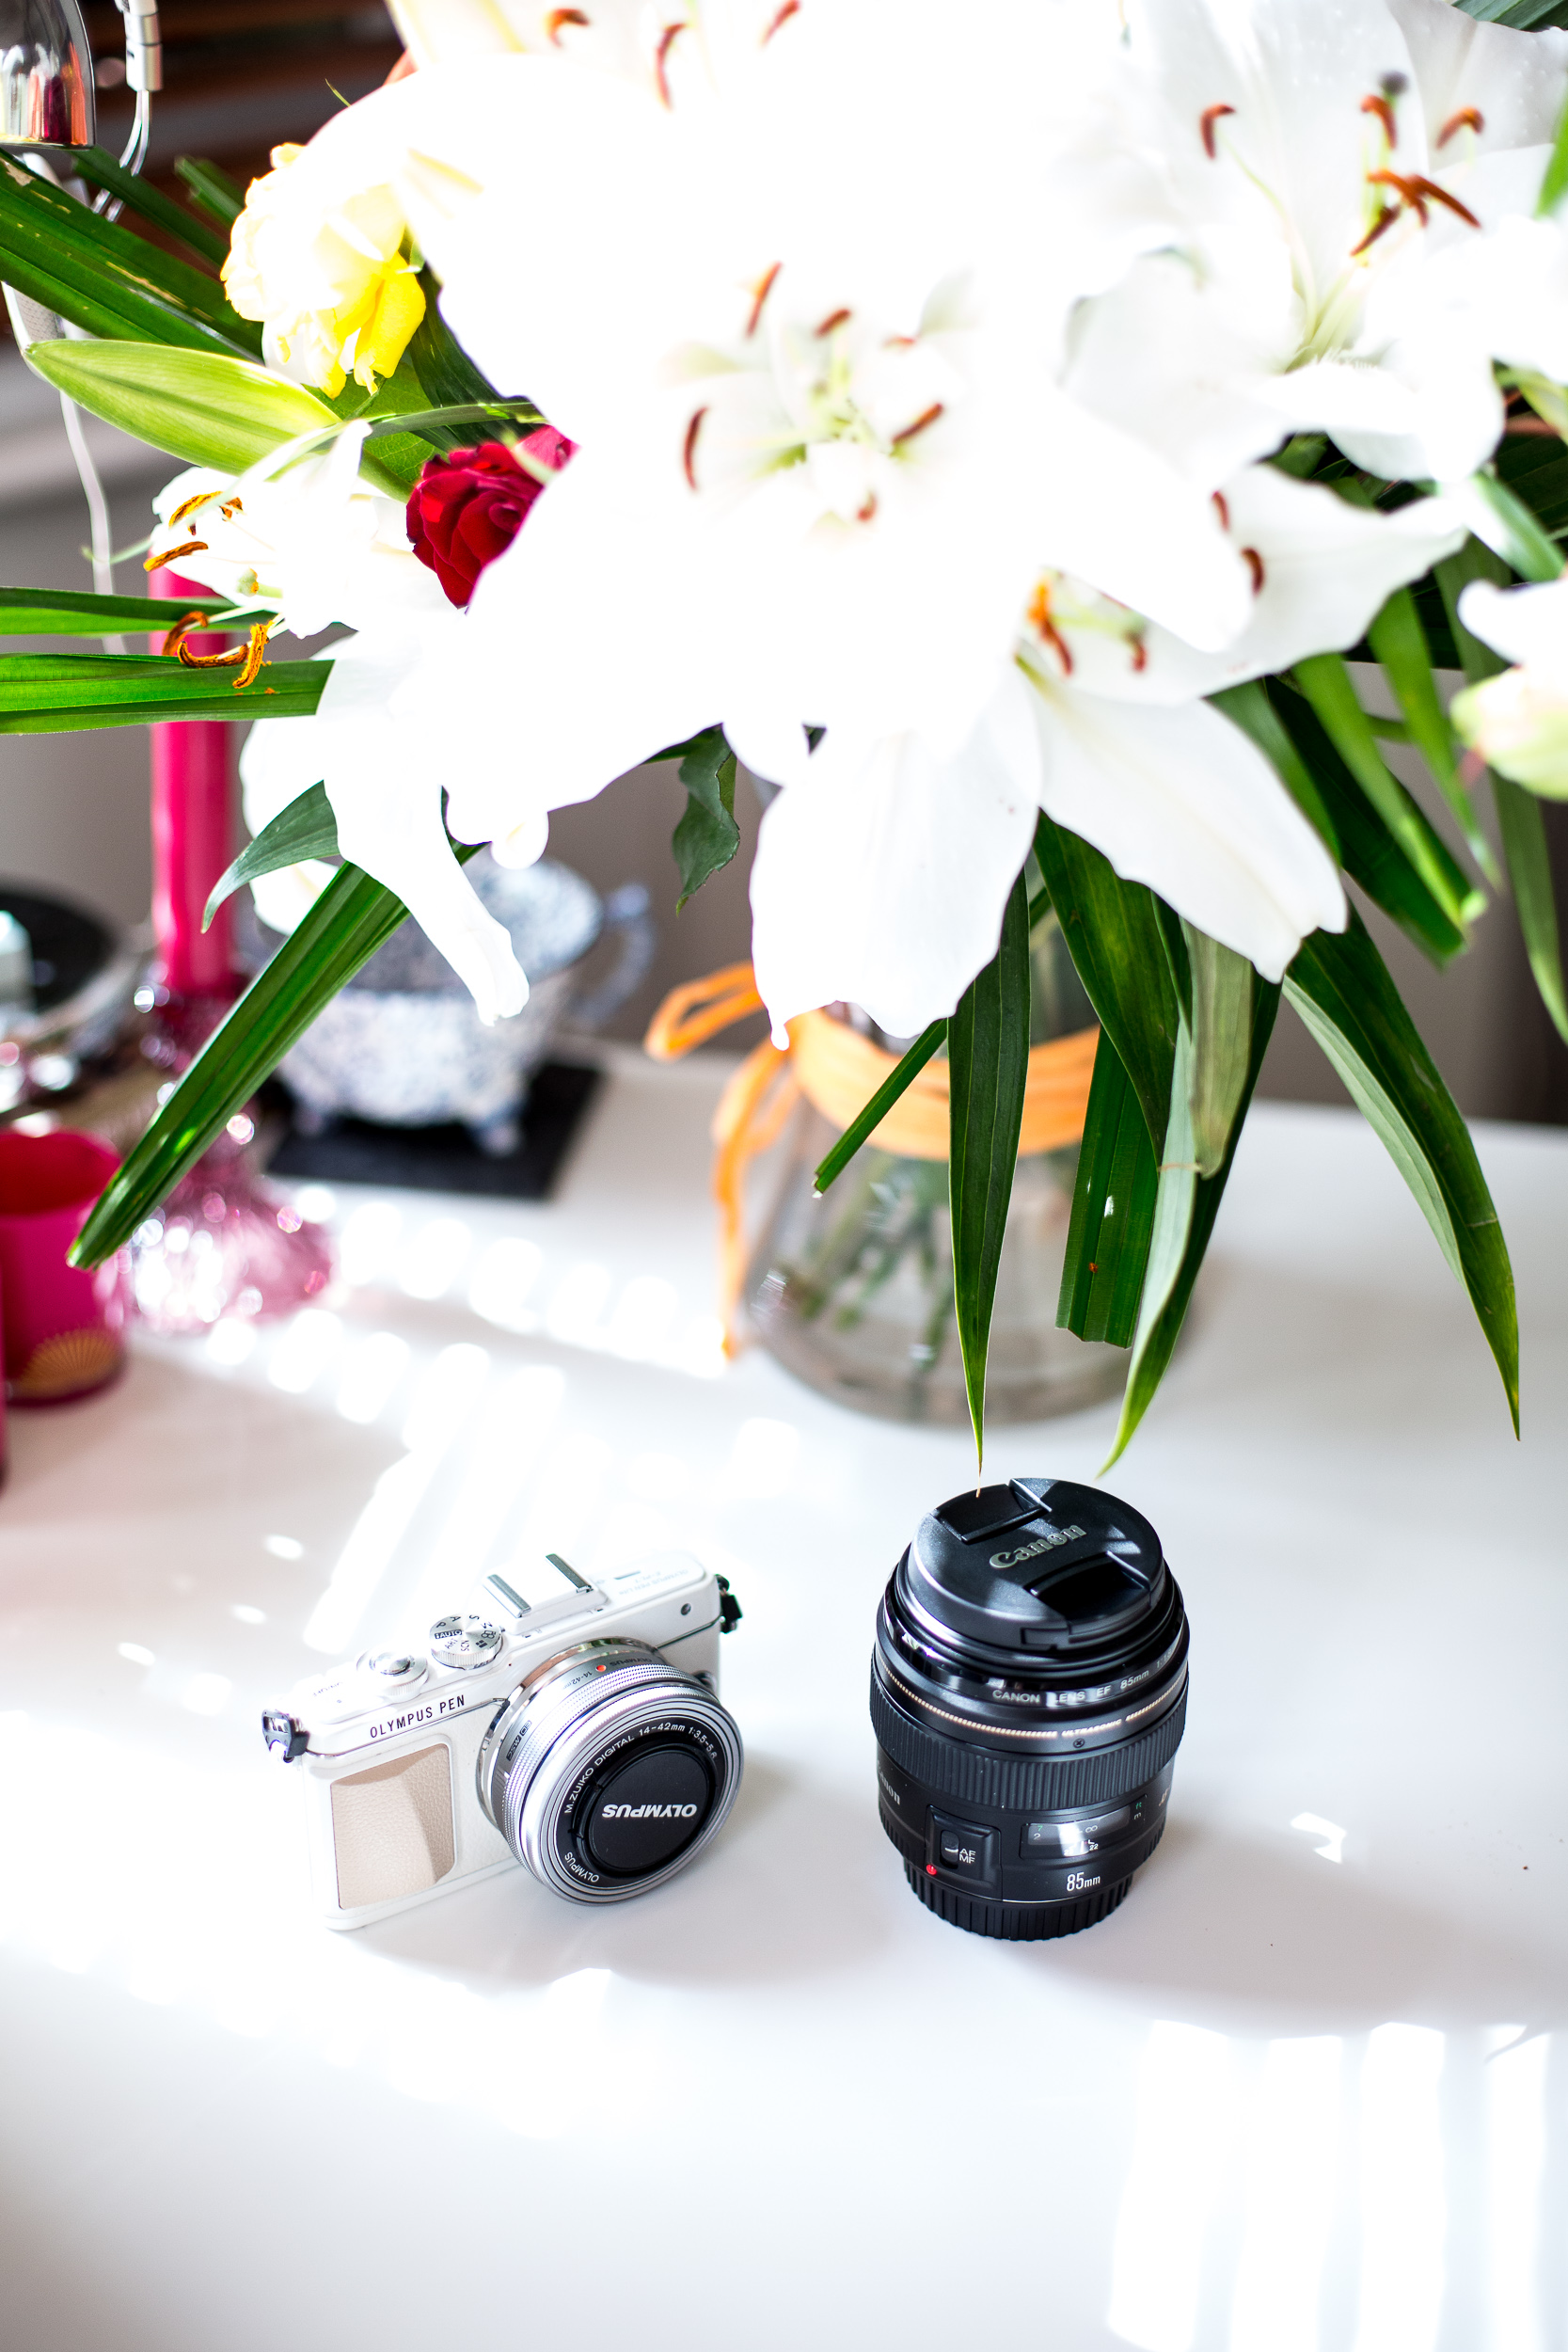
three ways to improve your blog photography
READ MORE
June 6, 2015
|
Blog & Career Tips
5 photography tips for shooting in the summer
READ MORE
March 7, 2015
|
Blog & Career Tips
mastering photography & your dslr
READ MORE
February 7, 2015
|
Blog & Career Tips
top 5 blog photography tips
READ MORE
September 4, 2020
|
Journal
why being the jack of all trades, might actually be the answer
READ MORE
July 18, 2020
|
wellbeing
how to achieve life balance: a new era for mediamarmalade to guide us all to a better way of living
READ MORE
June 28, 2020
|
Journal
journal: personal musings on a different way of living
READ MORE
May 21, 2020
|
Outfit
investing in my wardrobe for the future. feat: the infamous ganni dress
READ MORE
Page
1
Page
2
Page
3
Interim pages omitted
…
Page
20
Go to
Next Page »