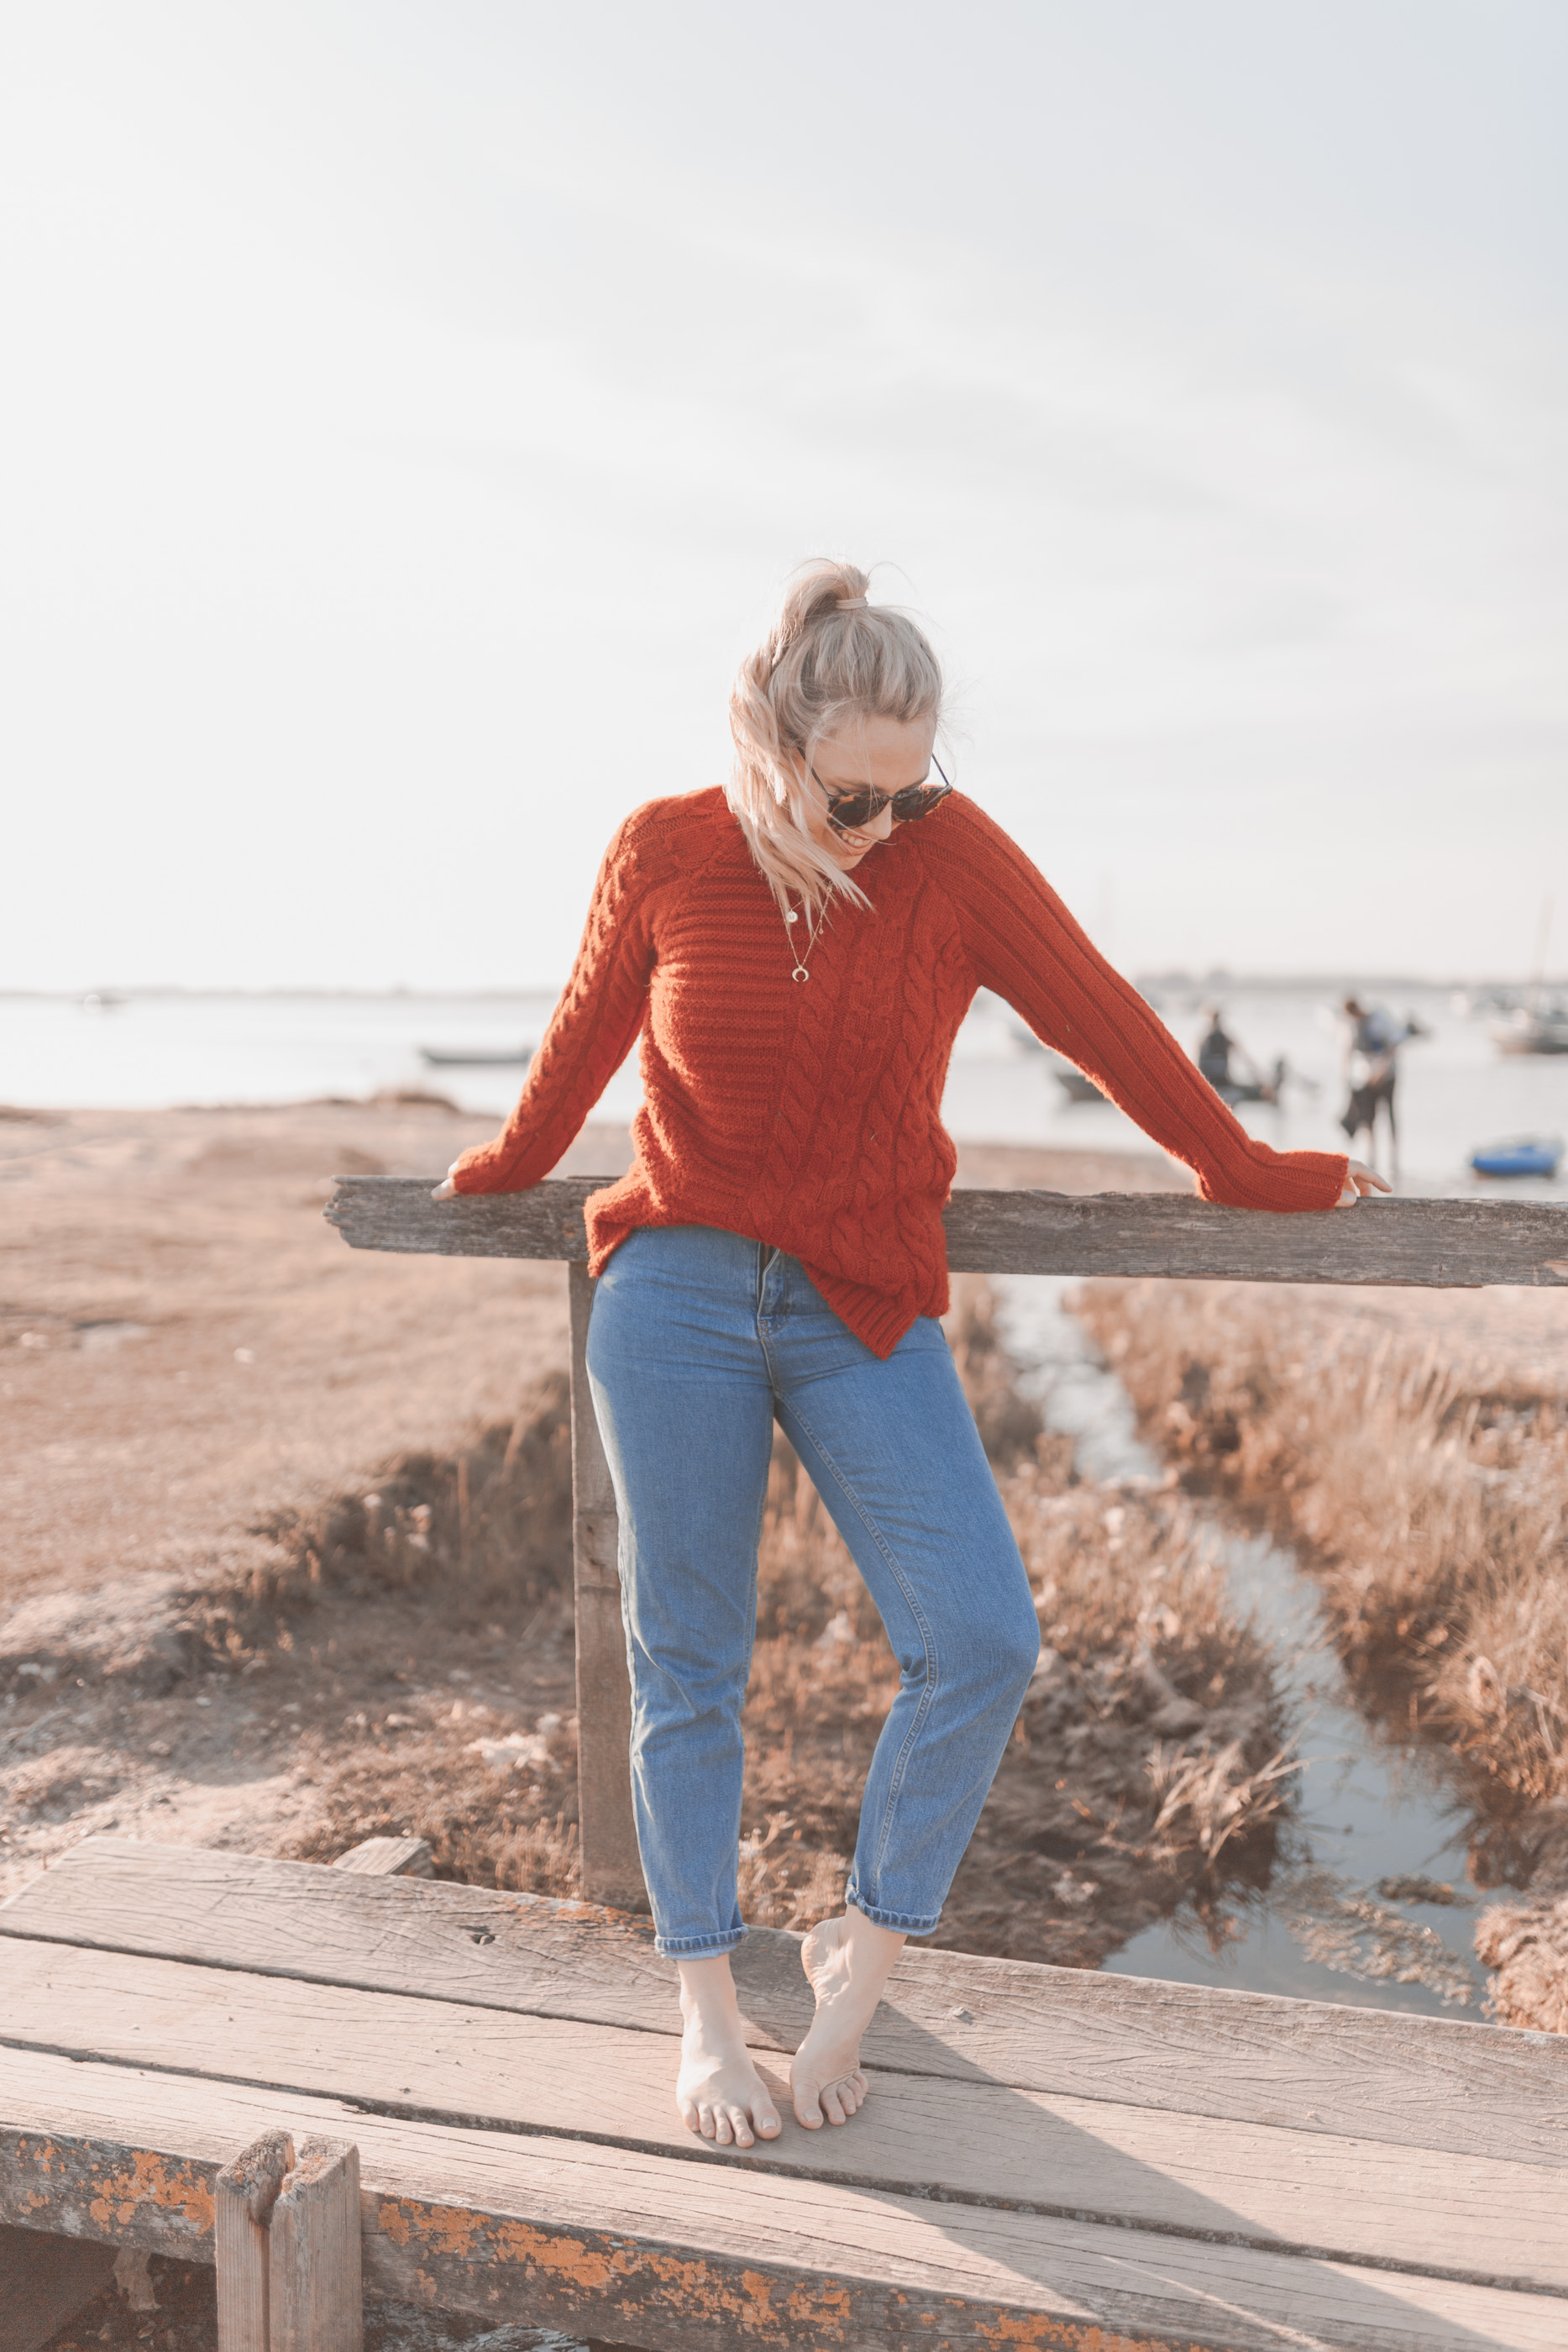
PHOTO EDITING 101
Finding Your Visual Style & Capturing ‘You’
One of my favourite things about blogging is the photography, I love shooting, capturing moments, editing & sharing photos. Whilst instagram should therefore be my favourite thing on earth (far from it, ahem), for now at least it’s the long form side of blogging & visual story telling I am most fond of. I love sharing multiple visuals, telling a story & showcasing my photos on my own canvas if you will! But there is one thing for sure that instagram does inspire when it comes to my photography it’s the art and wonders of editing. Now I am most definitely not talking about the infamous over editing and creating a false reality with your visuals, far from it. It’s the lighting, the colour tones & the visual style of the photo I find so inspired by, not least because of the incredible photographers (largely travel or professional photographers) that I follow on the gram!
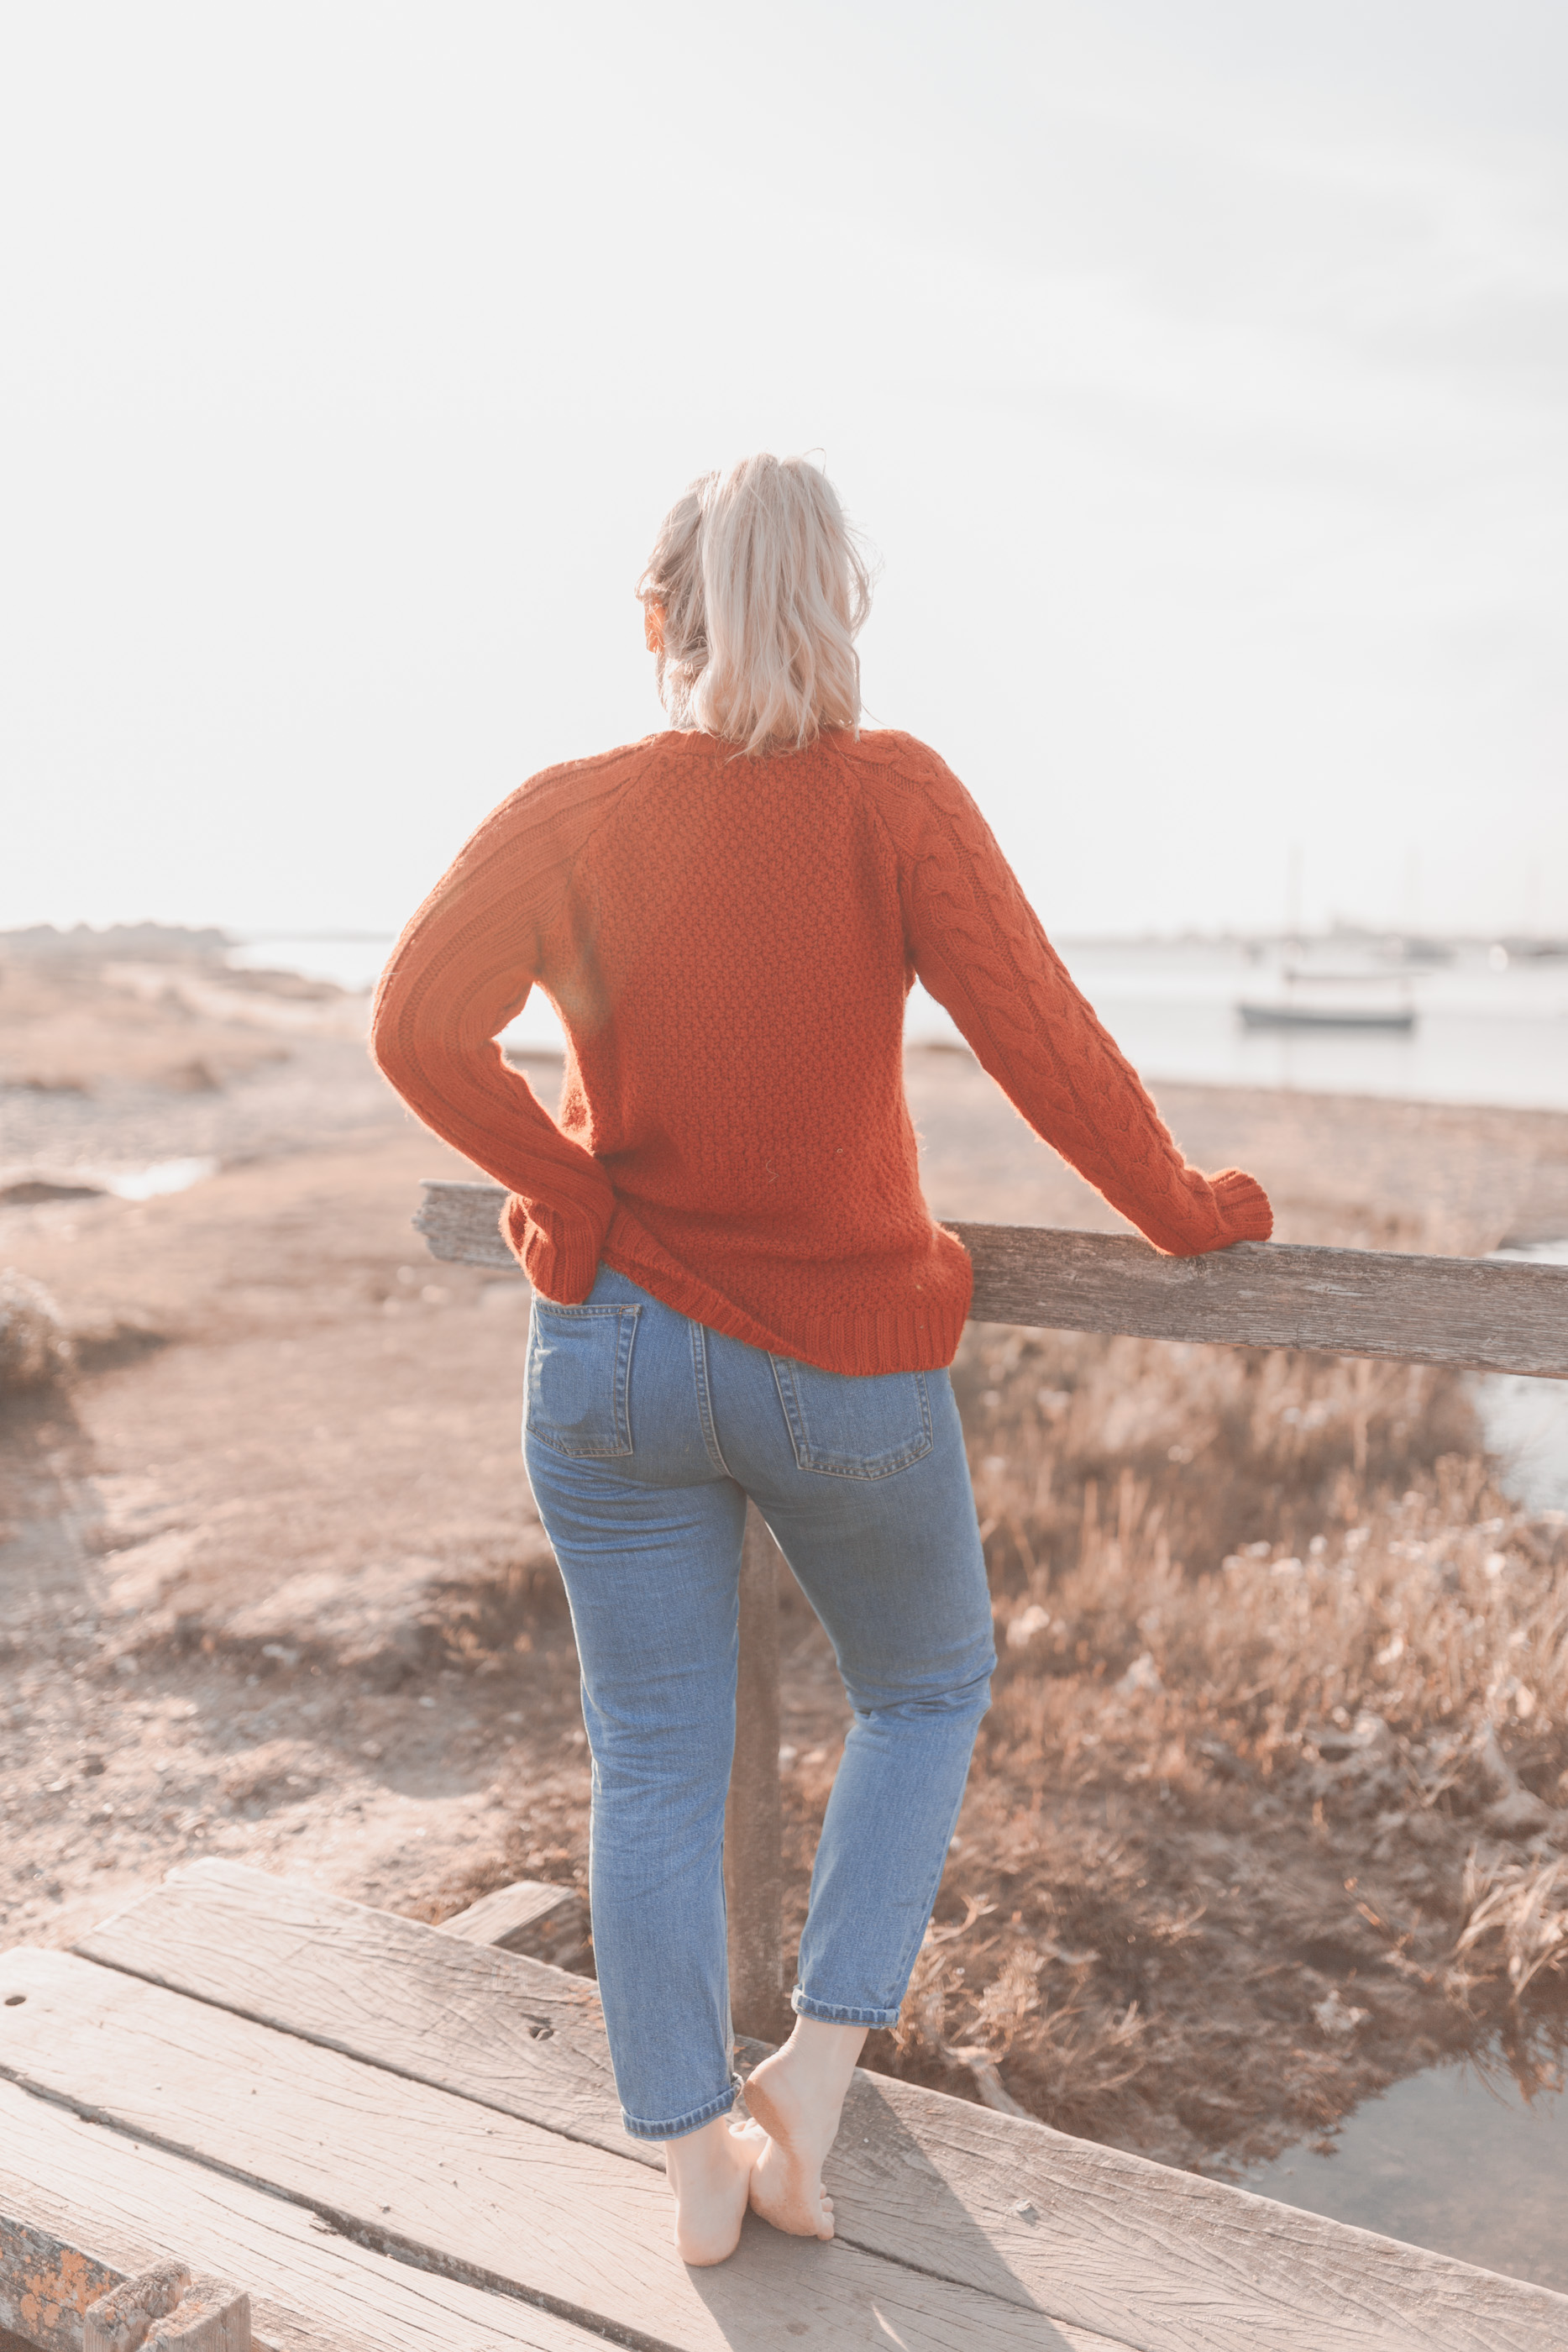
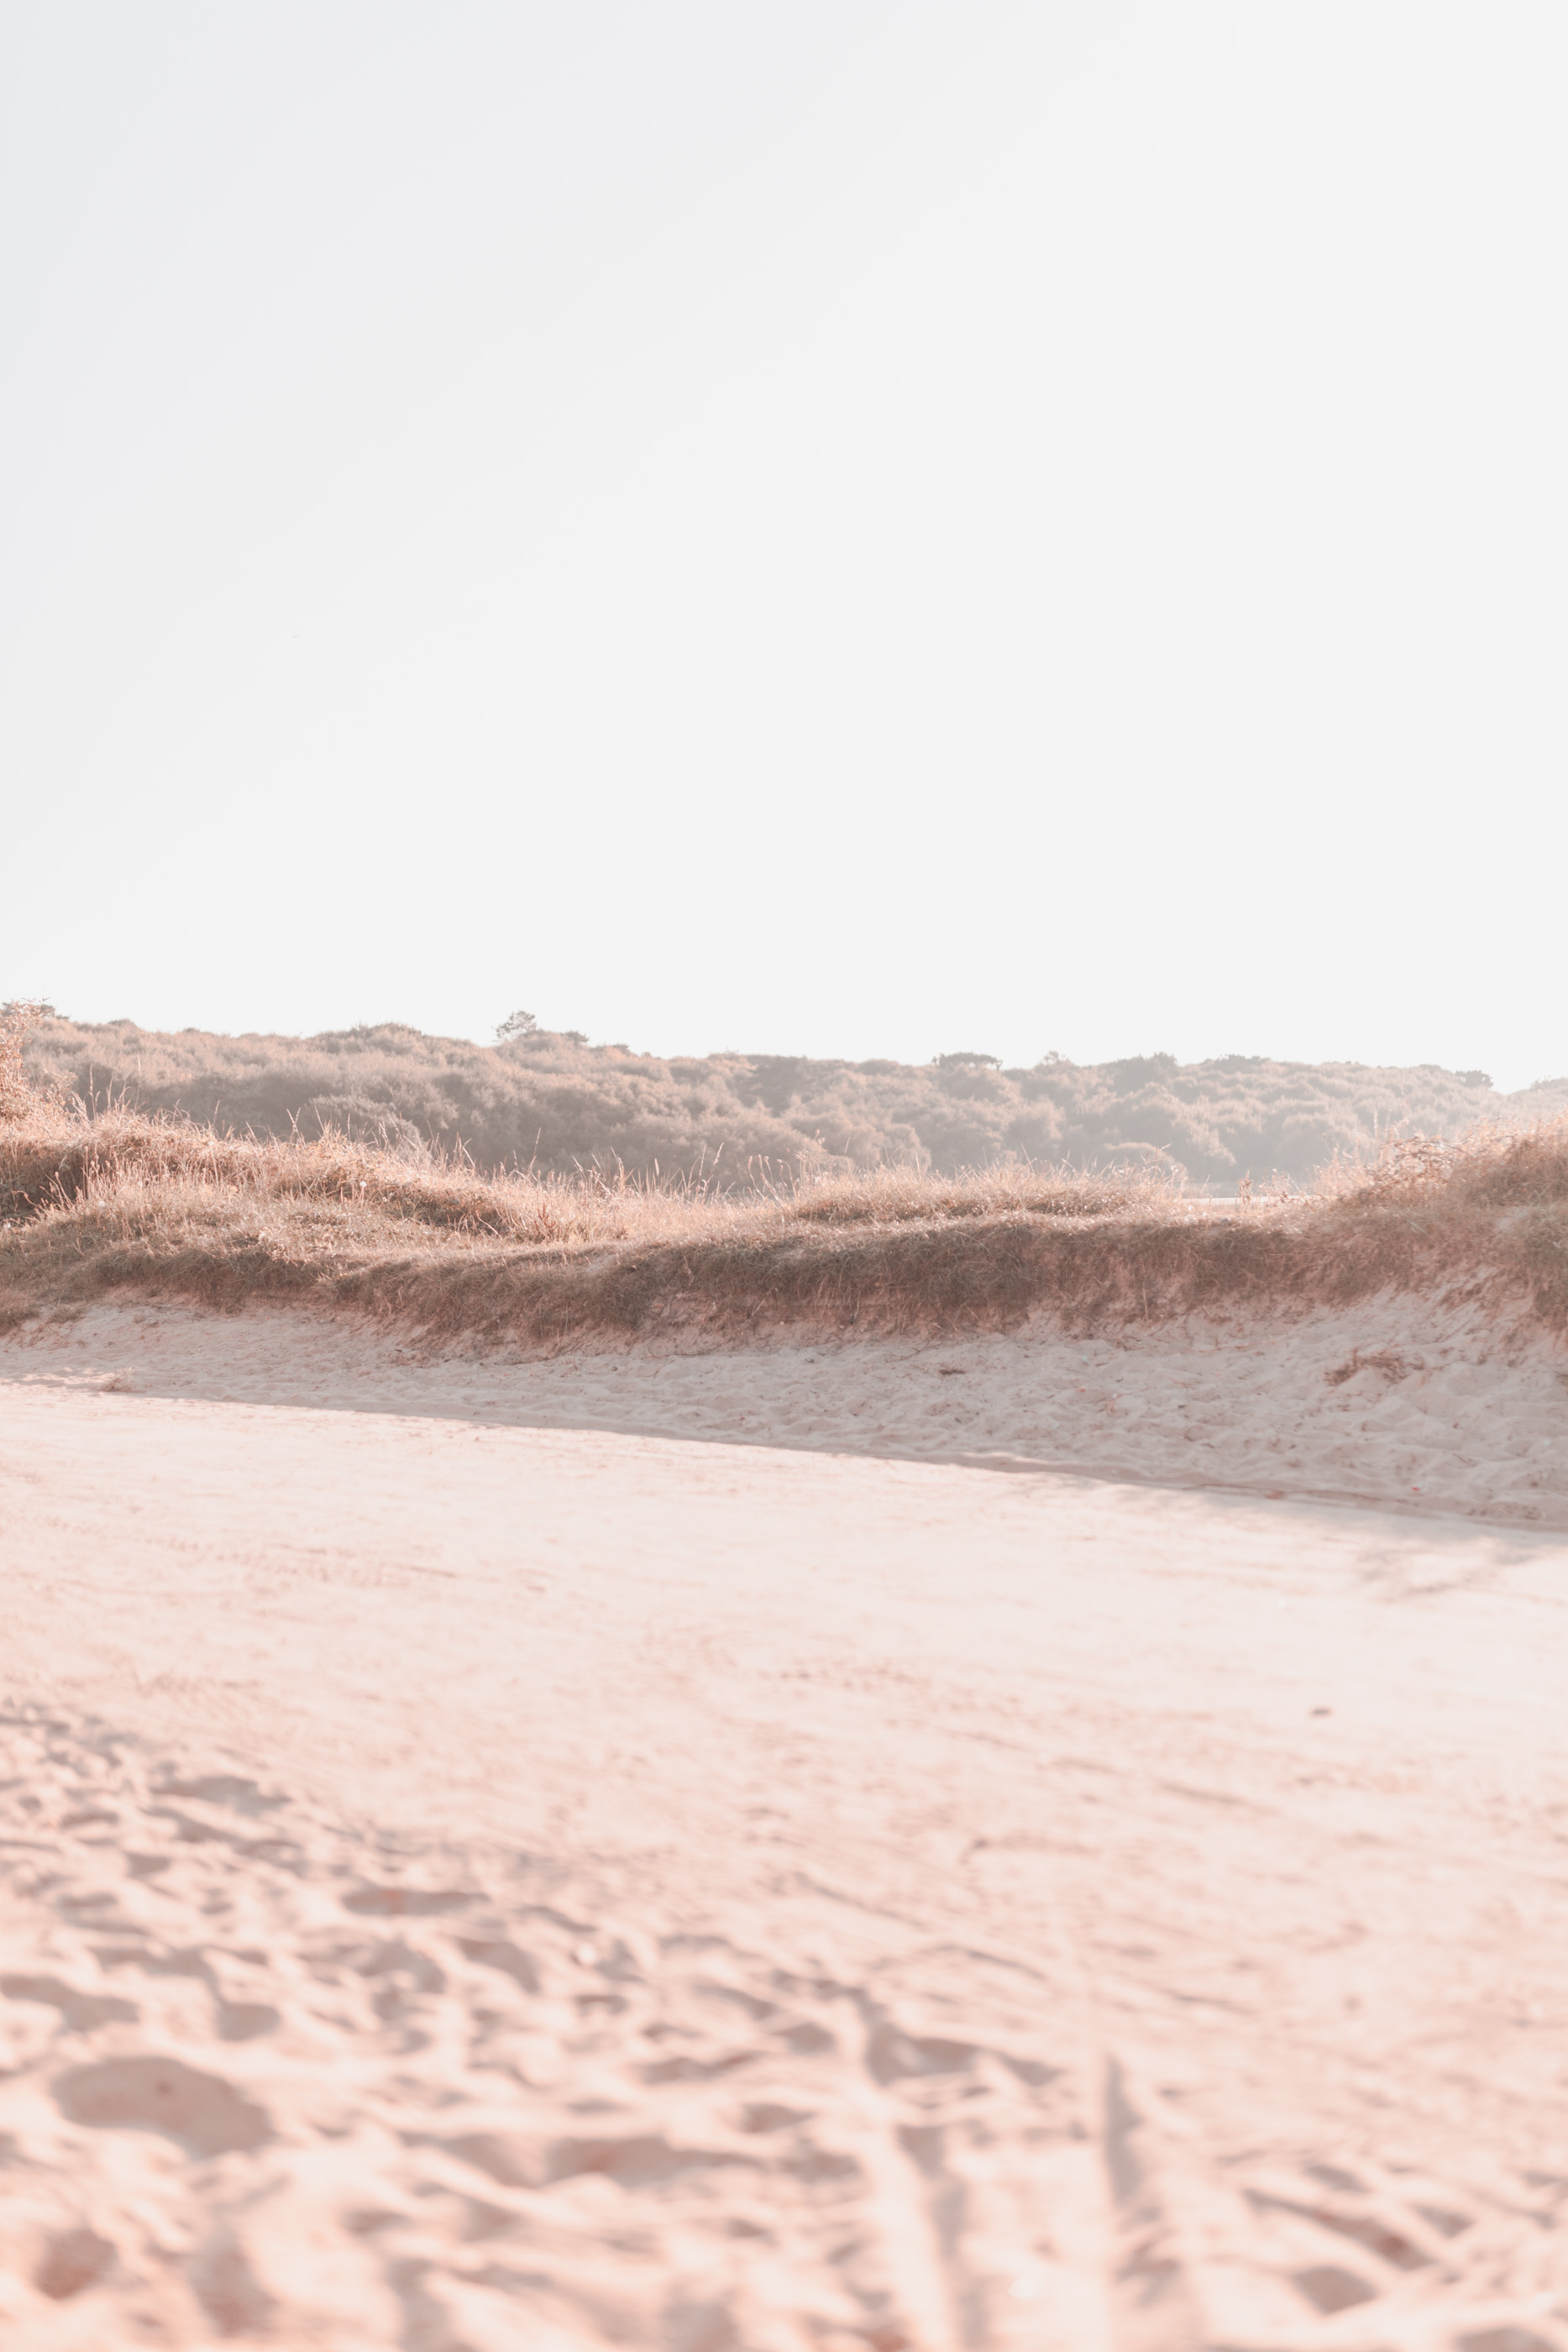
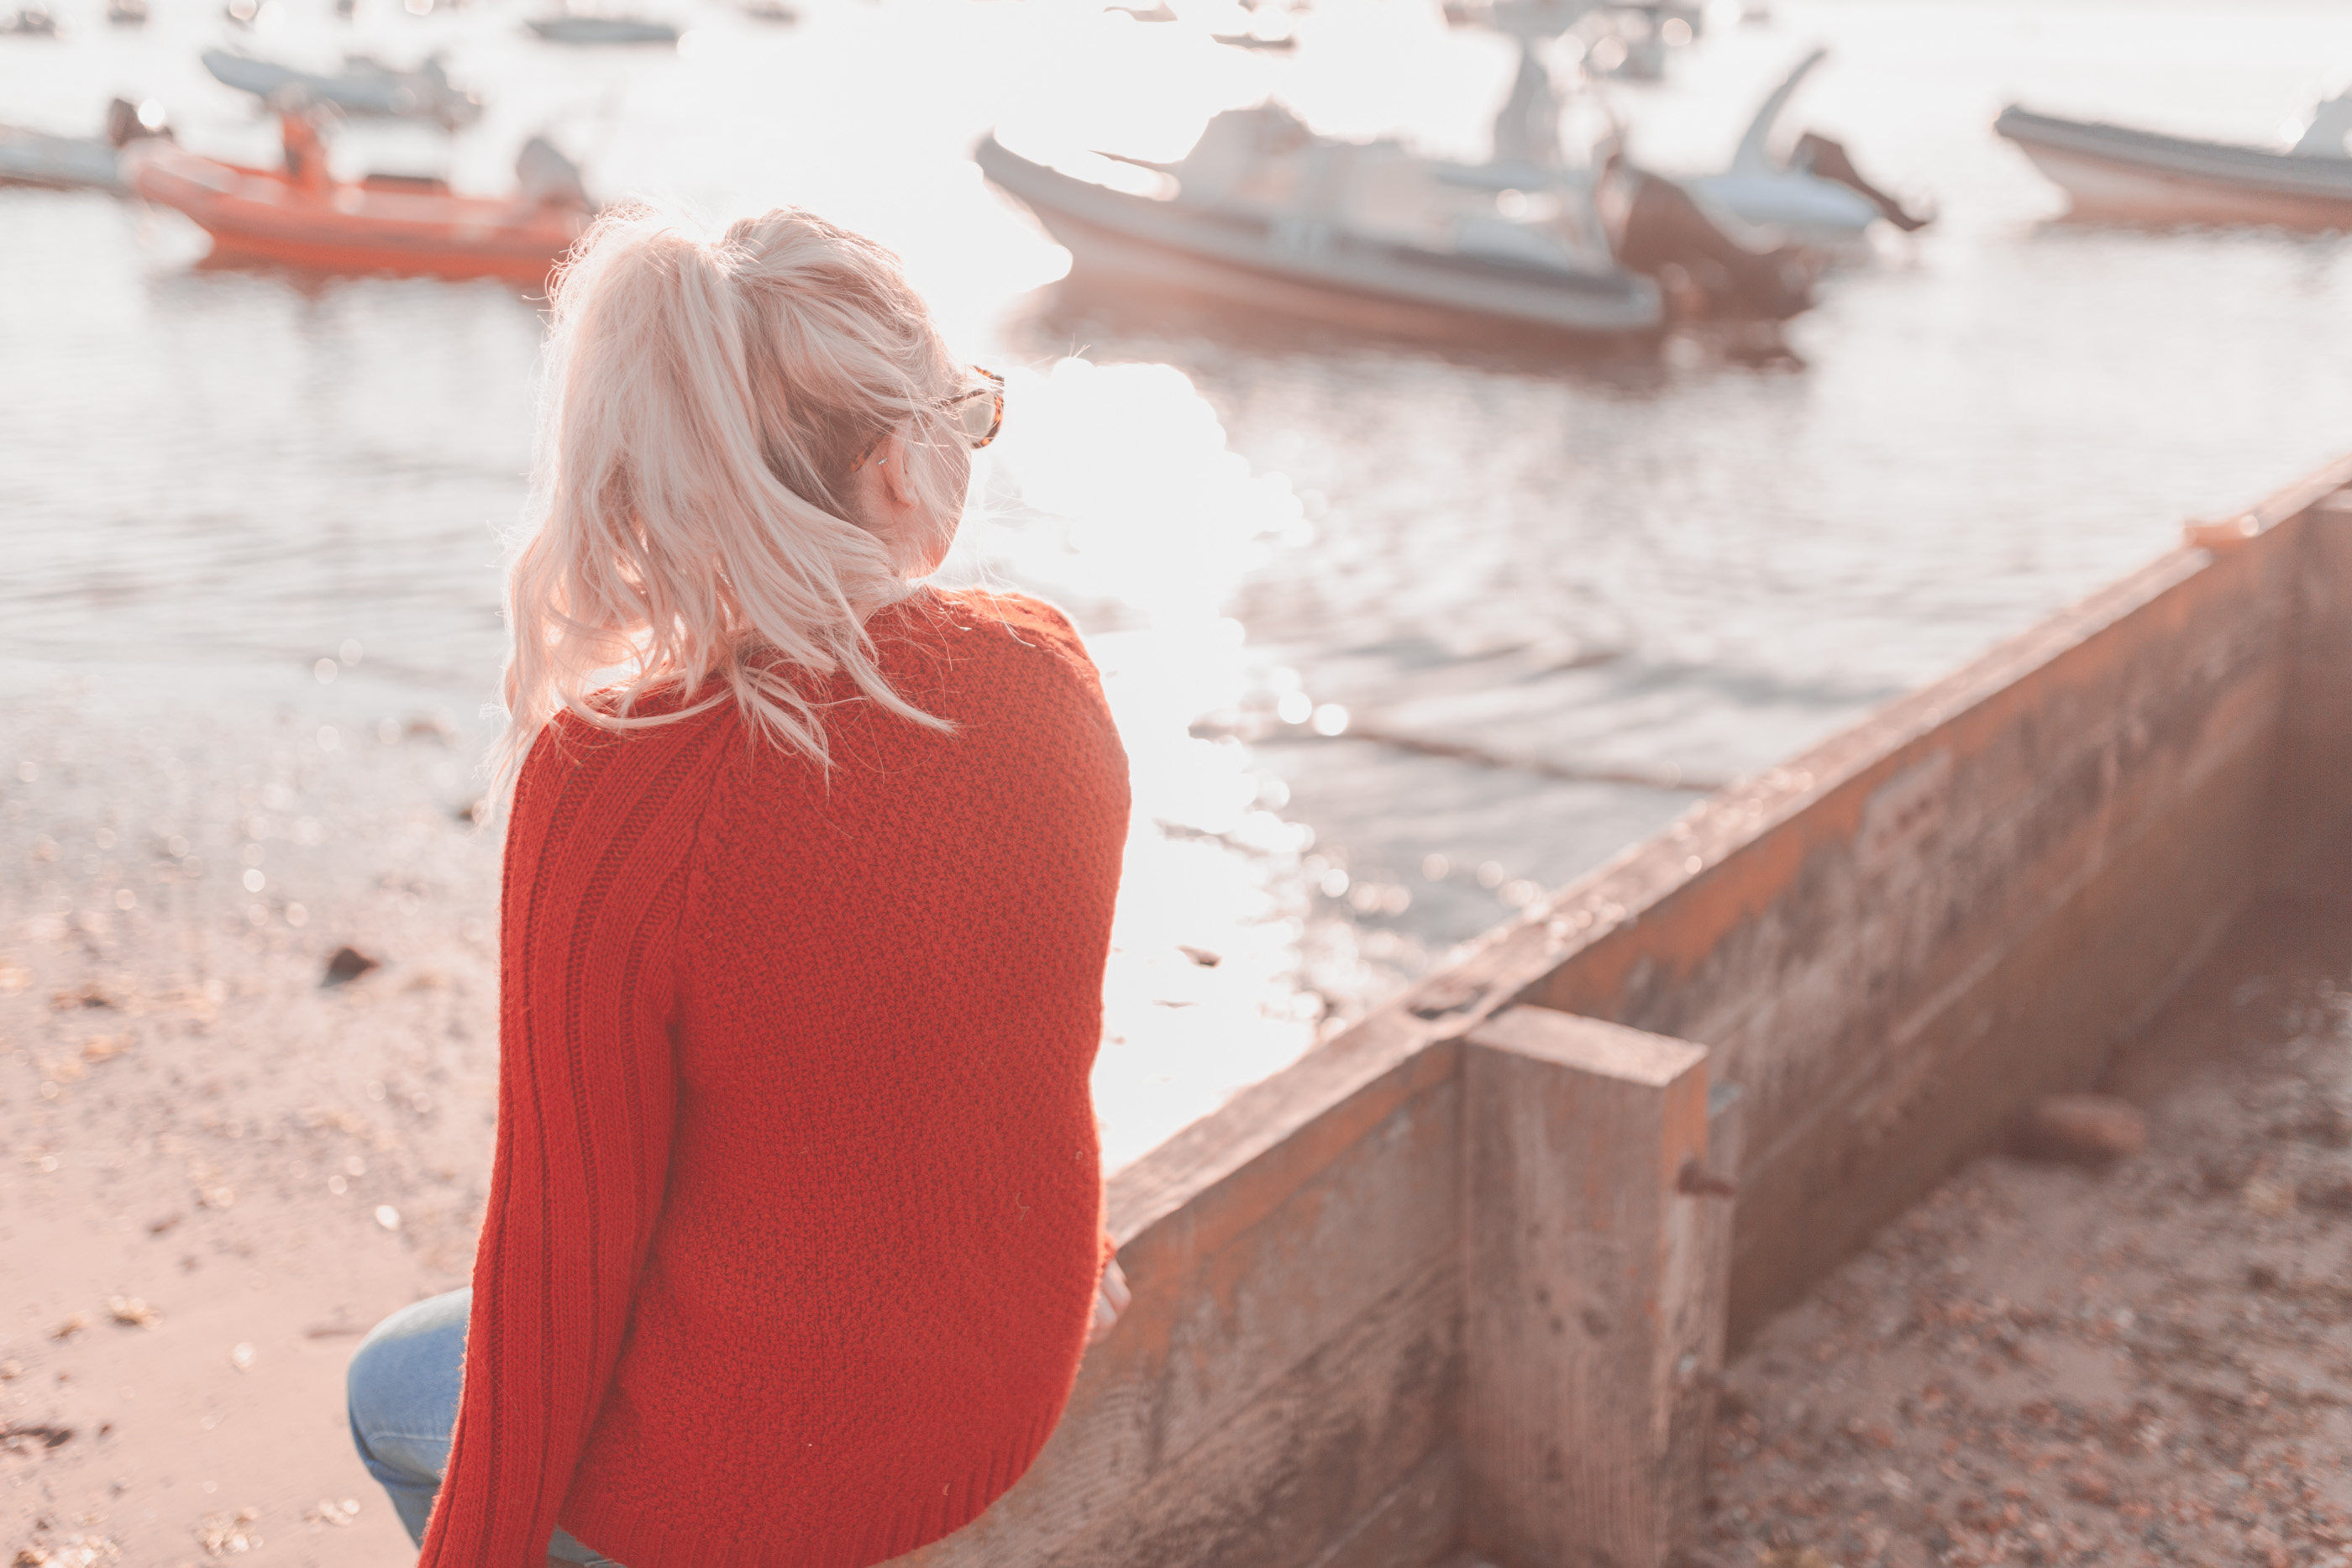
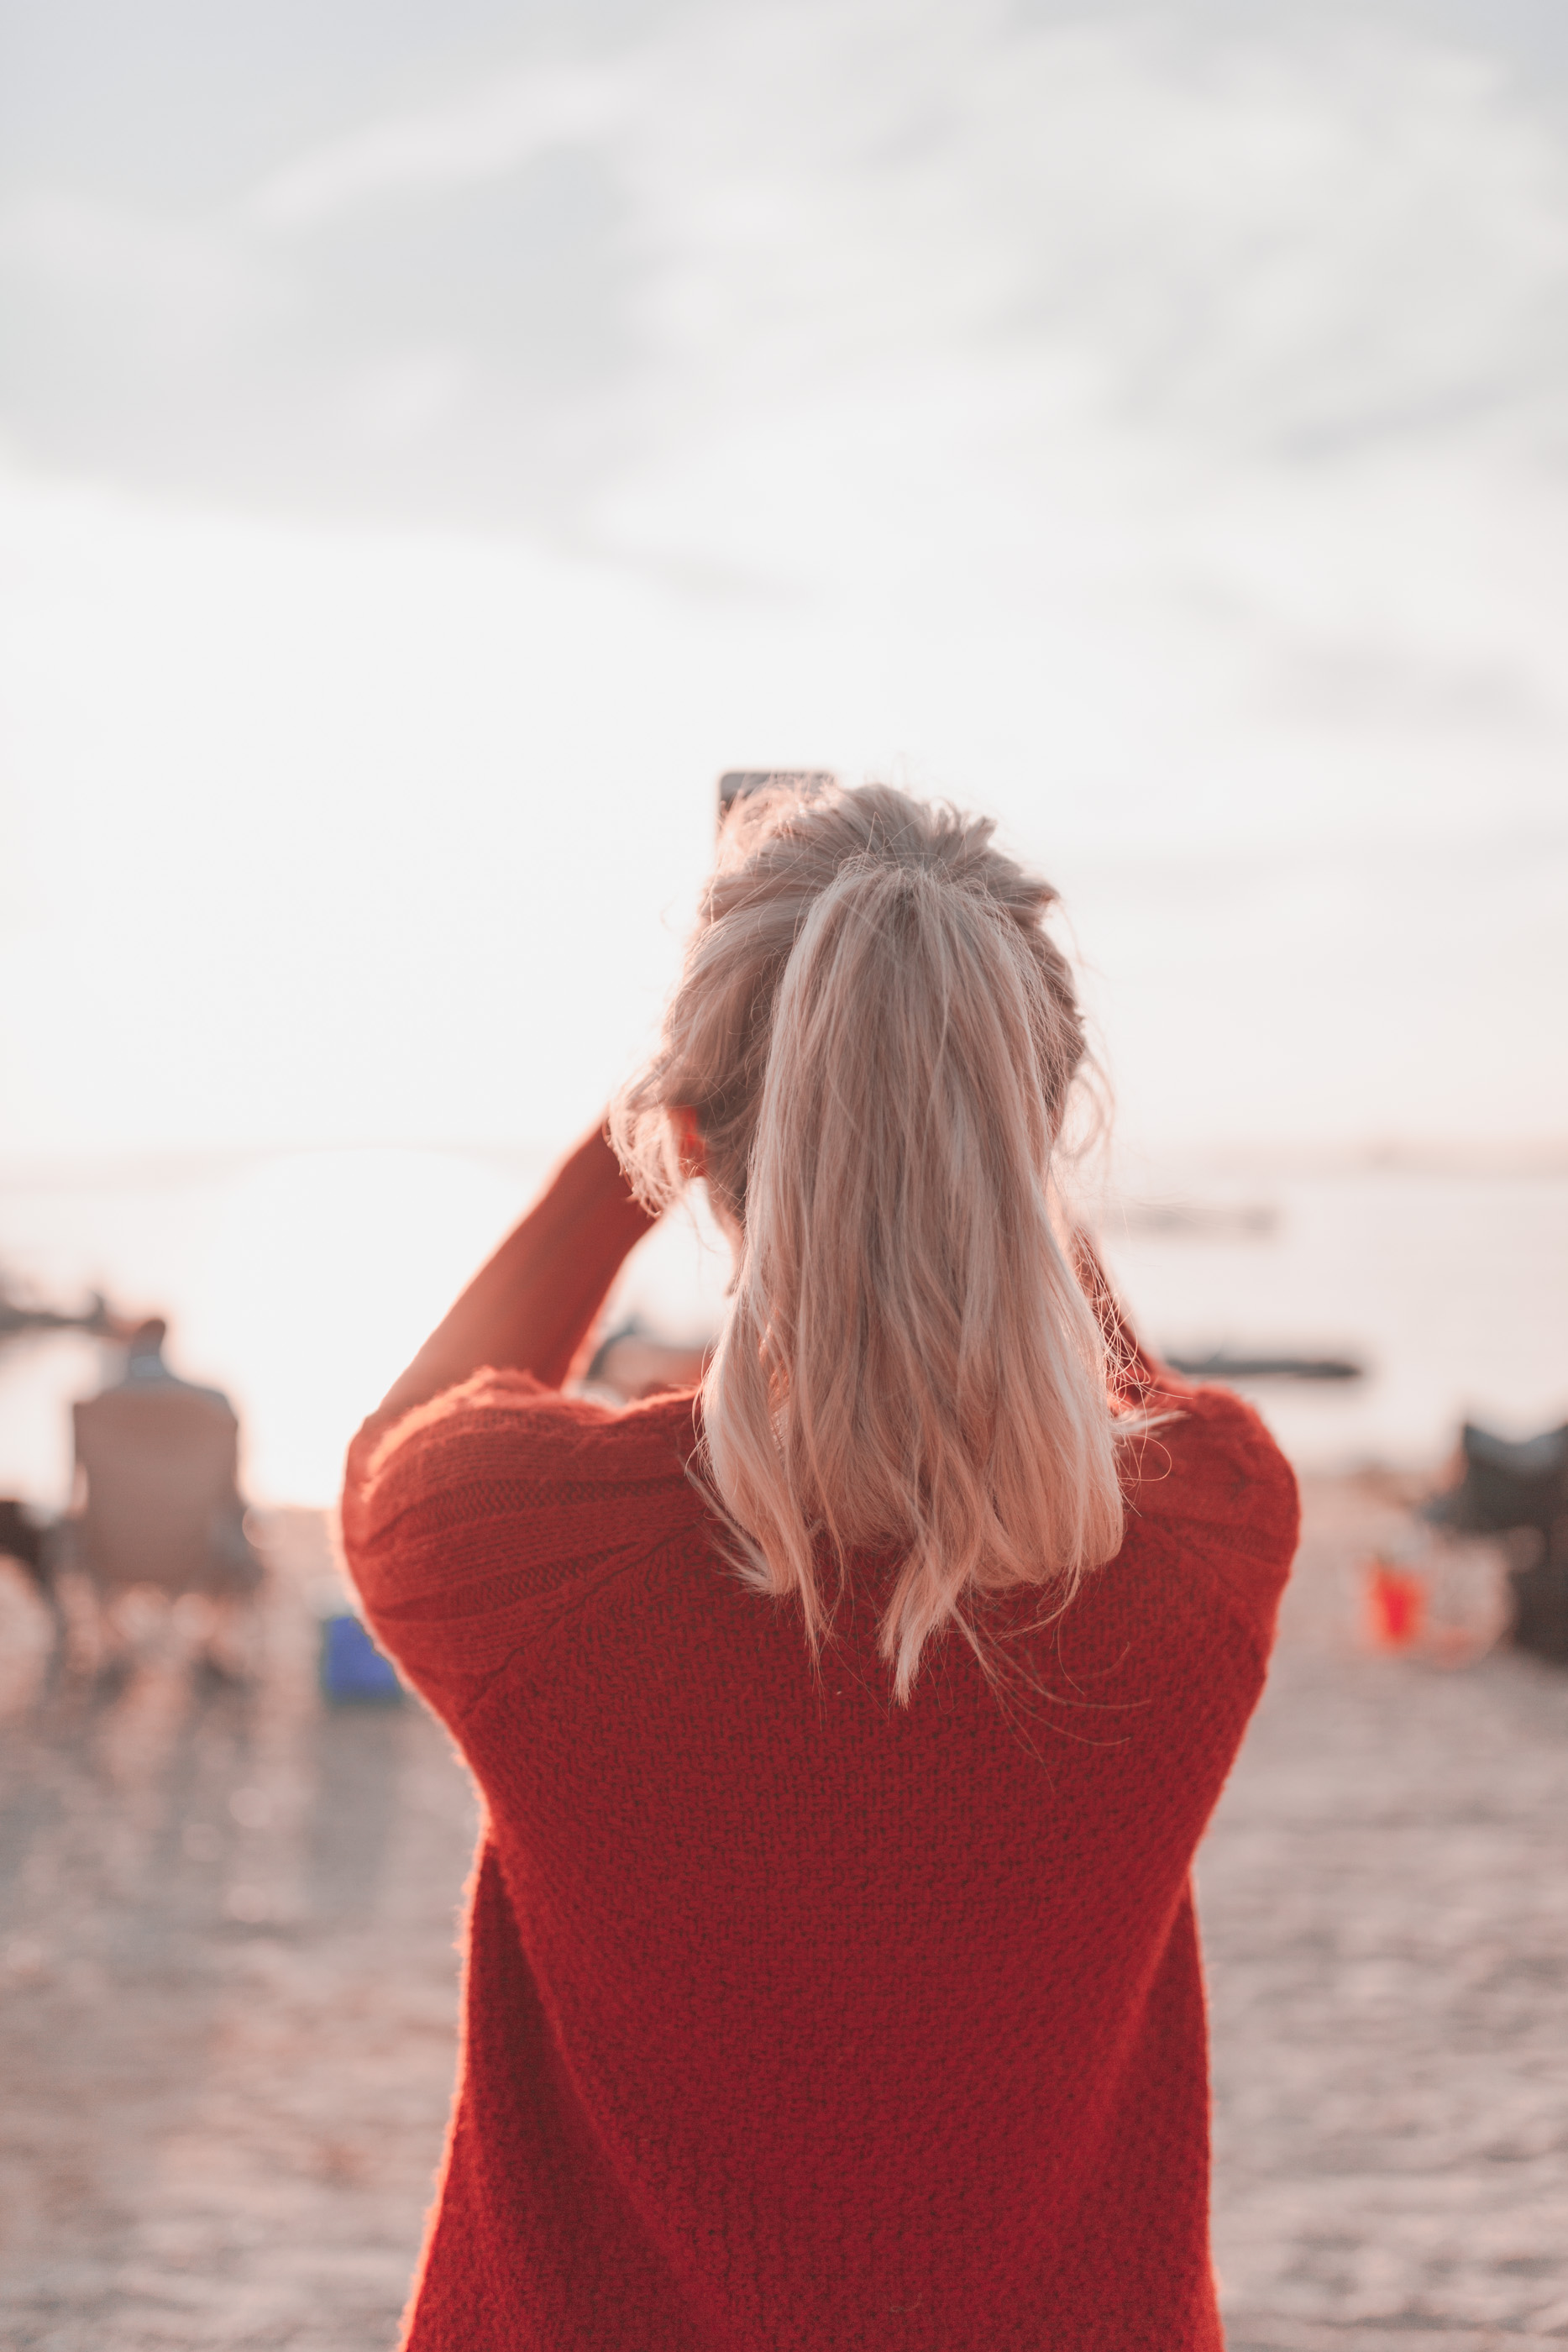
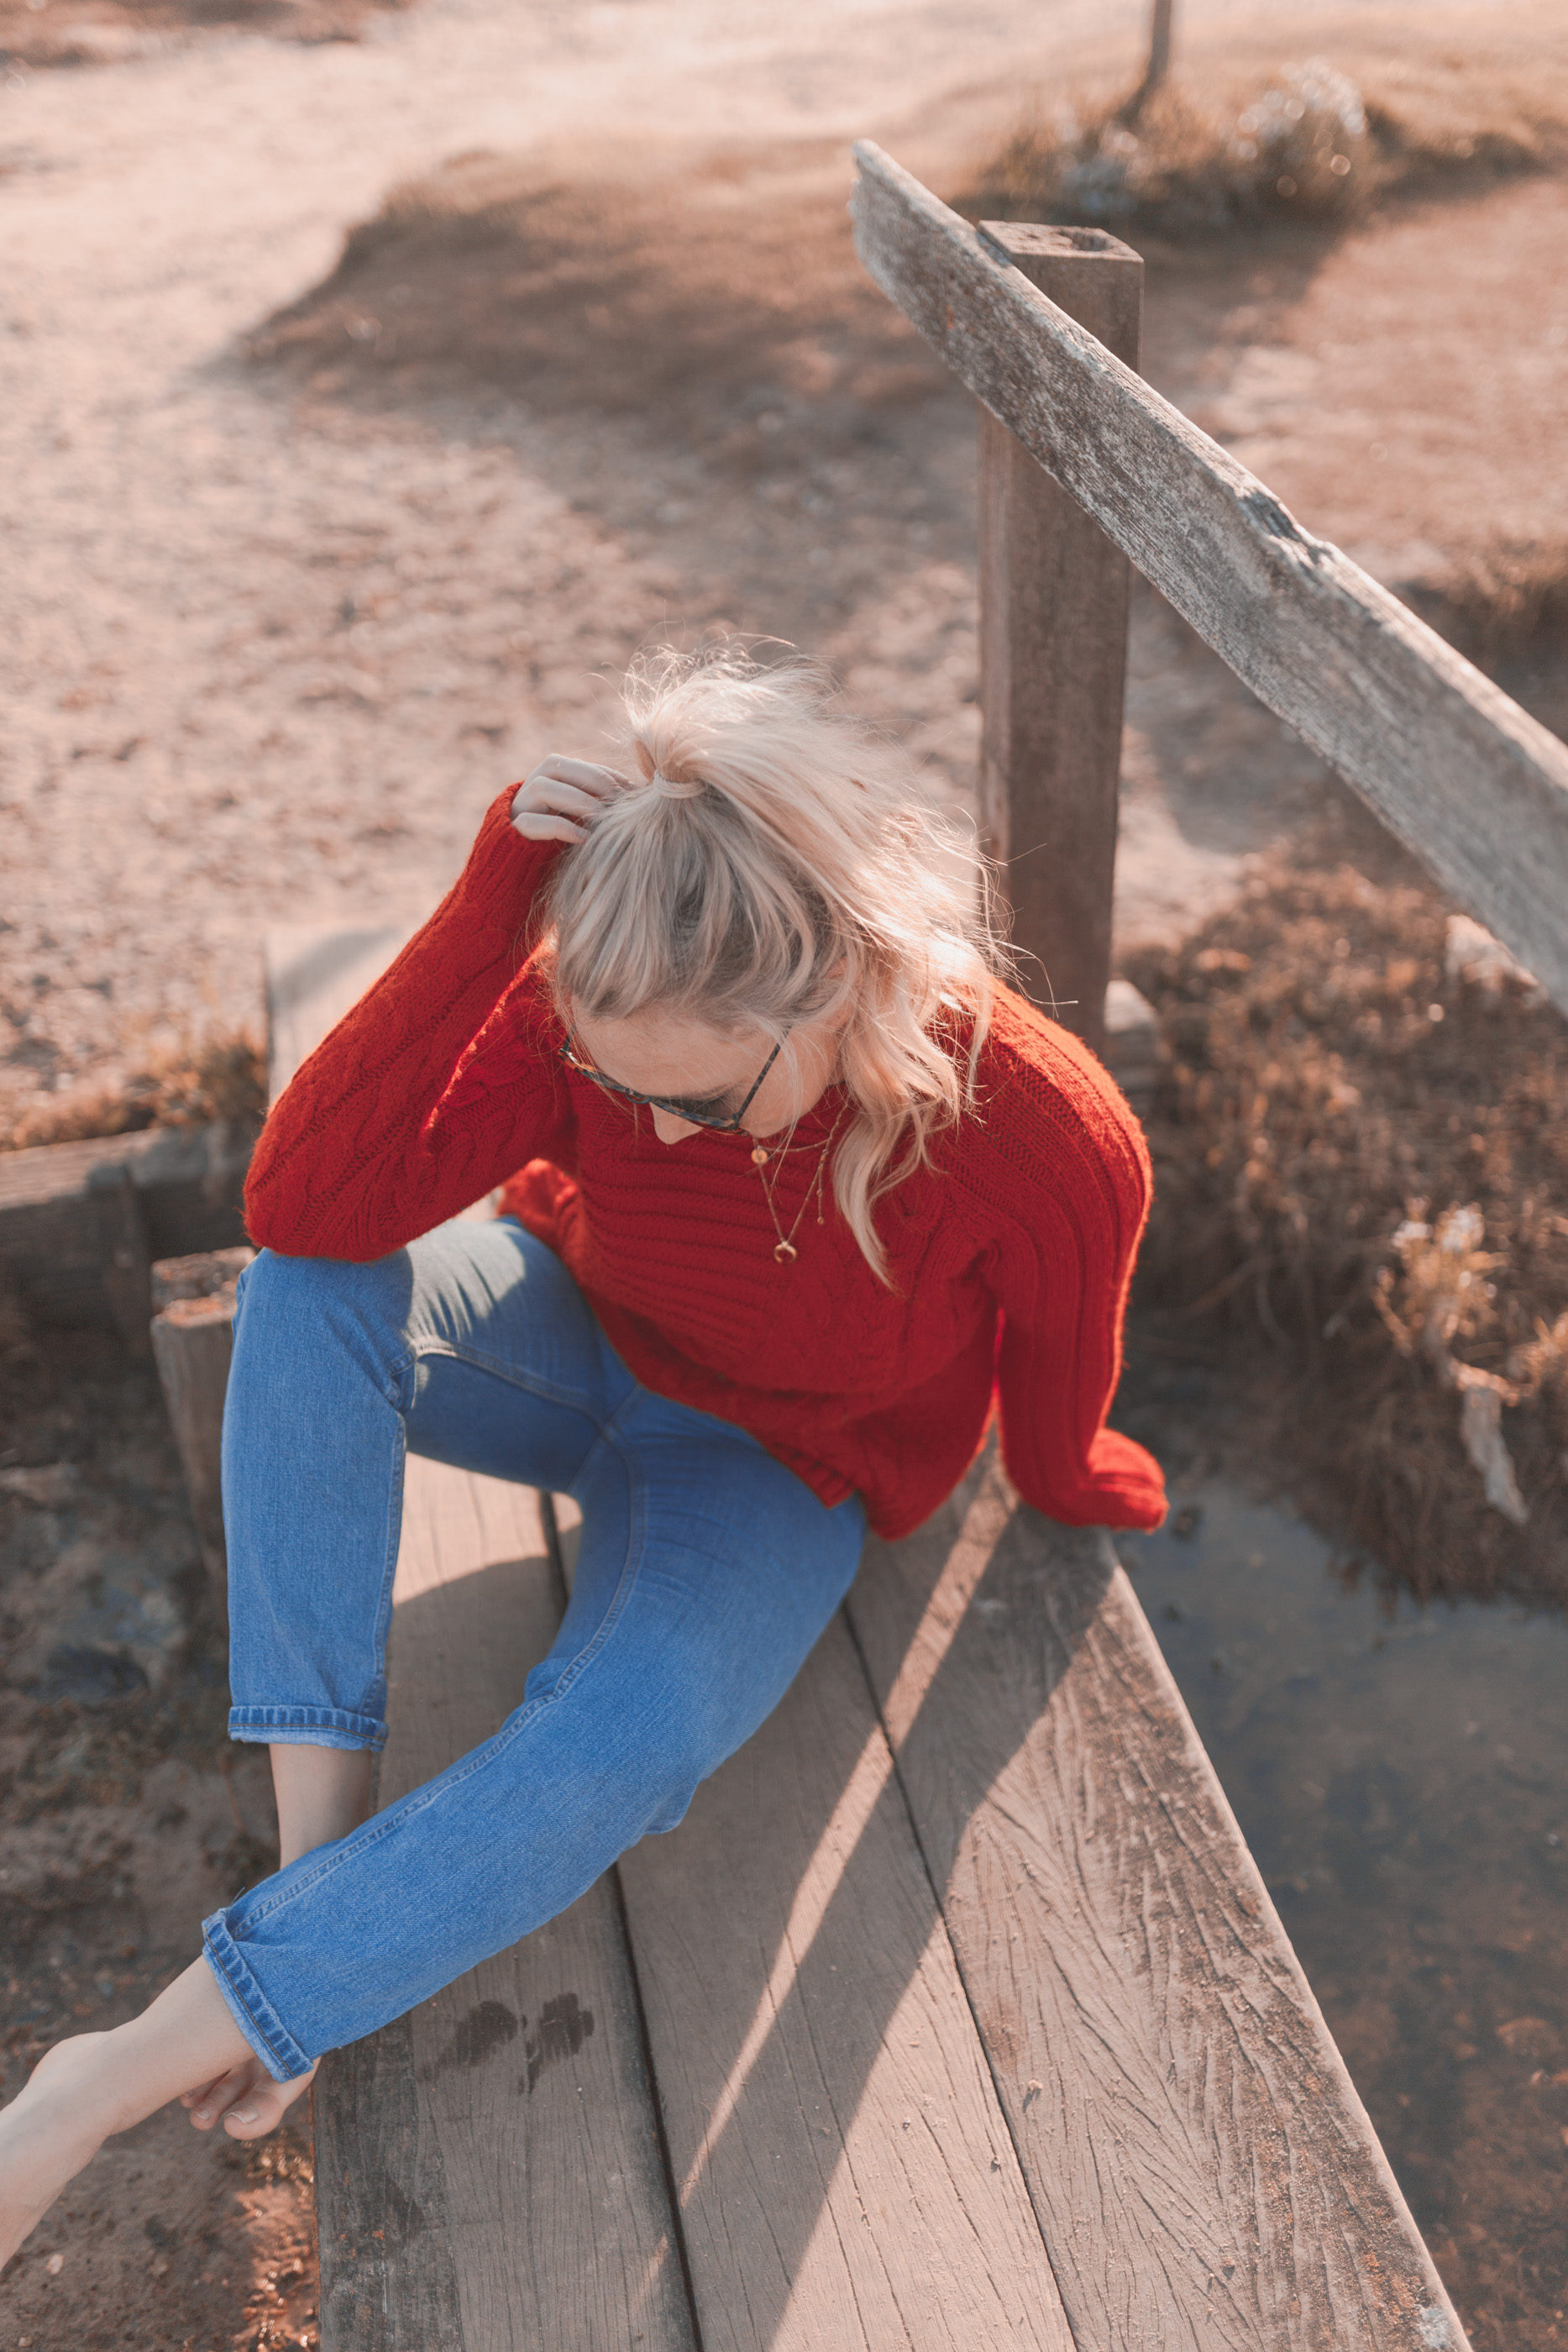
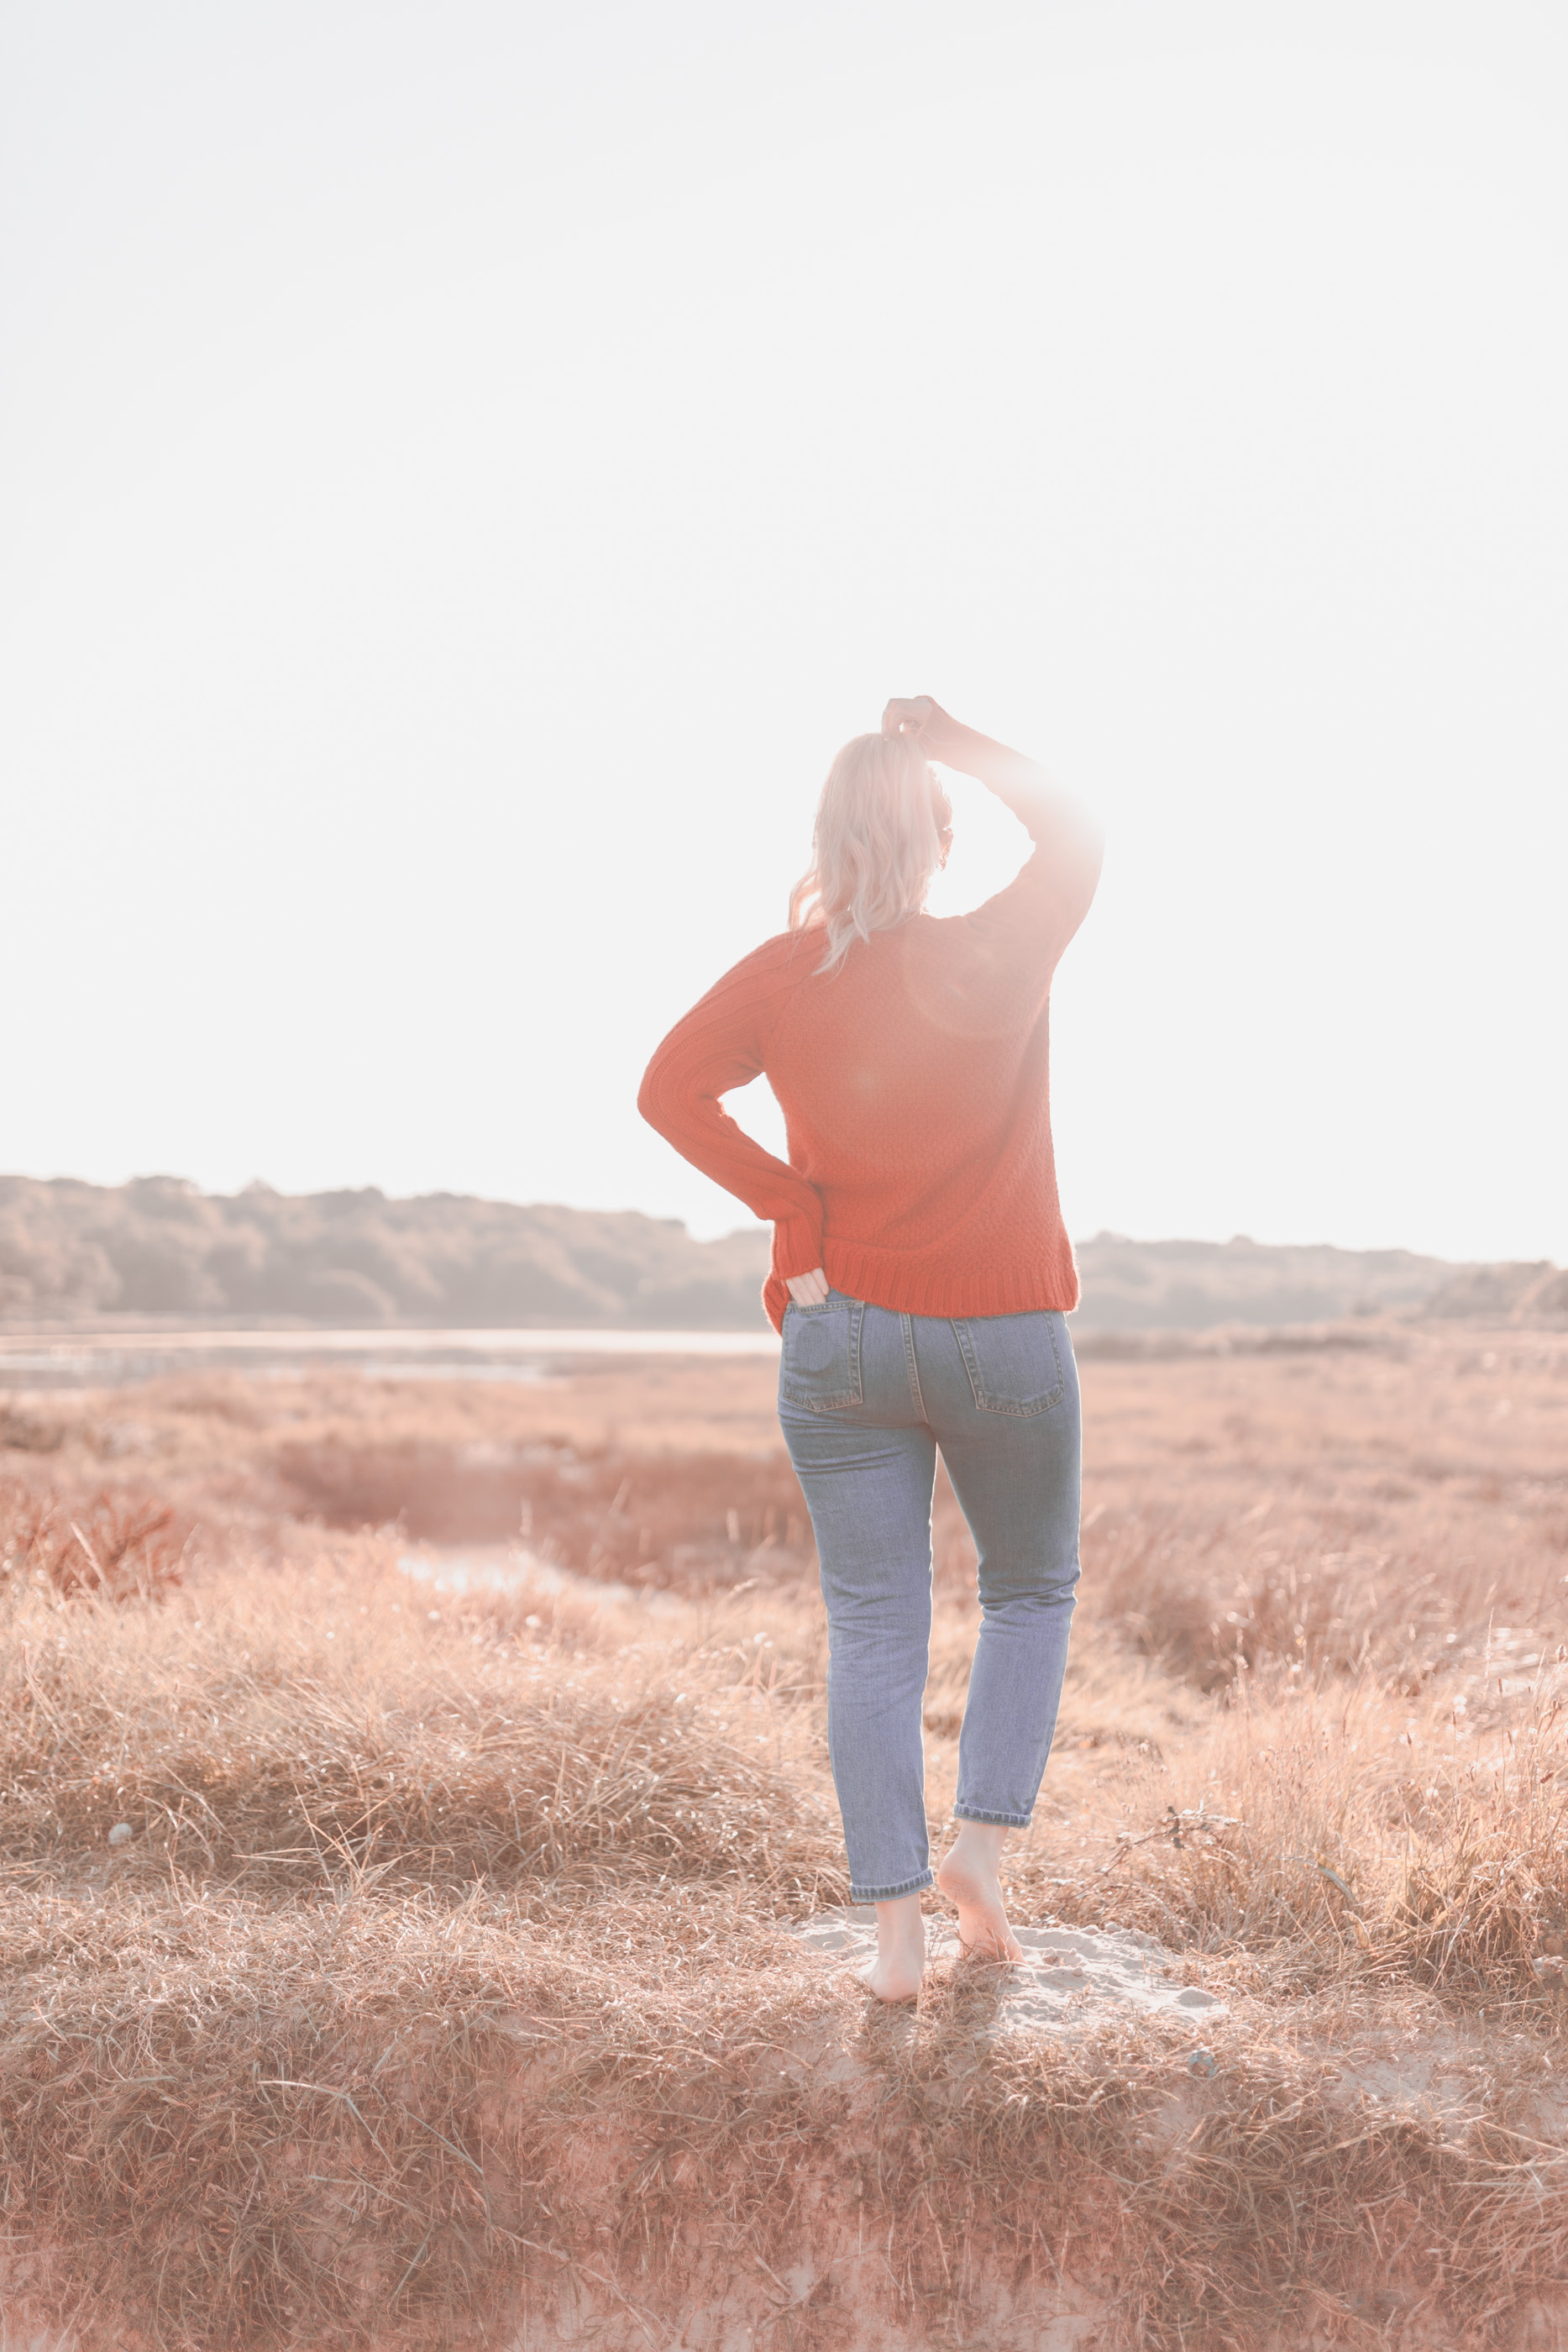
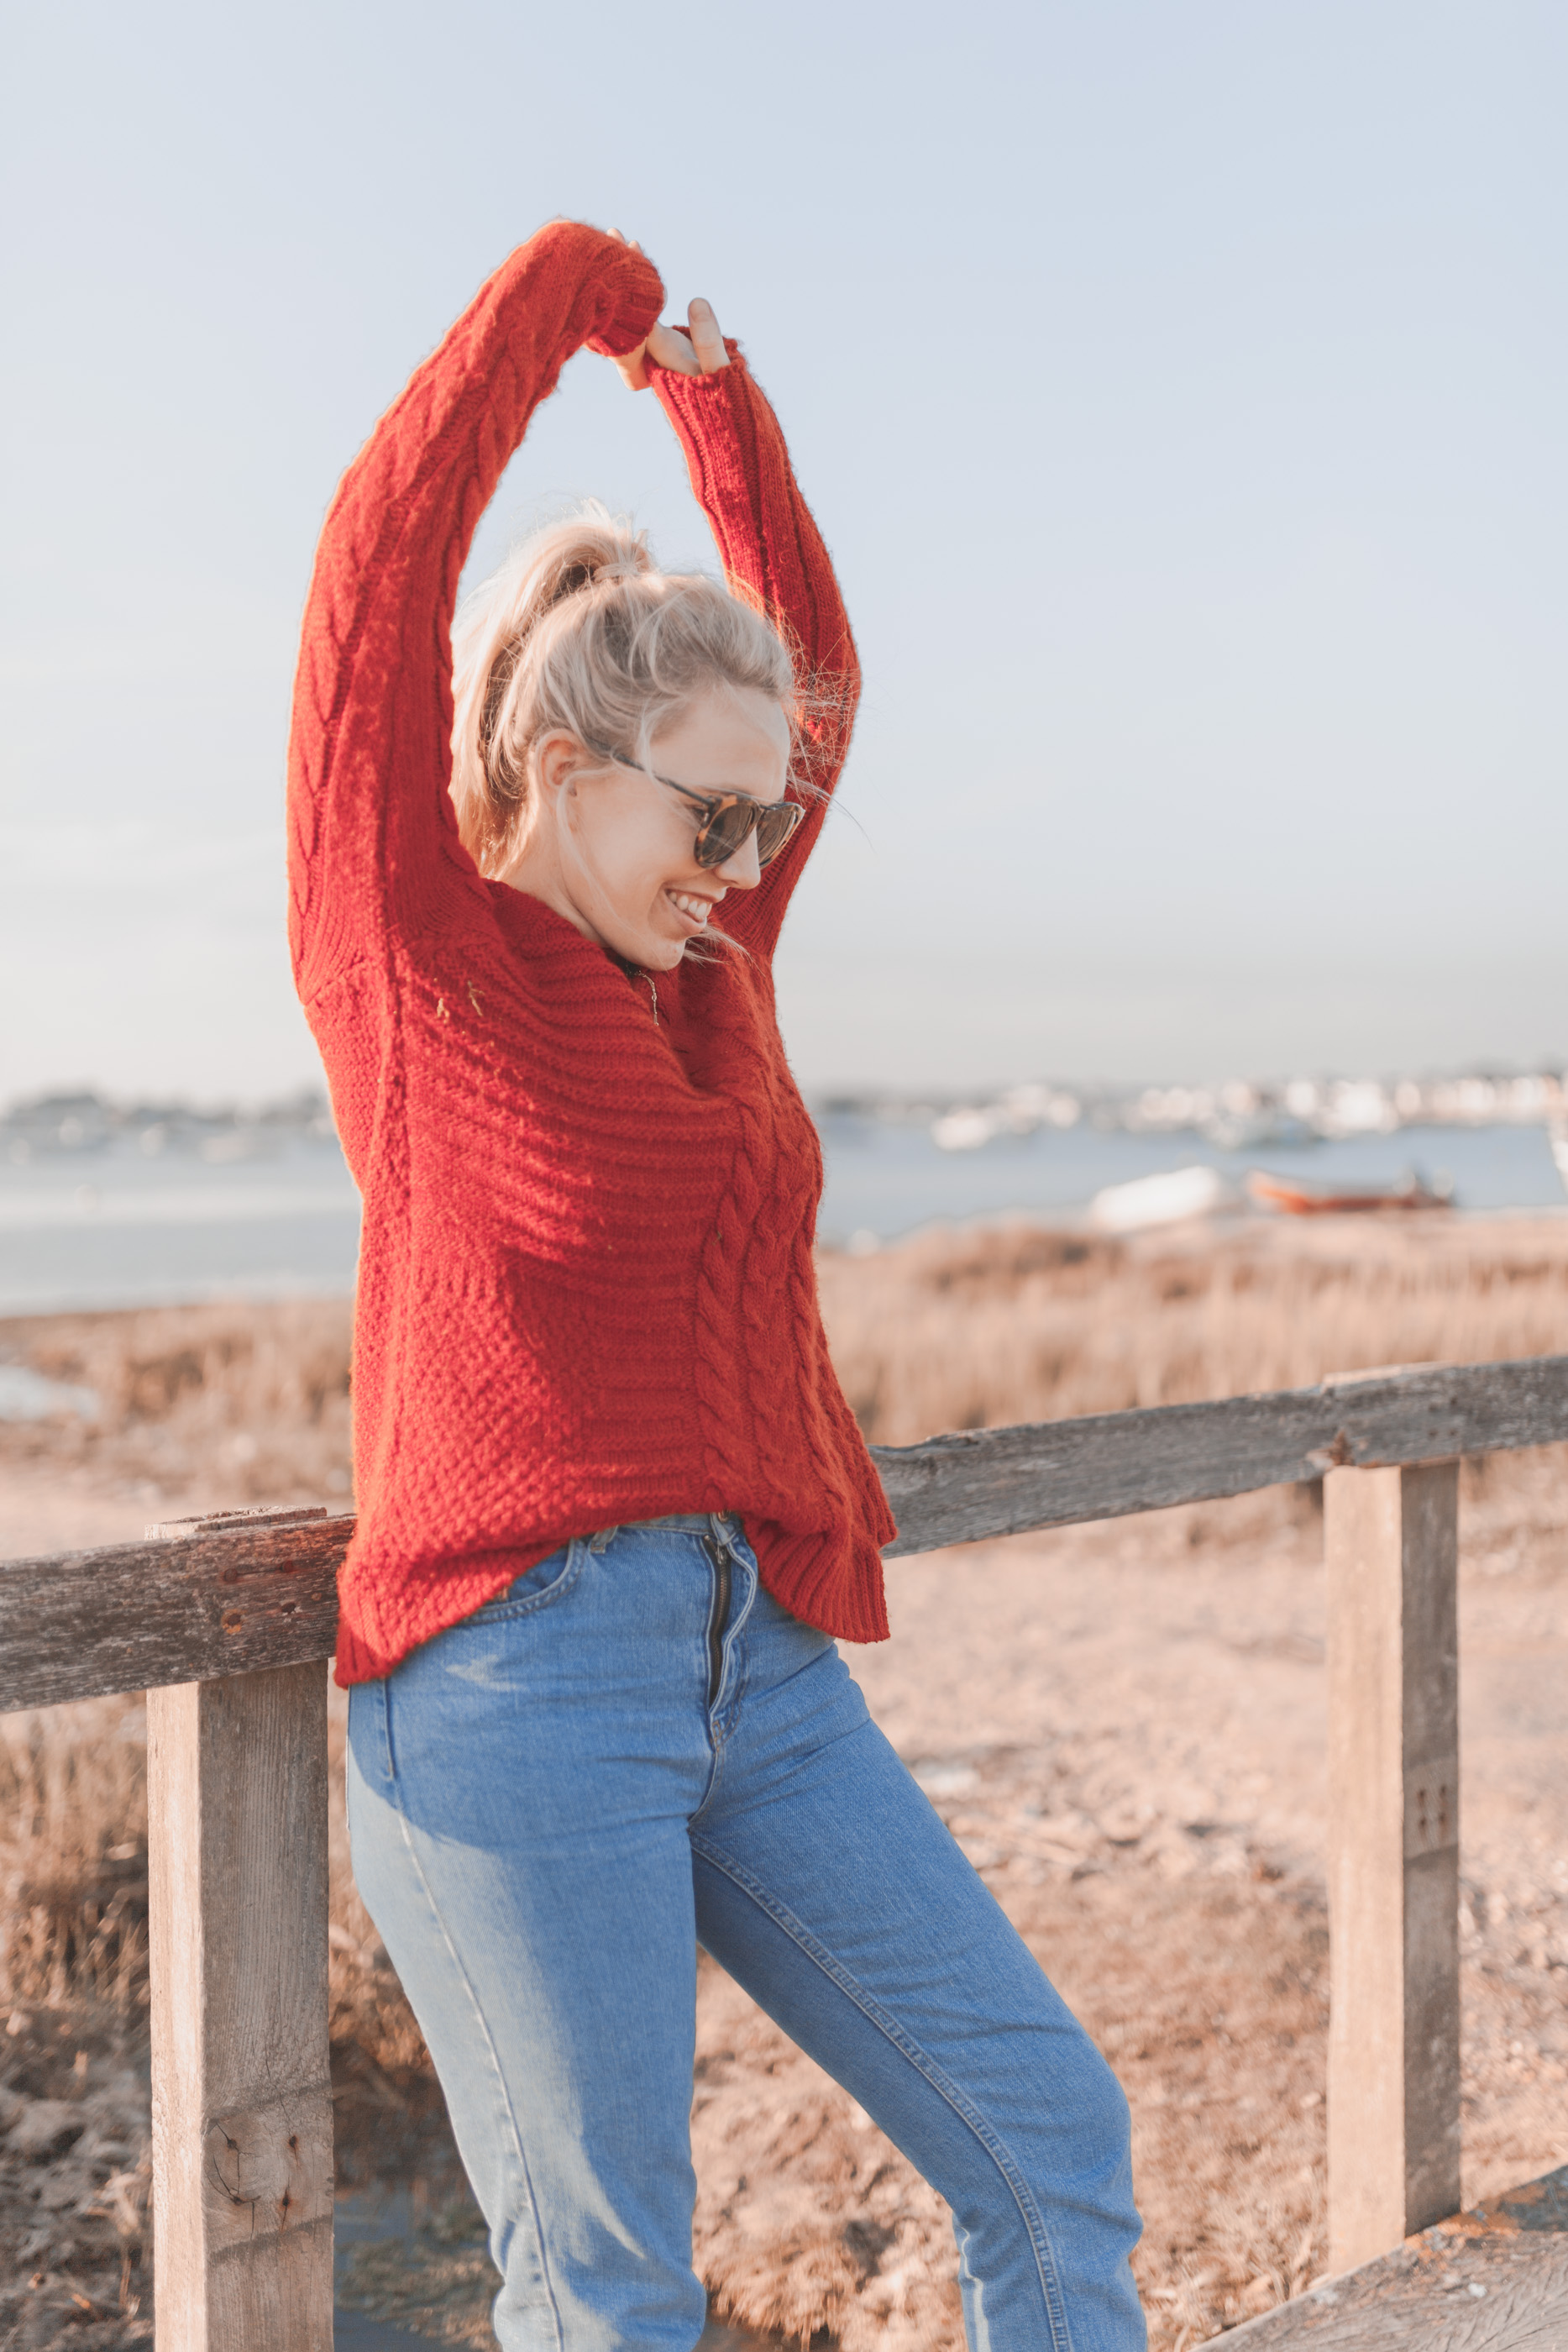
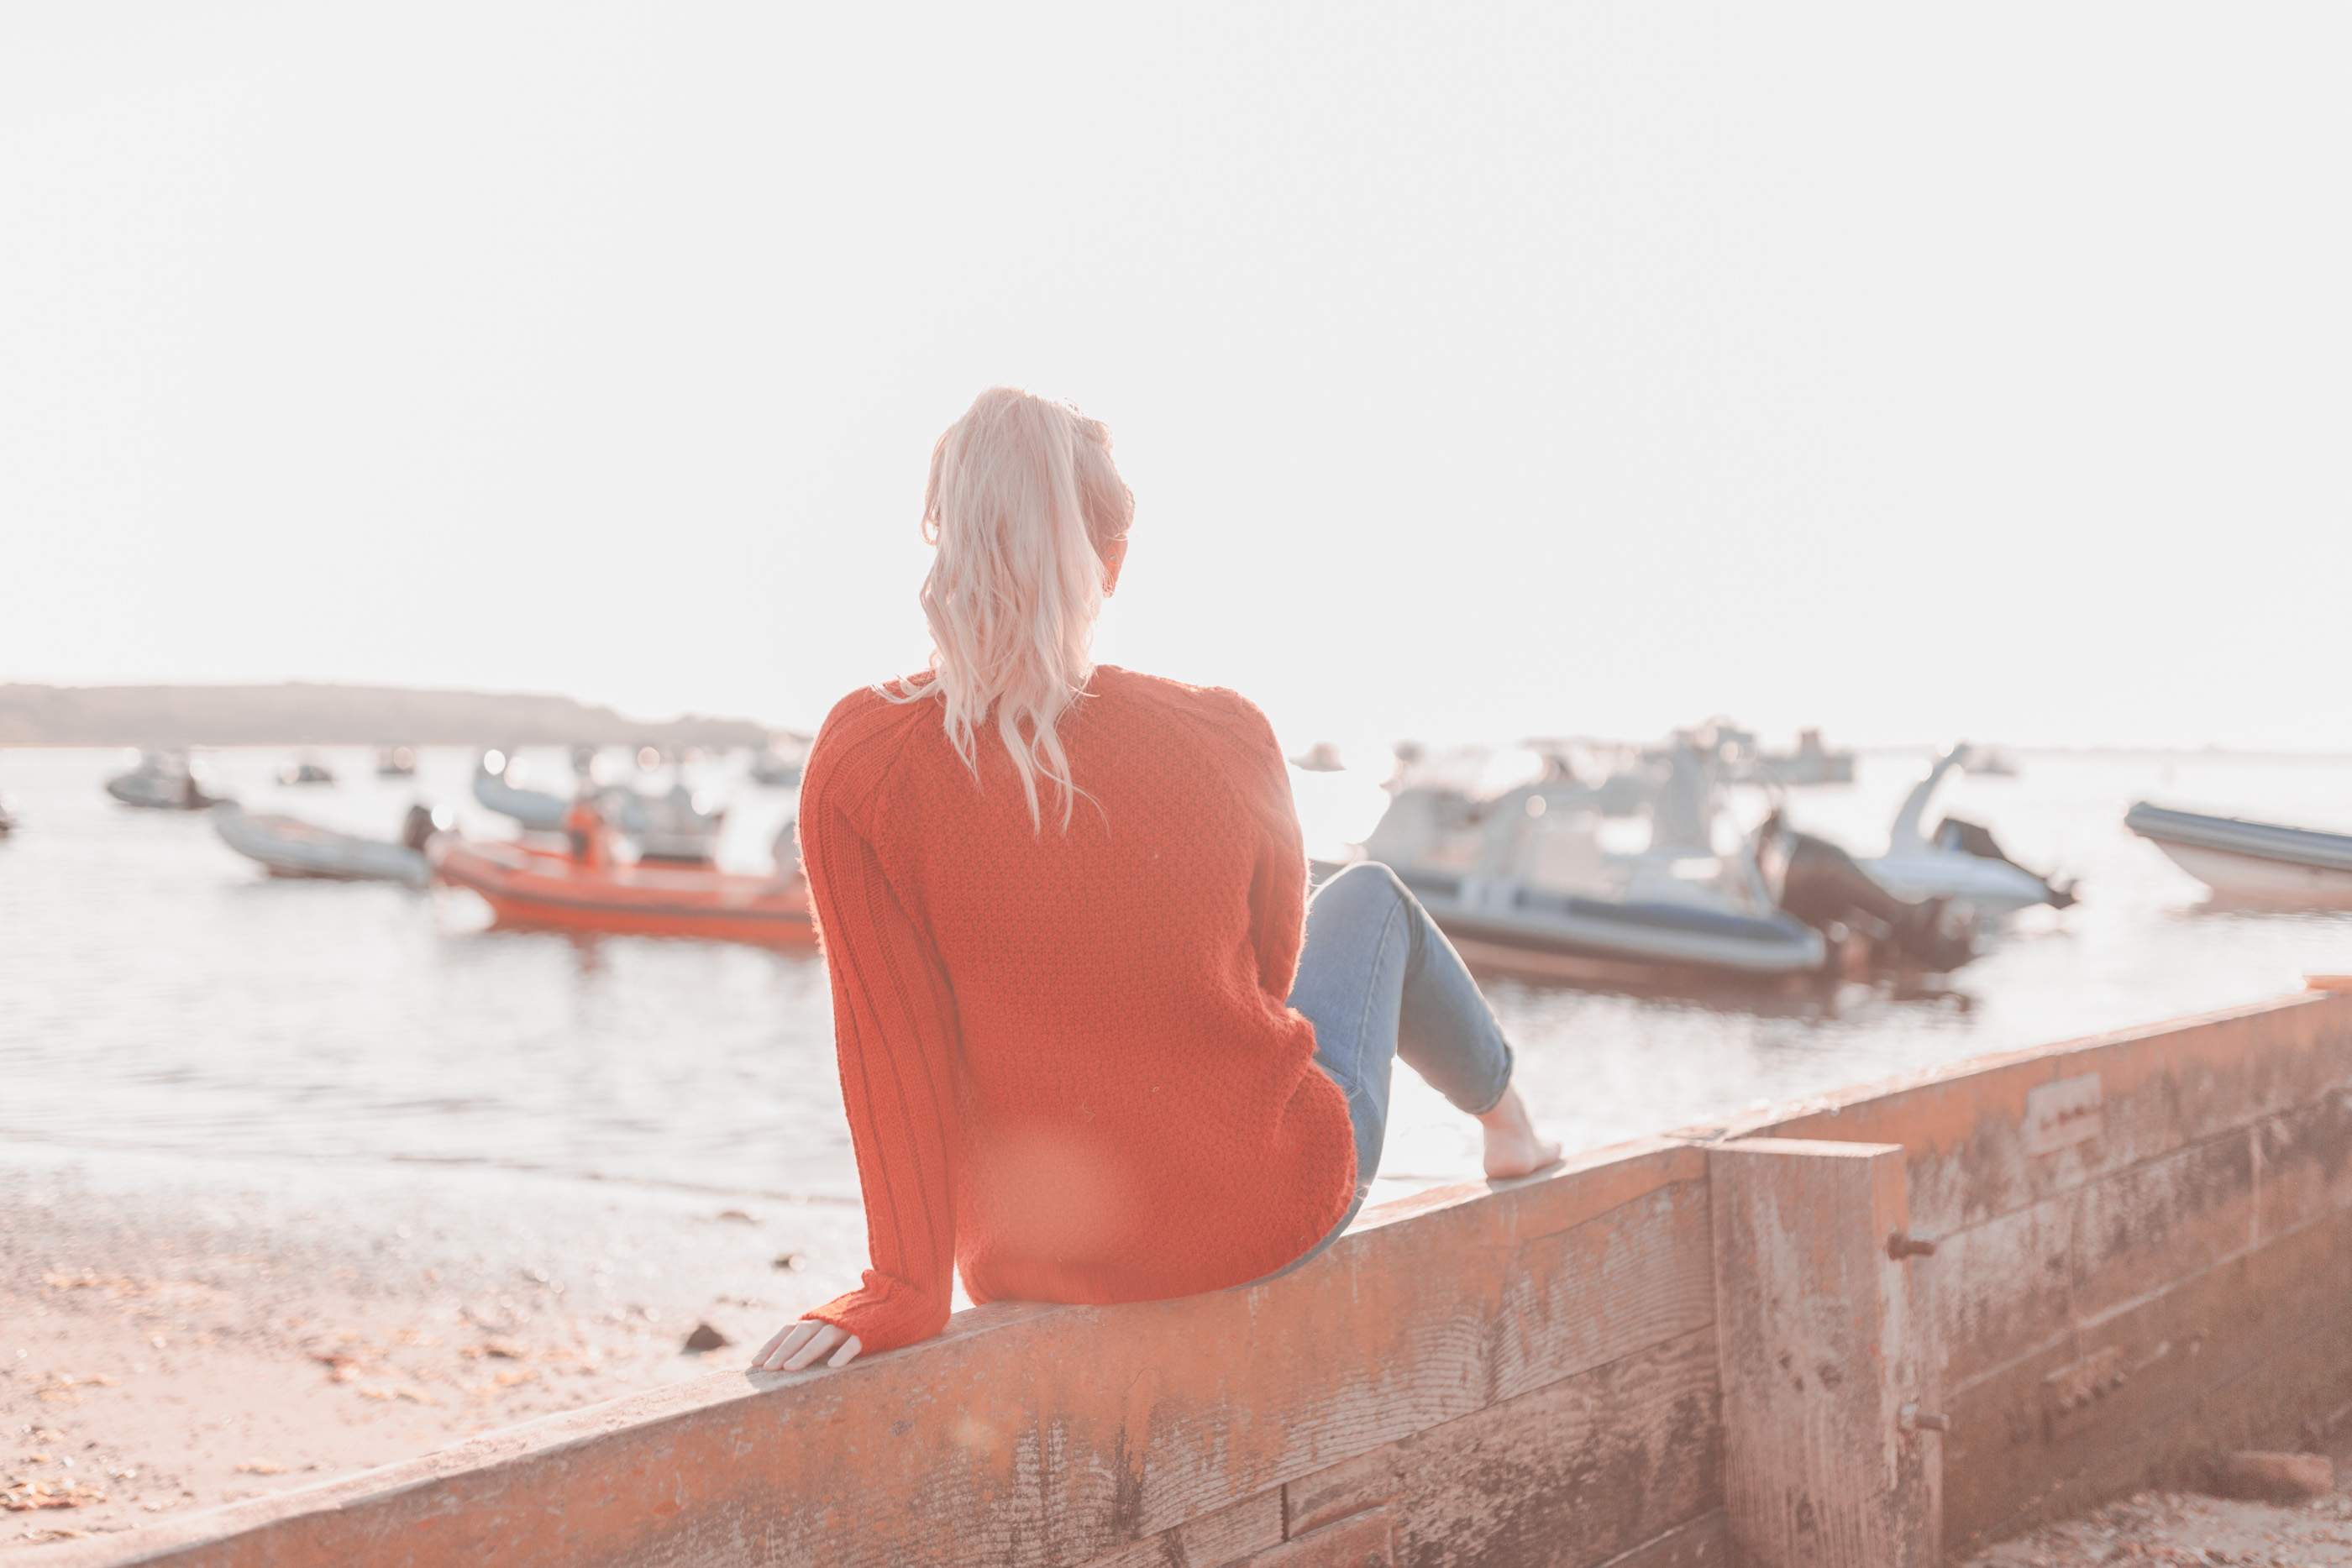
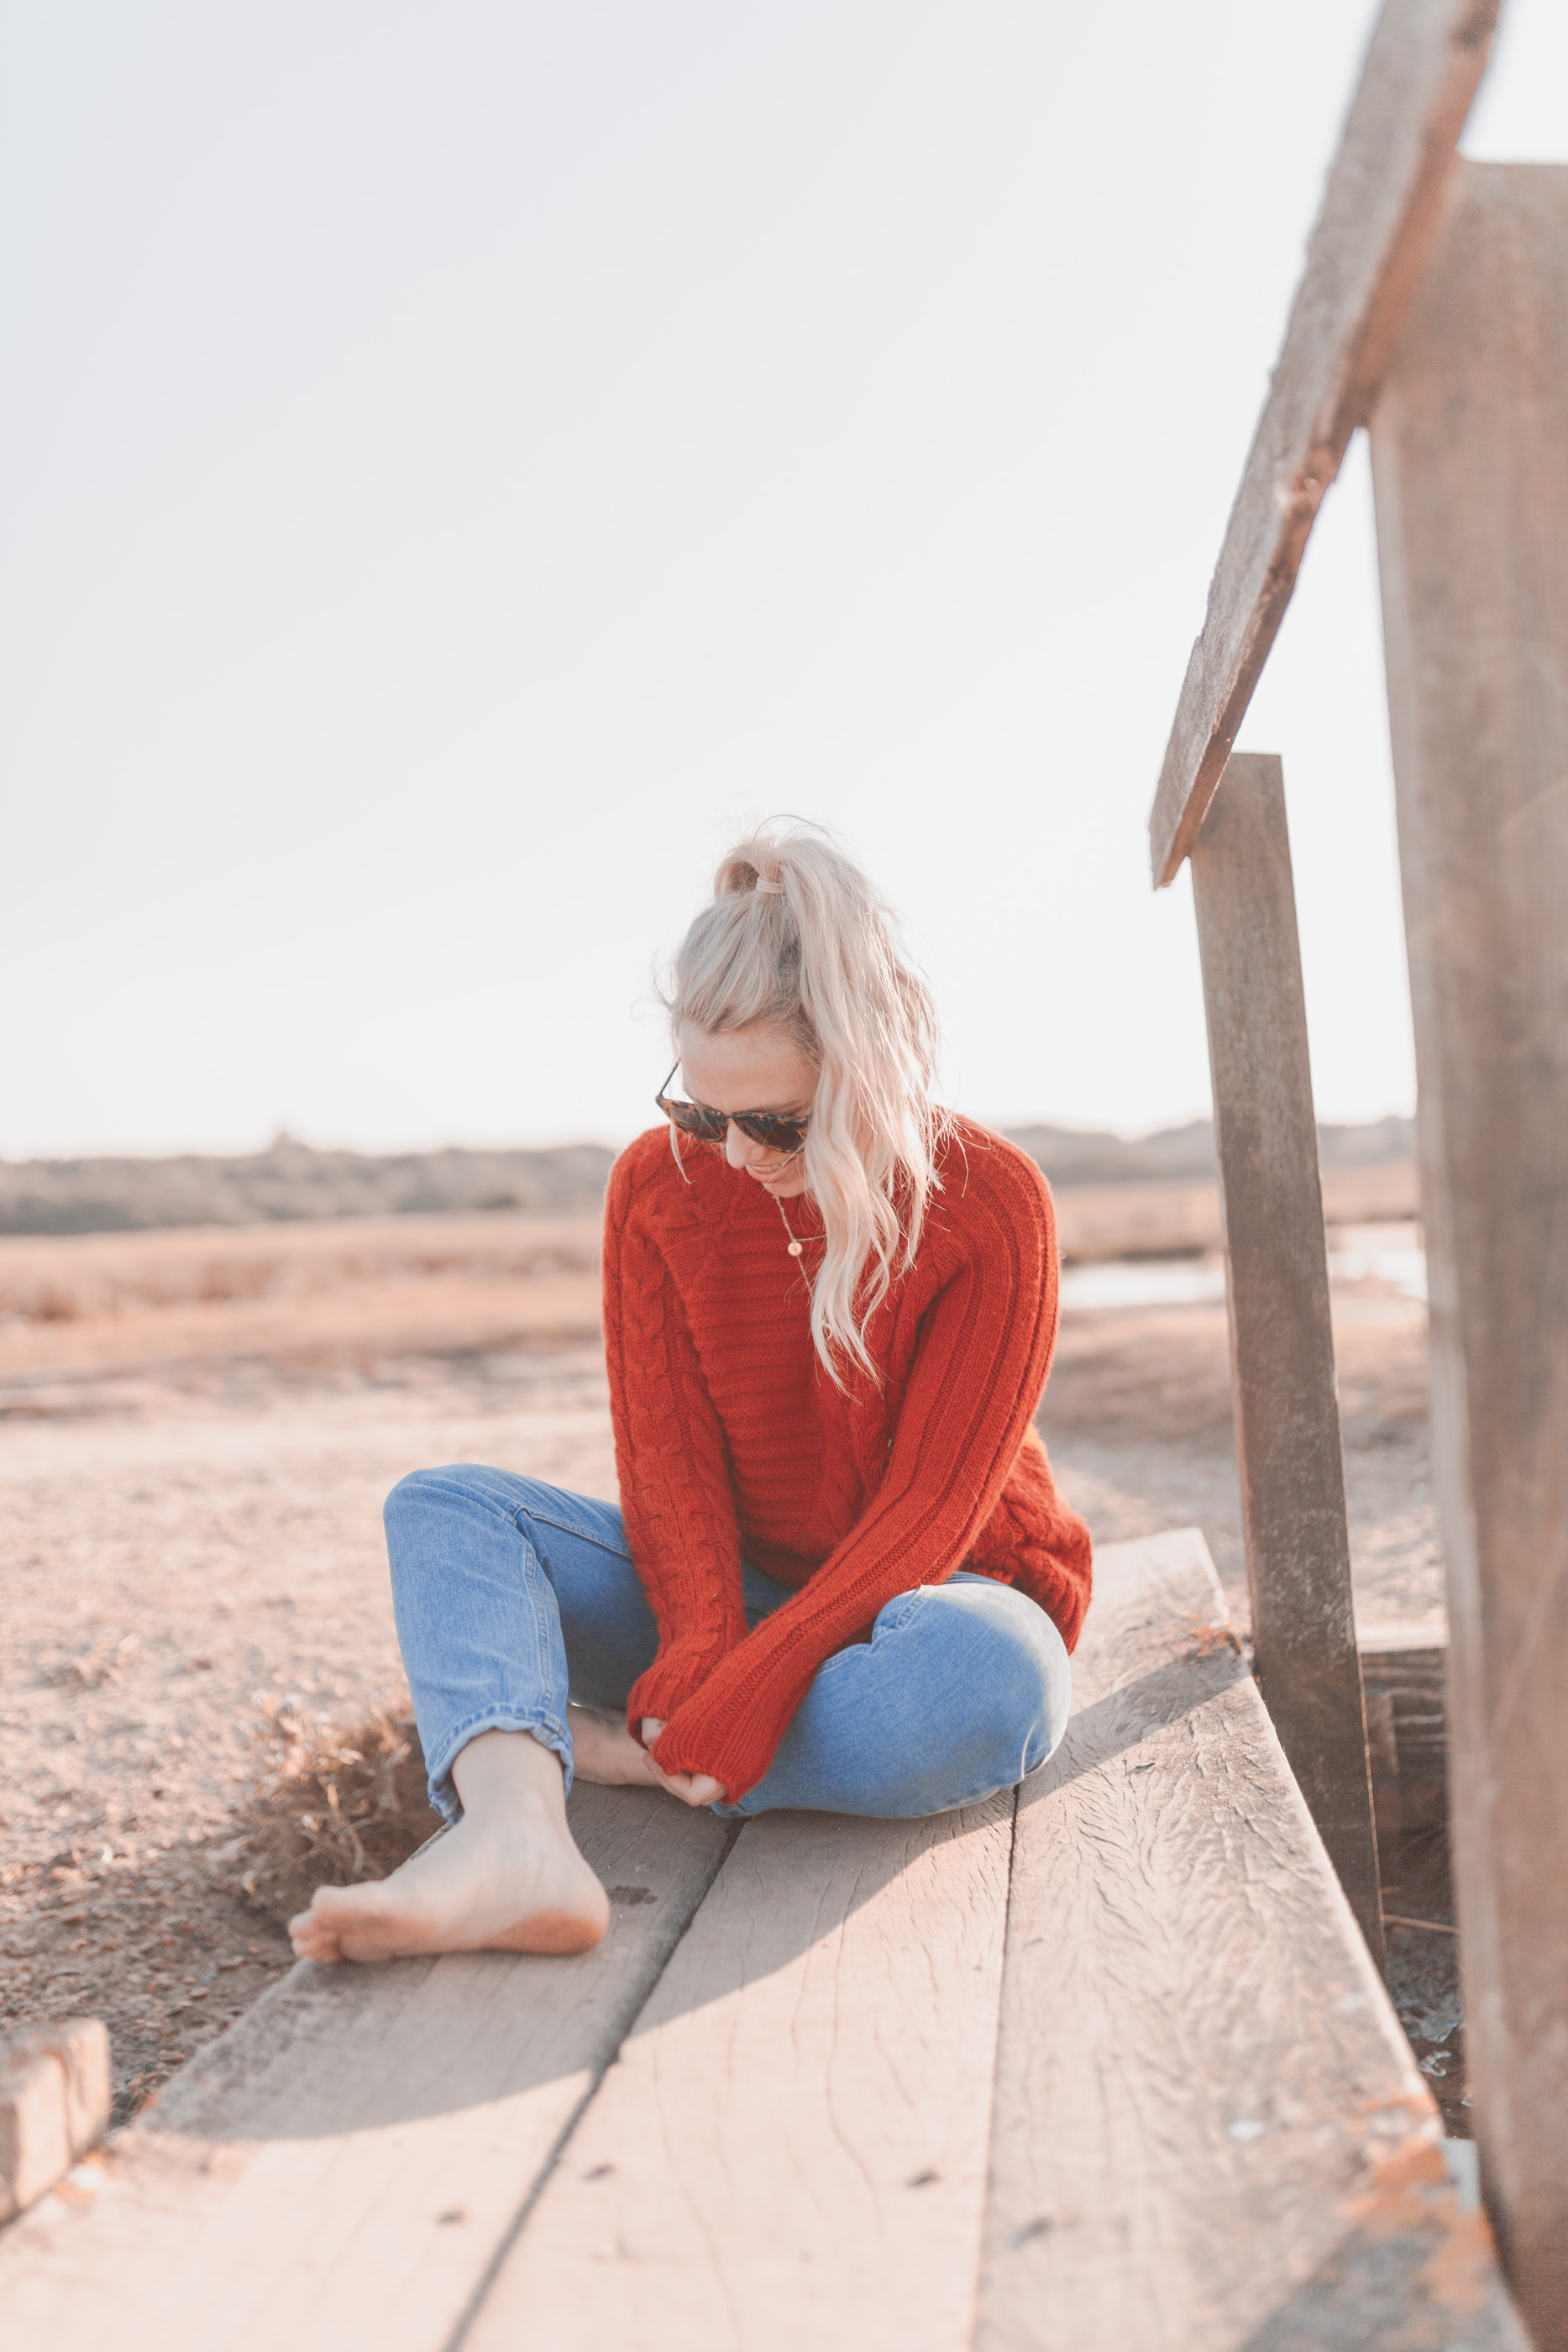
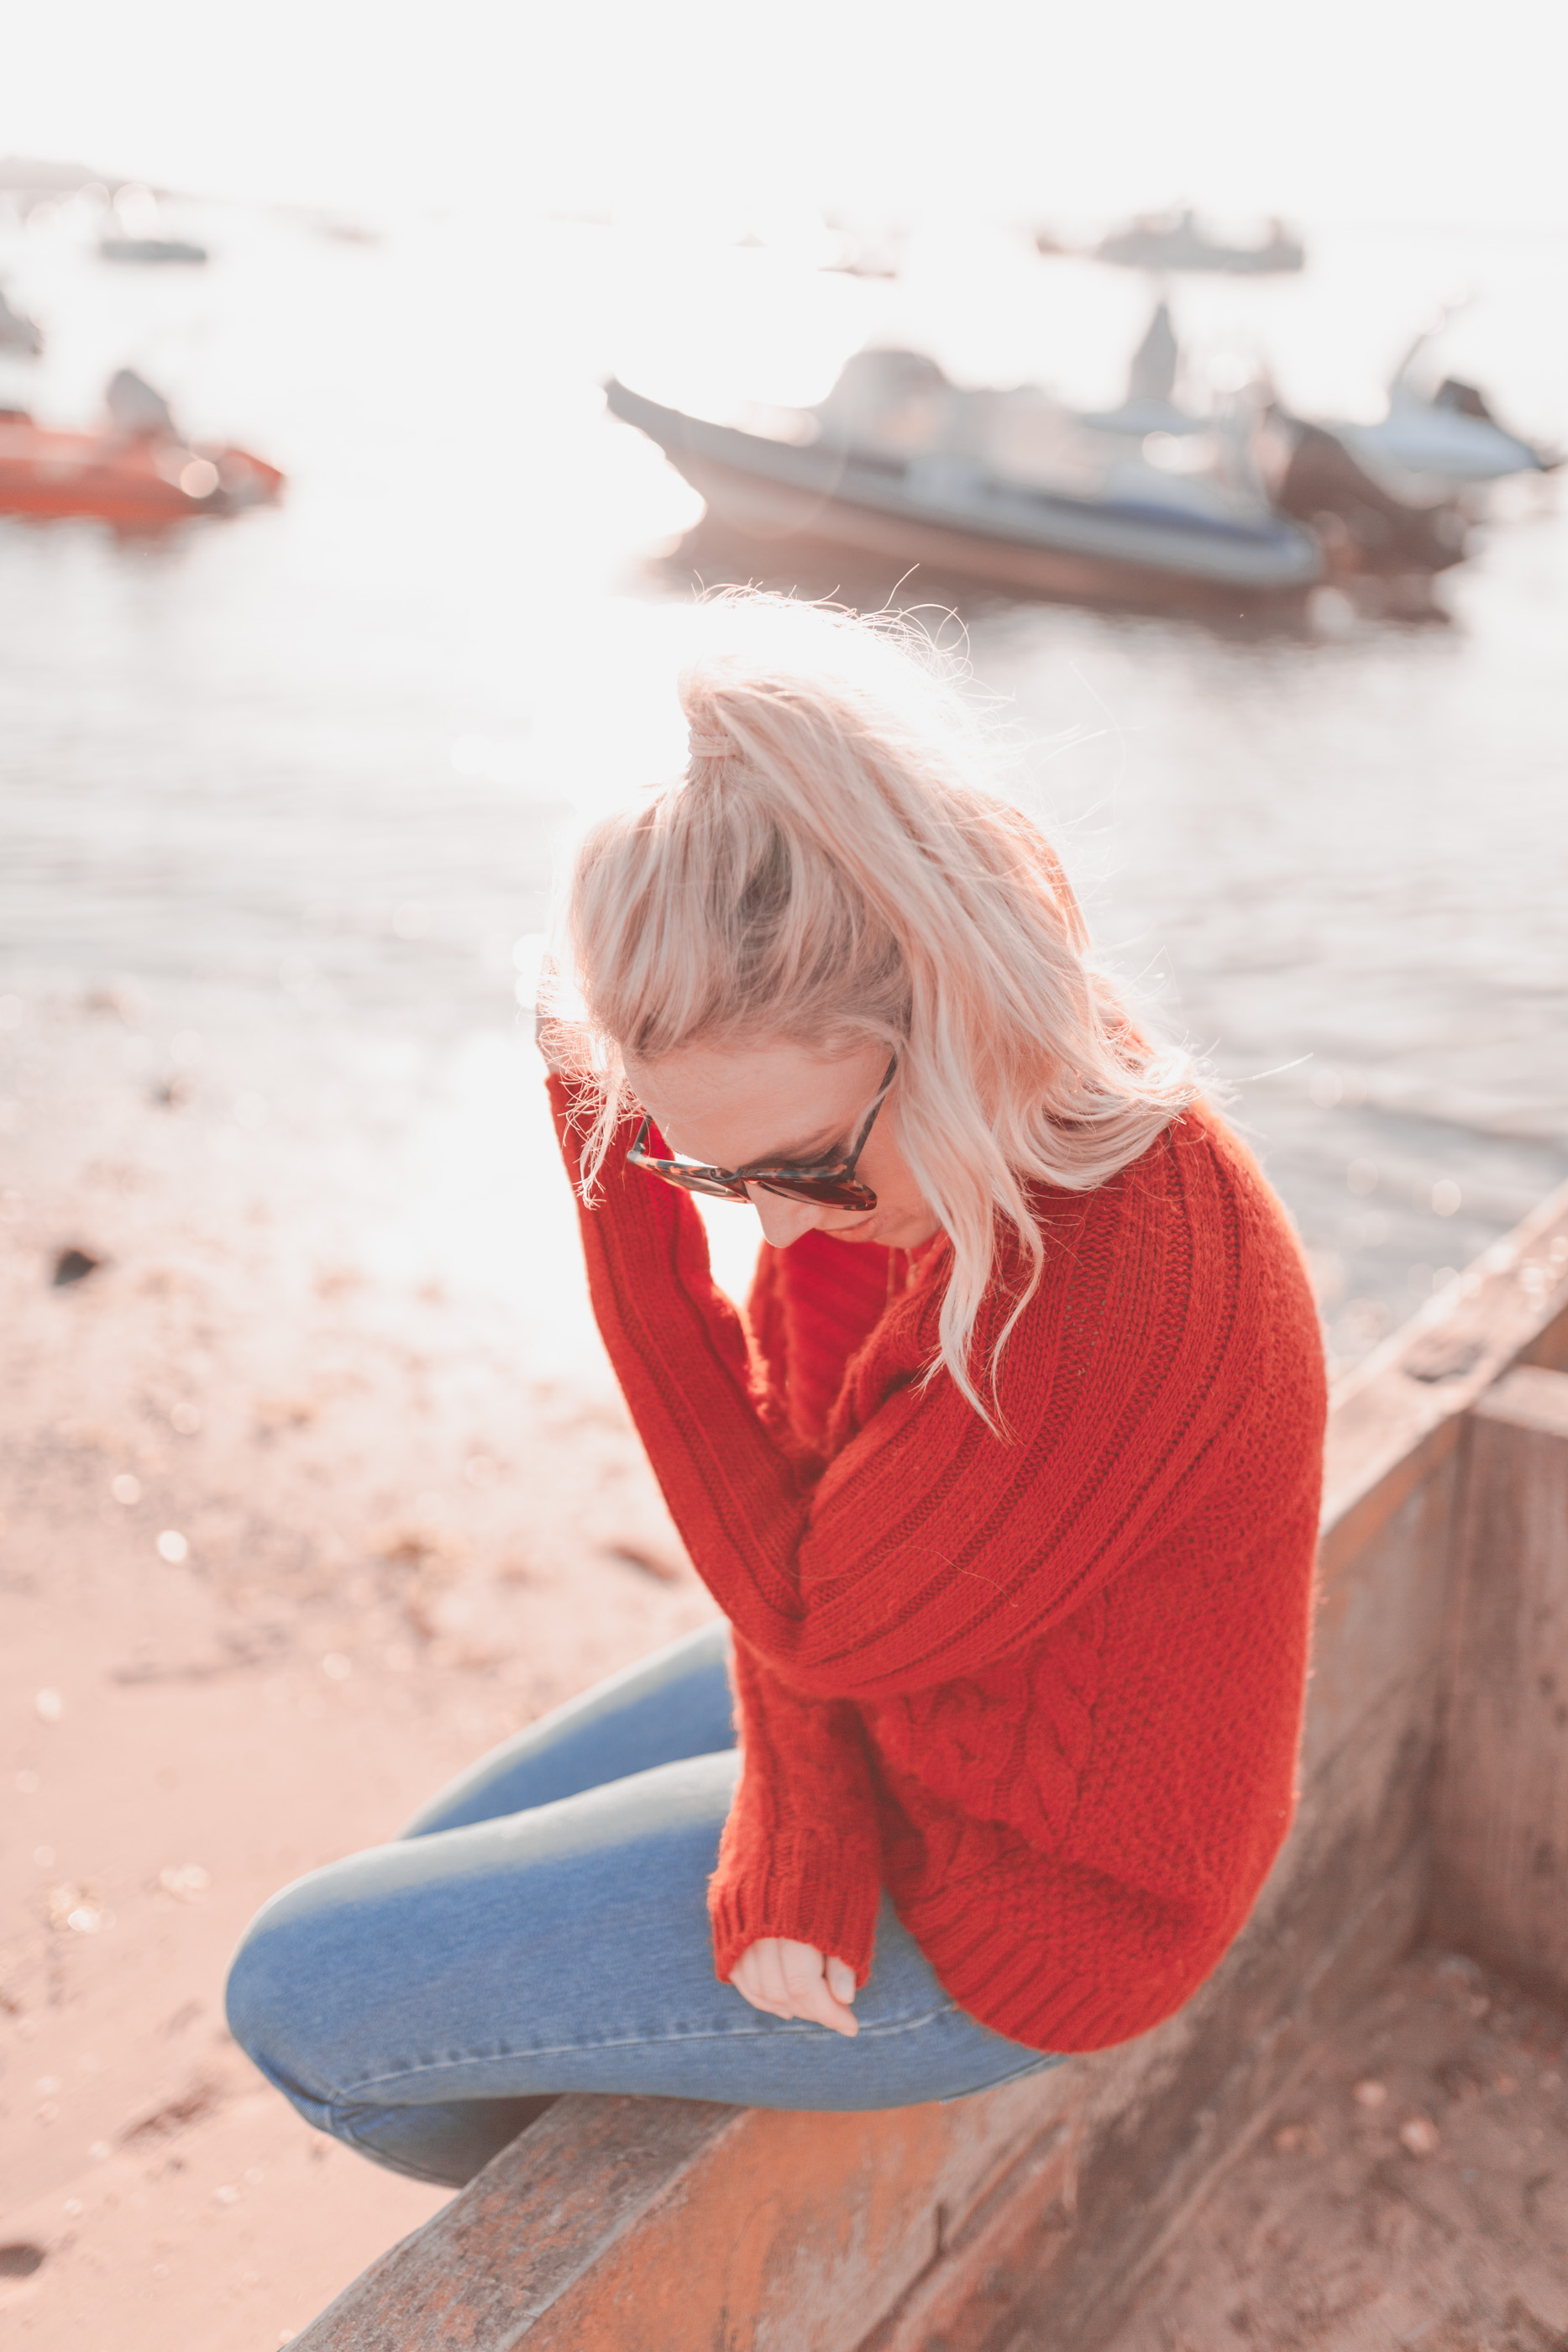
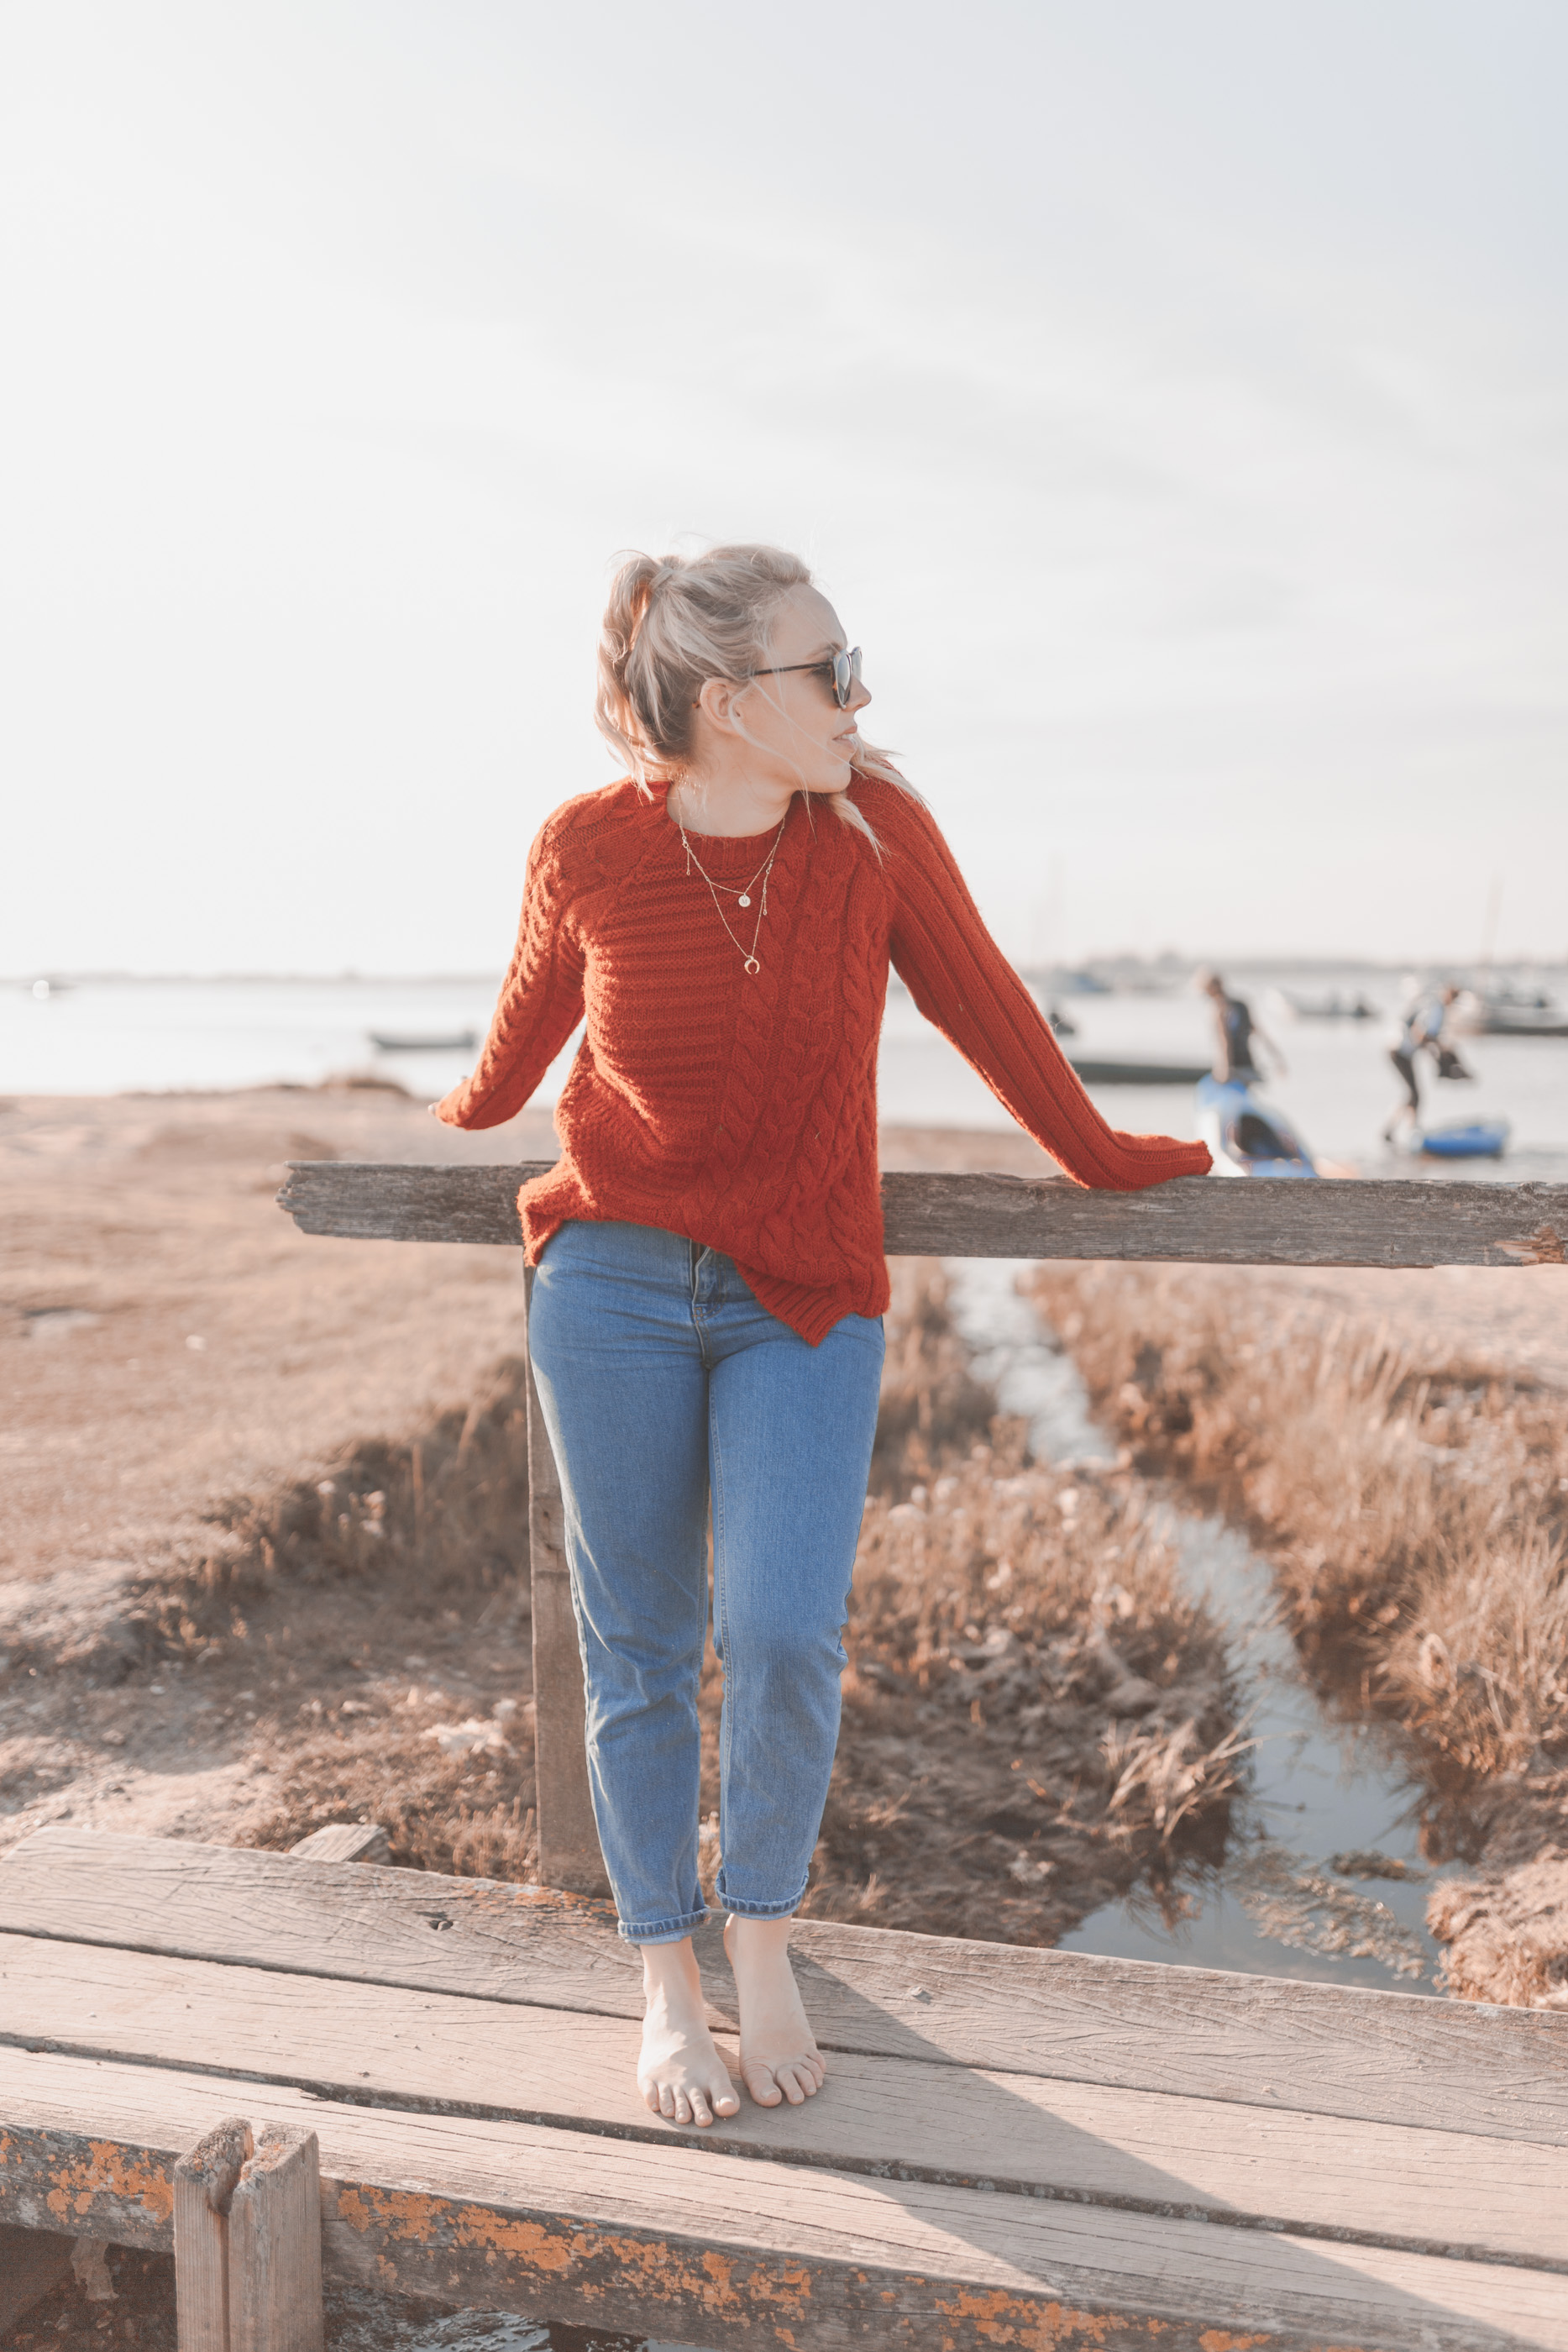
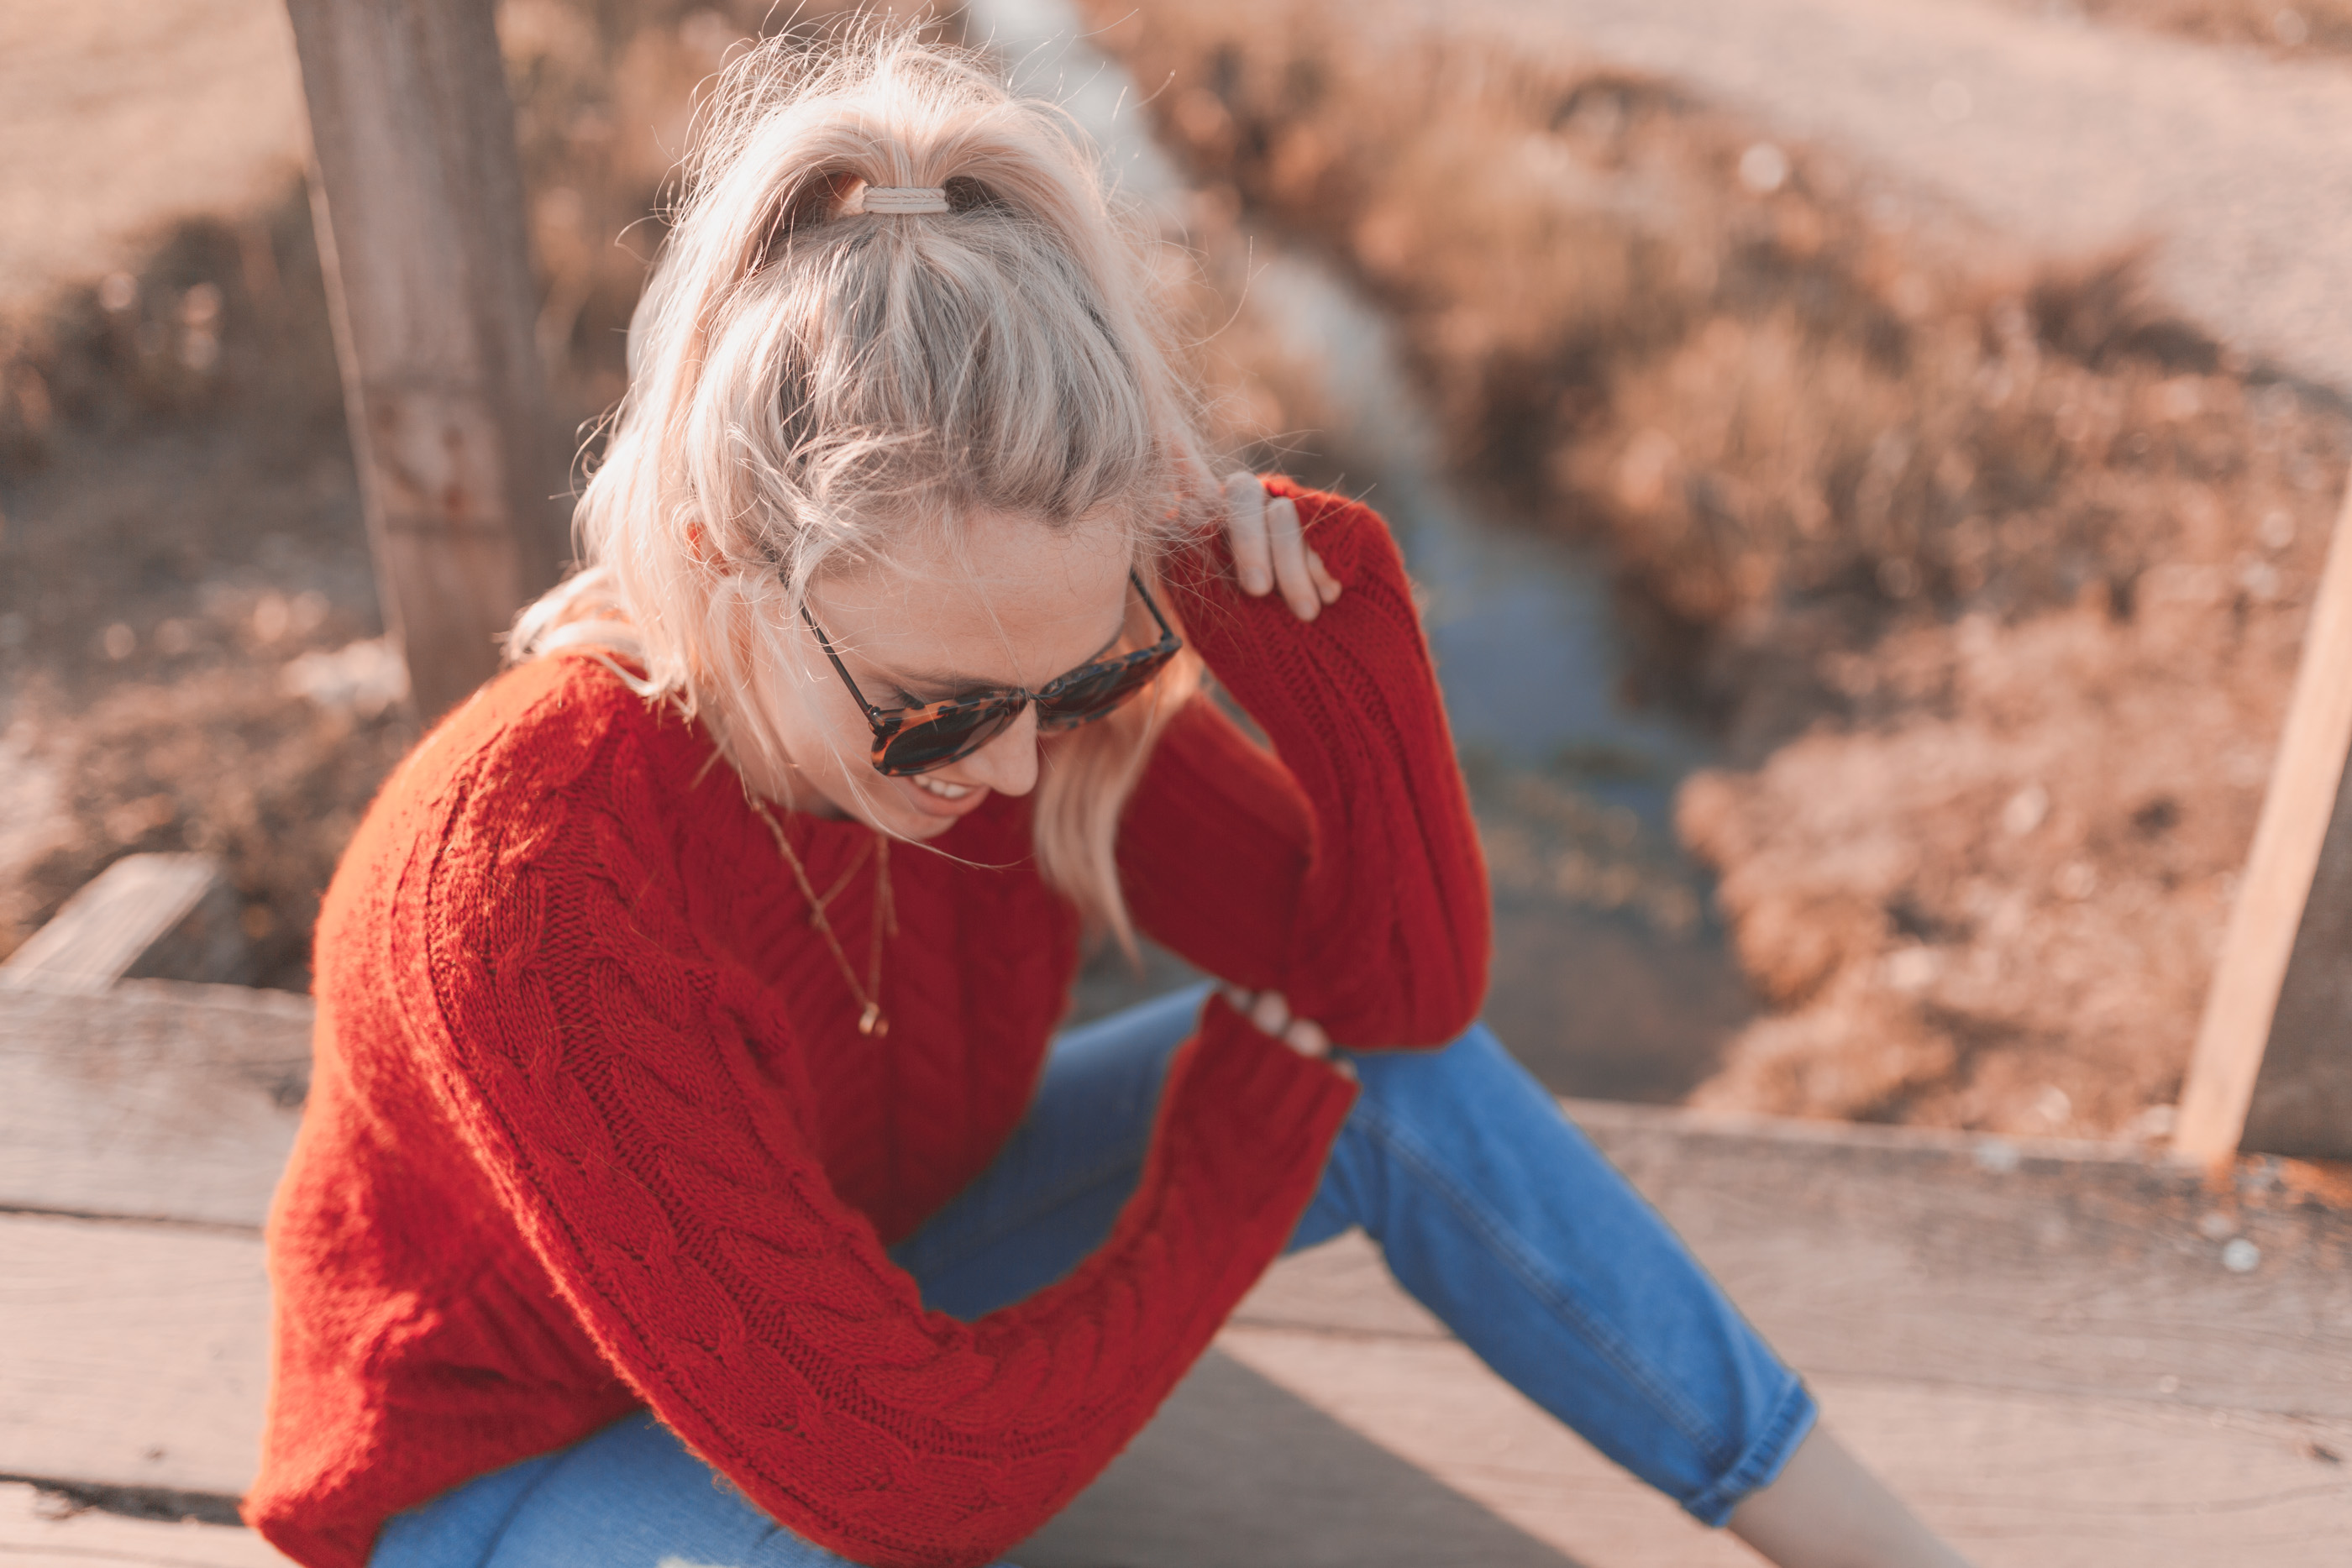
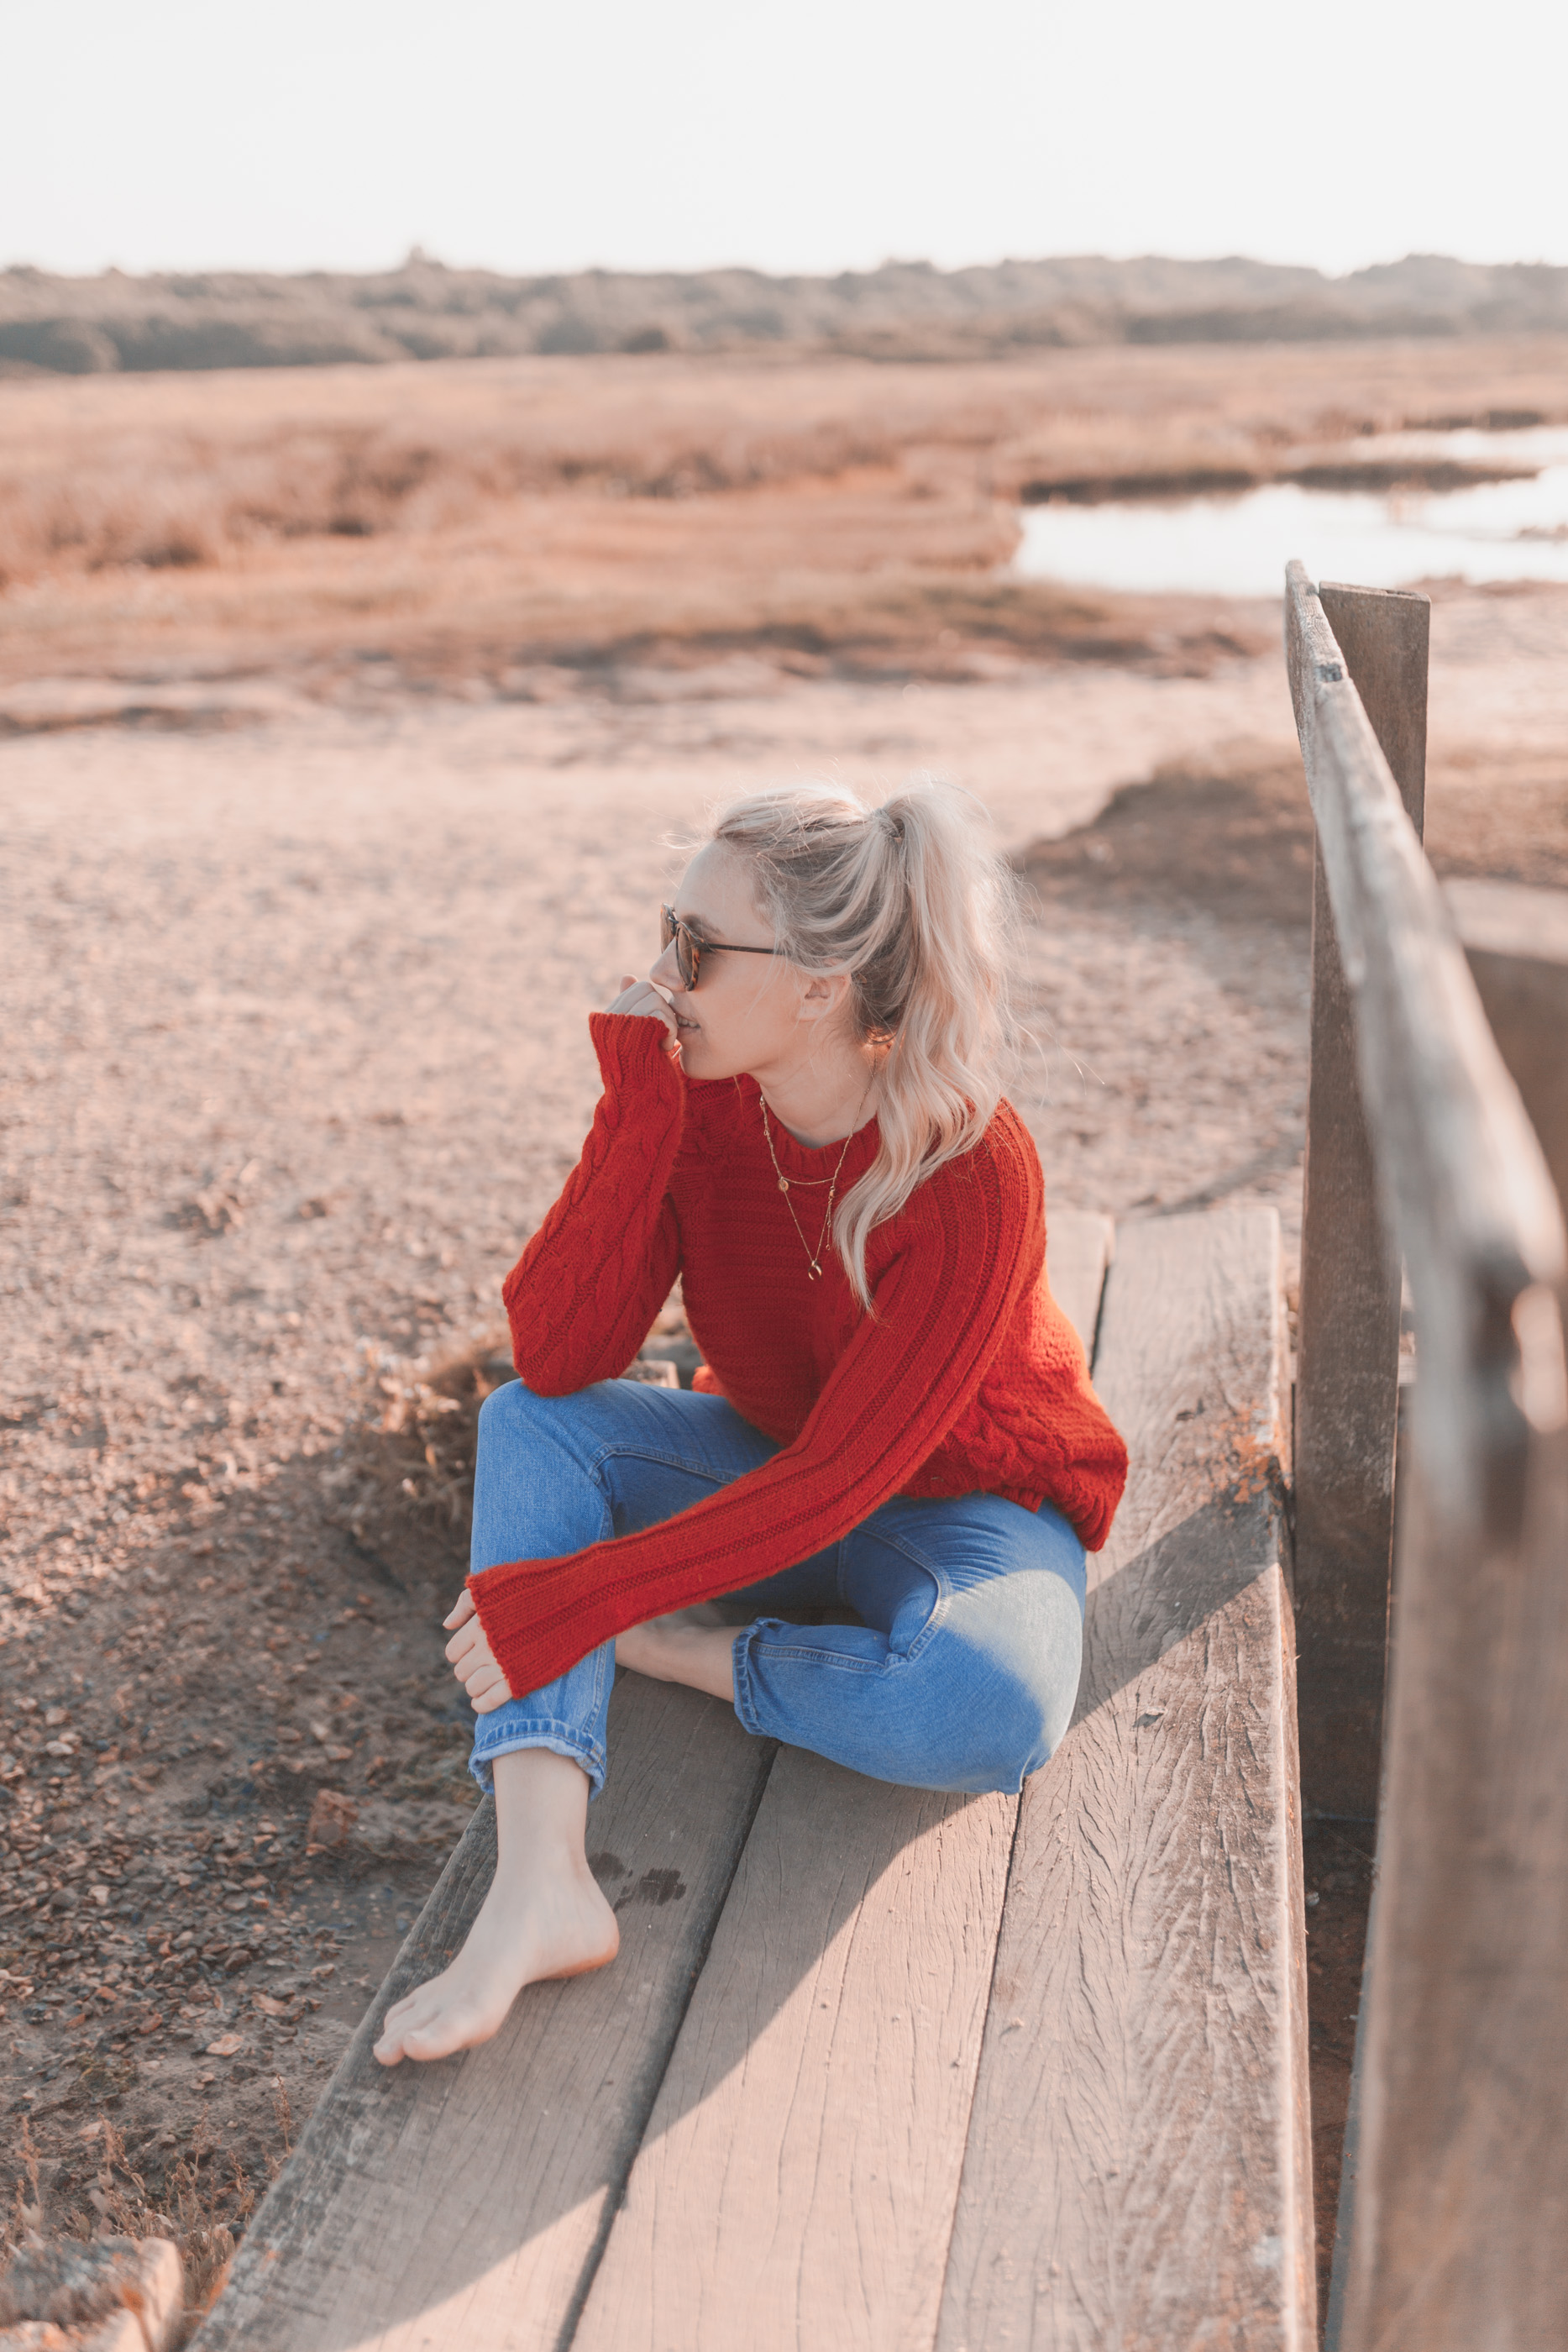
My editing style, without overtly realising it, has always been very consistent. My favourite shooting condition has always been in beautiful sunlight (I honestly can’t understand when people prefer an overcast day, that being said morning and afternoons are better than that tricky midday sun), the sun behind me or my subject(i’ve never quite grasped shooting with sunlight on my subject) and a wide open aperture to capture all the more light & create a beautiful sunlight drenched depth of field. Pretty much every picture i’ve ever taken and probably will ever take capitalises on these settings and conditions, and mostly my post shoot editing process is simple to say the least. A little check on whites & highlights, a little downing of saturation & often a little warming to create a warm feeling & tone. This hasn’t really changed, albeit a few years back I opted for cooler tones but regret those days immensely, but it’s always fun to learn more & evolve your style & taste as you evolve as a person.
I’ve always used lightroom but until recently I really kept my settings to the ‘basic’ side of things and never explored the tone curves, camera calibrations let alone colour tones! But as I do every now and then, I got myself into a 48 hour research hole a little while back (do you ever get those obsessions that keep you spell bound researching and reading more and more and more?) and found myself digging deeper into lightroom settings, analysing my favourite photos and their editing styles, and most importantly playing around with some of my own visuals & my editing techniques and visual style.
It’s worths saying now, i’m still a very firm believer in not over editing a photo, I want my visuals to be real, honest & a reflection of my reality. No fake flying birds or sunsets here. But I did think it might be interesting to share with you a few things I’ve learnt & how I like too edit my photos with you all today!
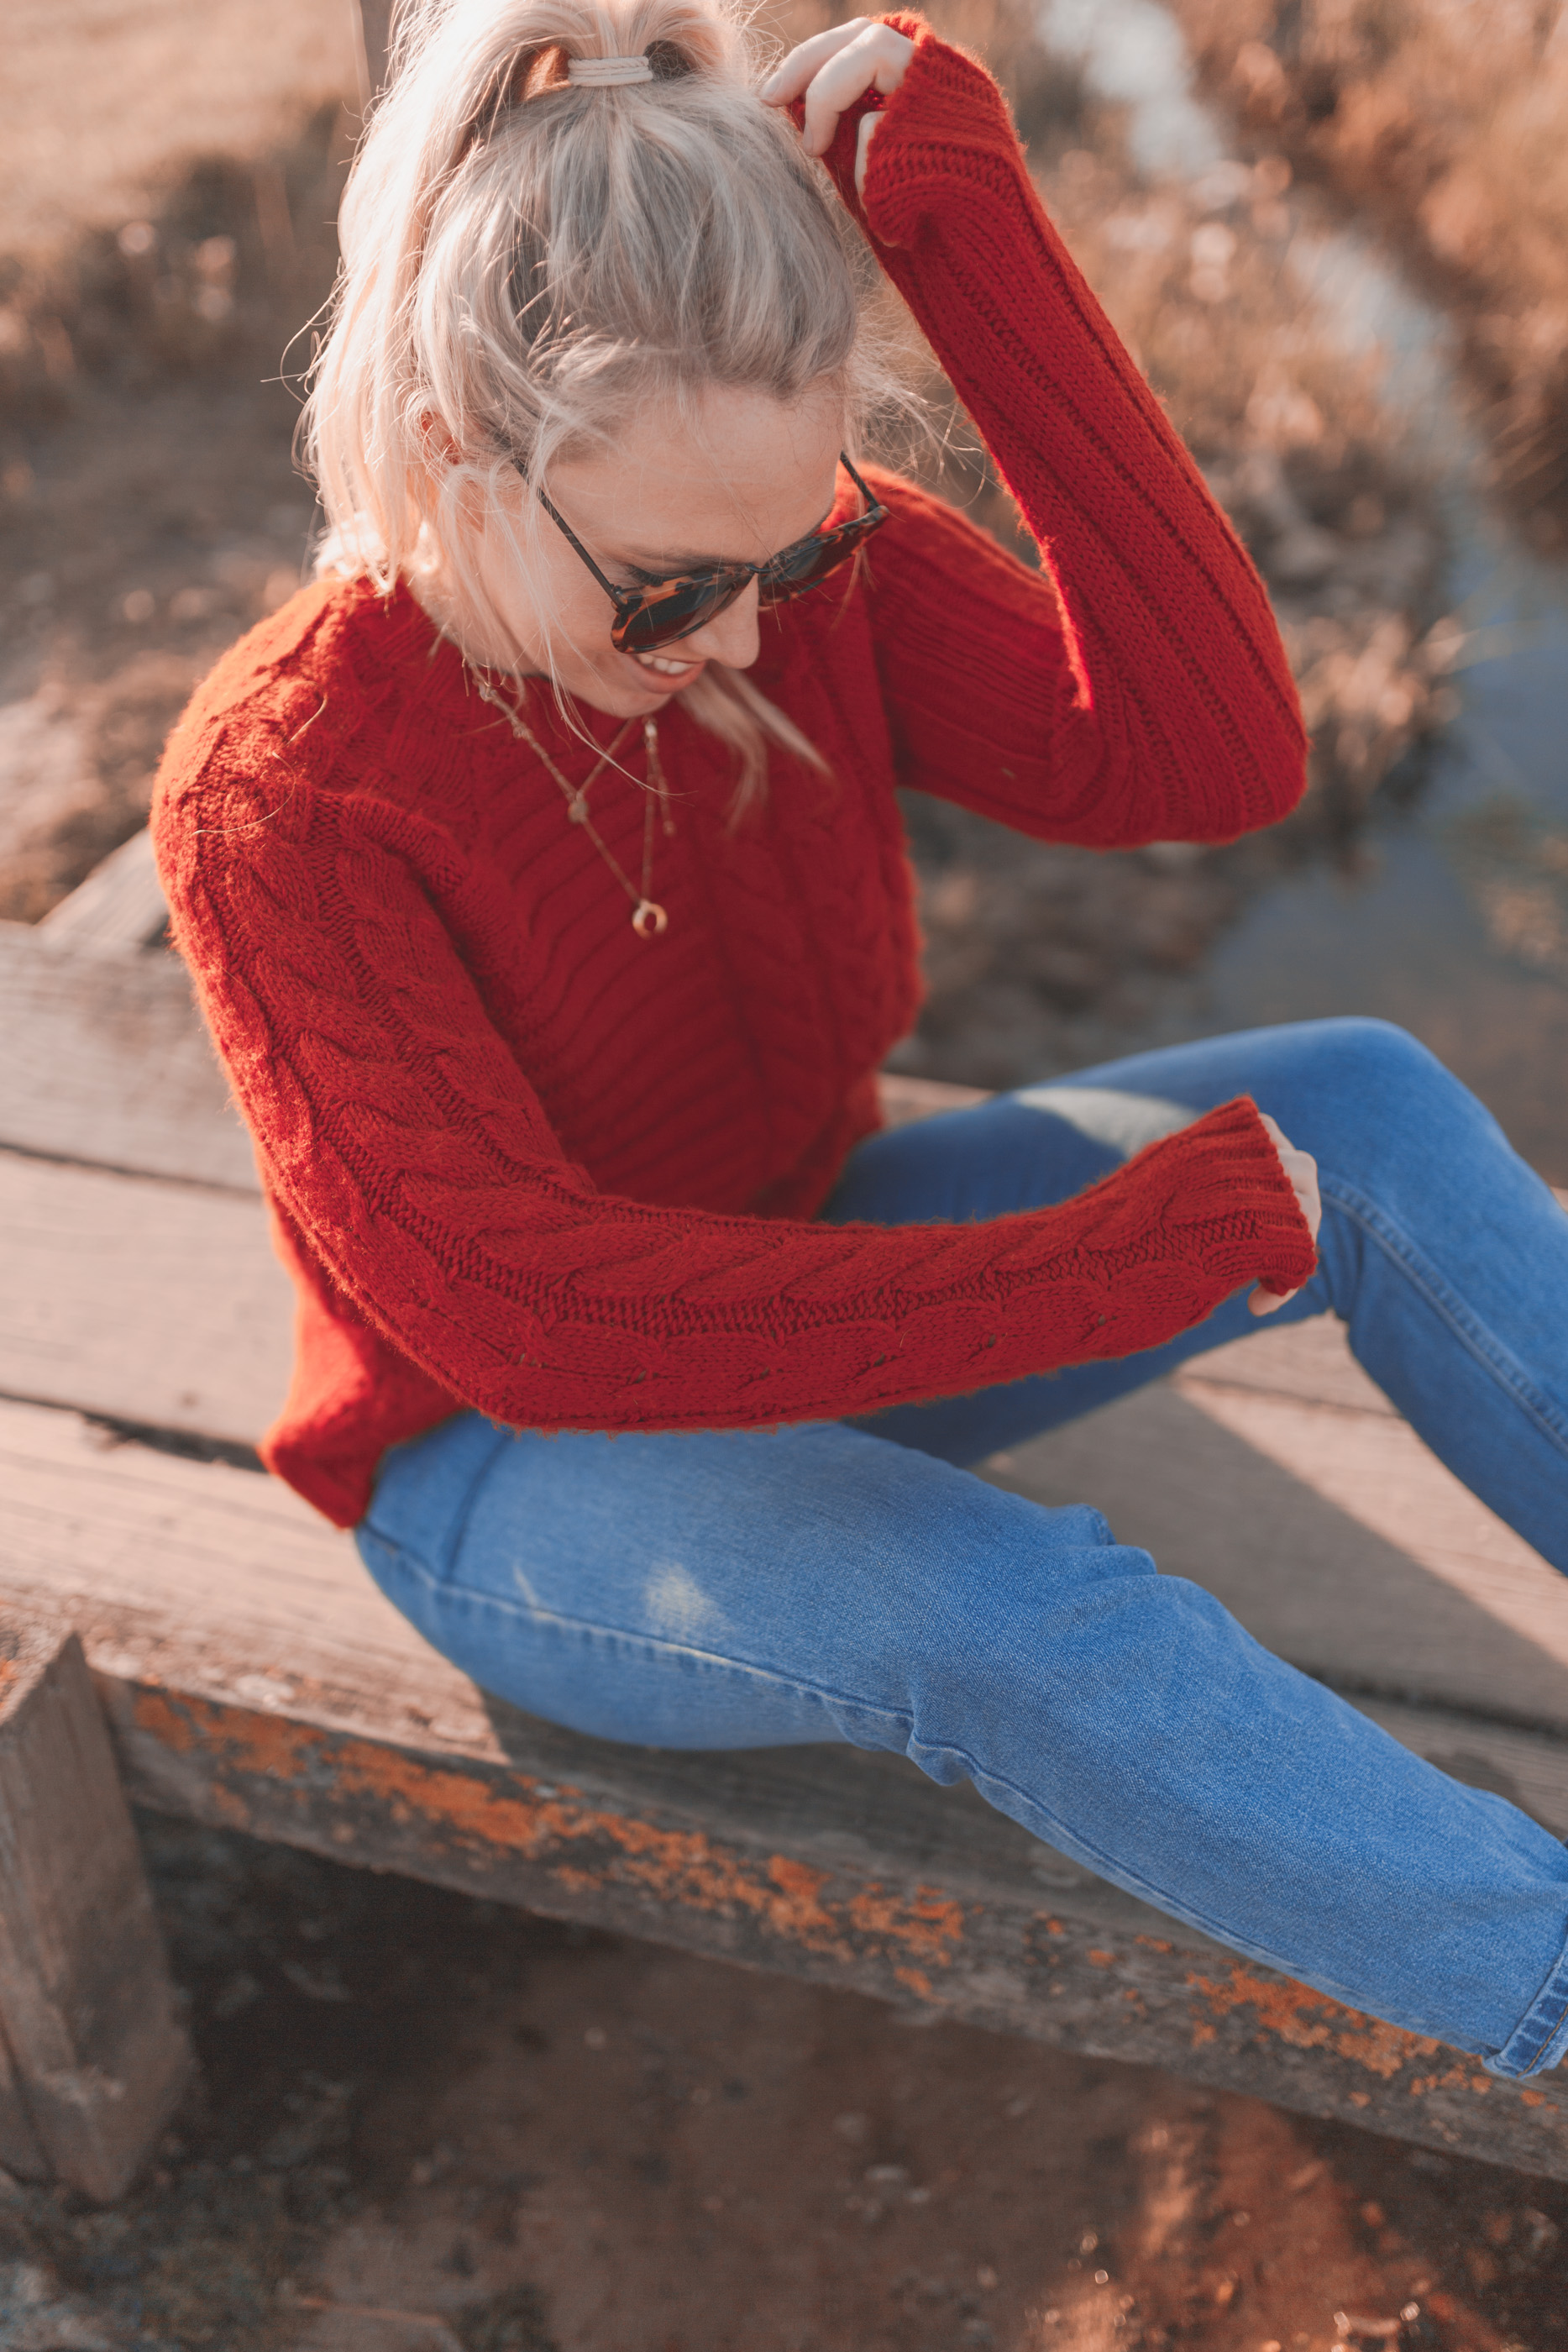
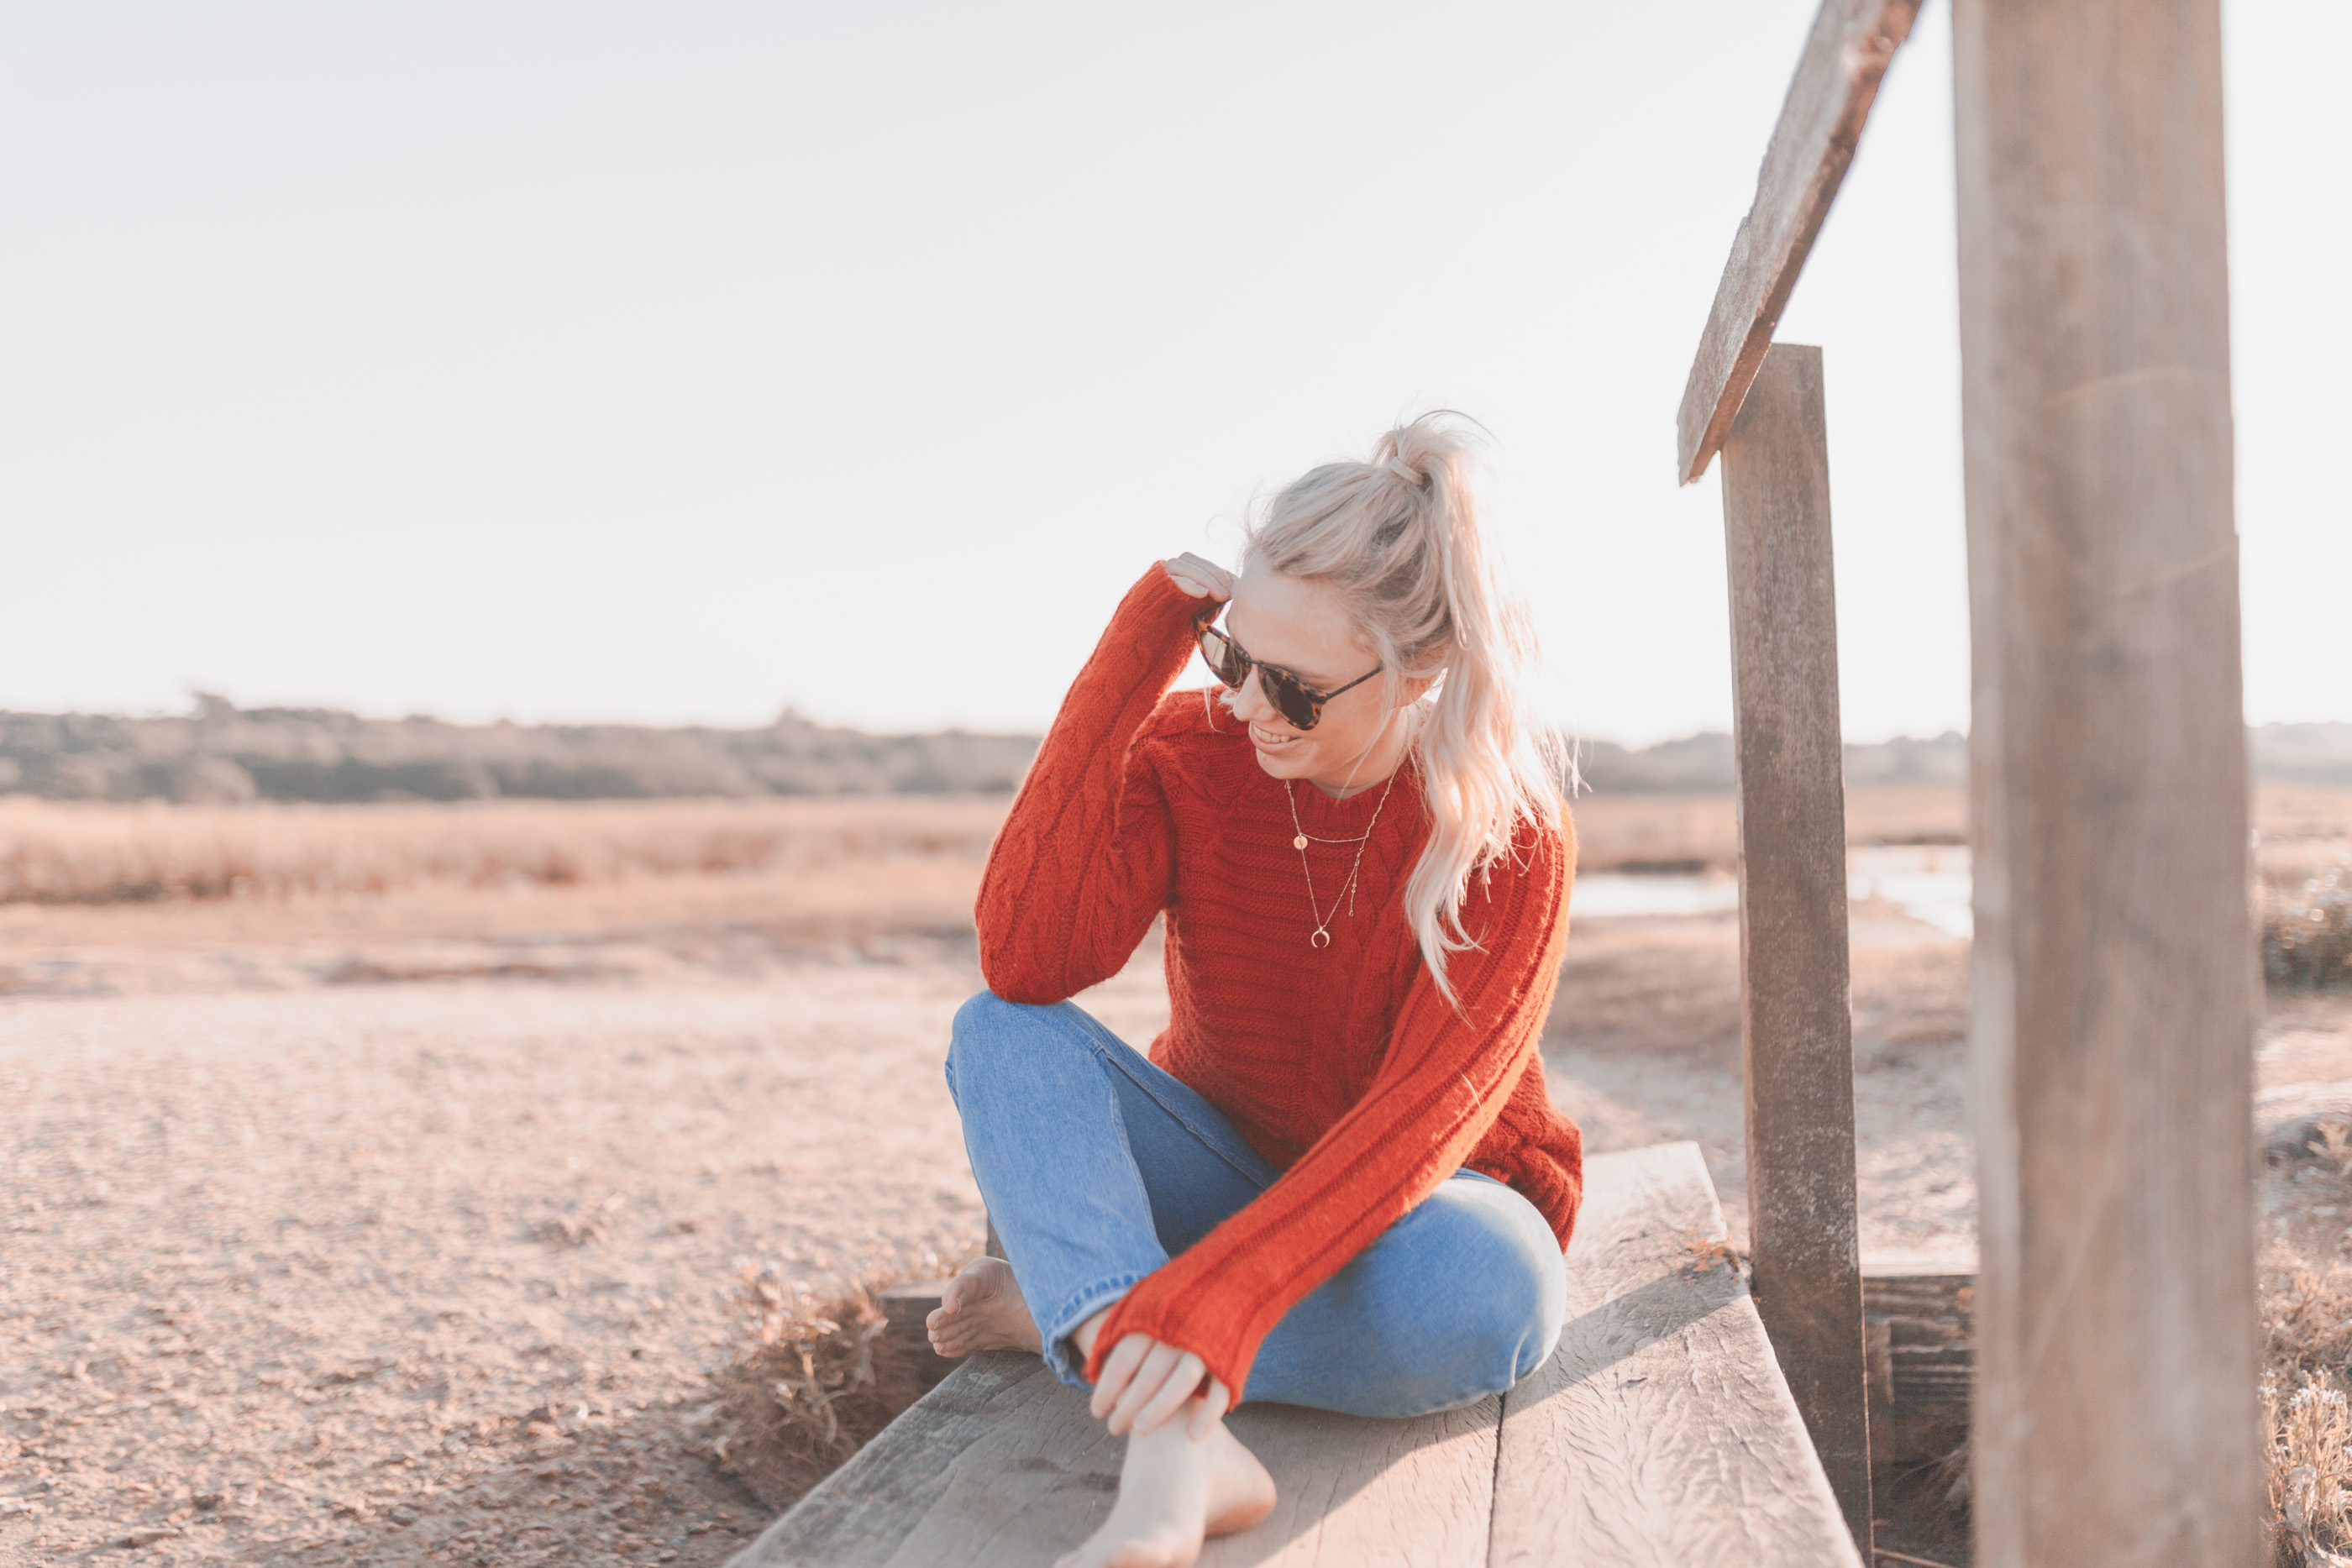
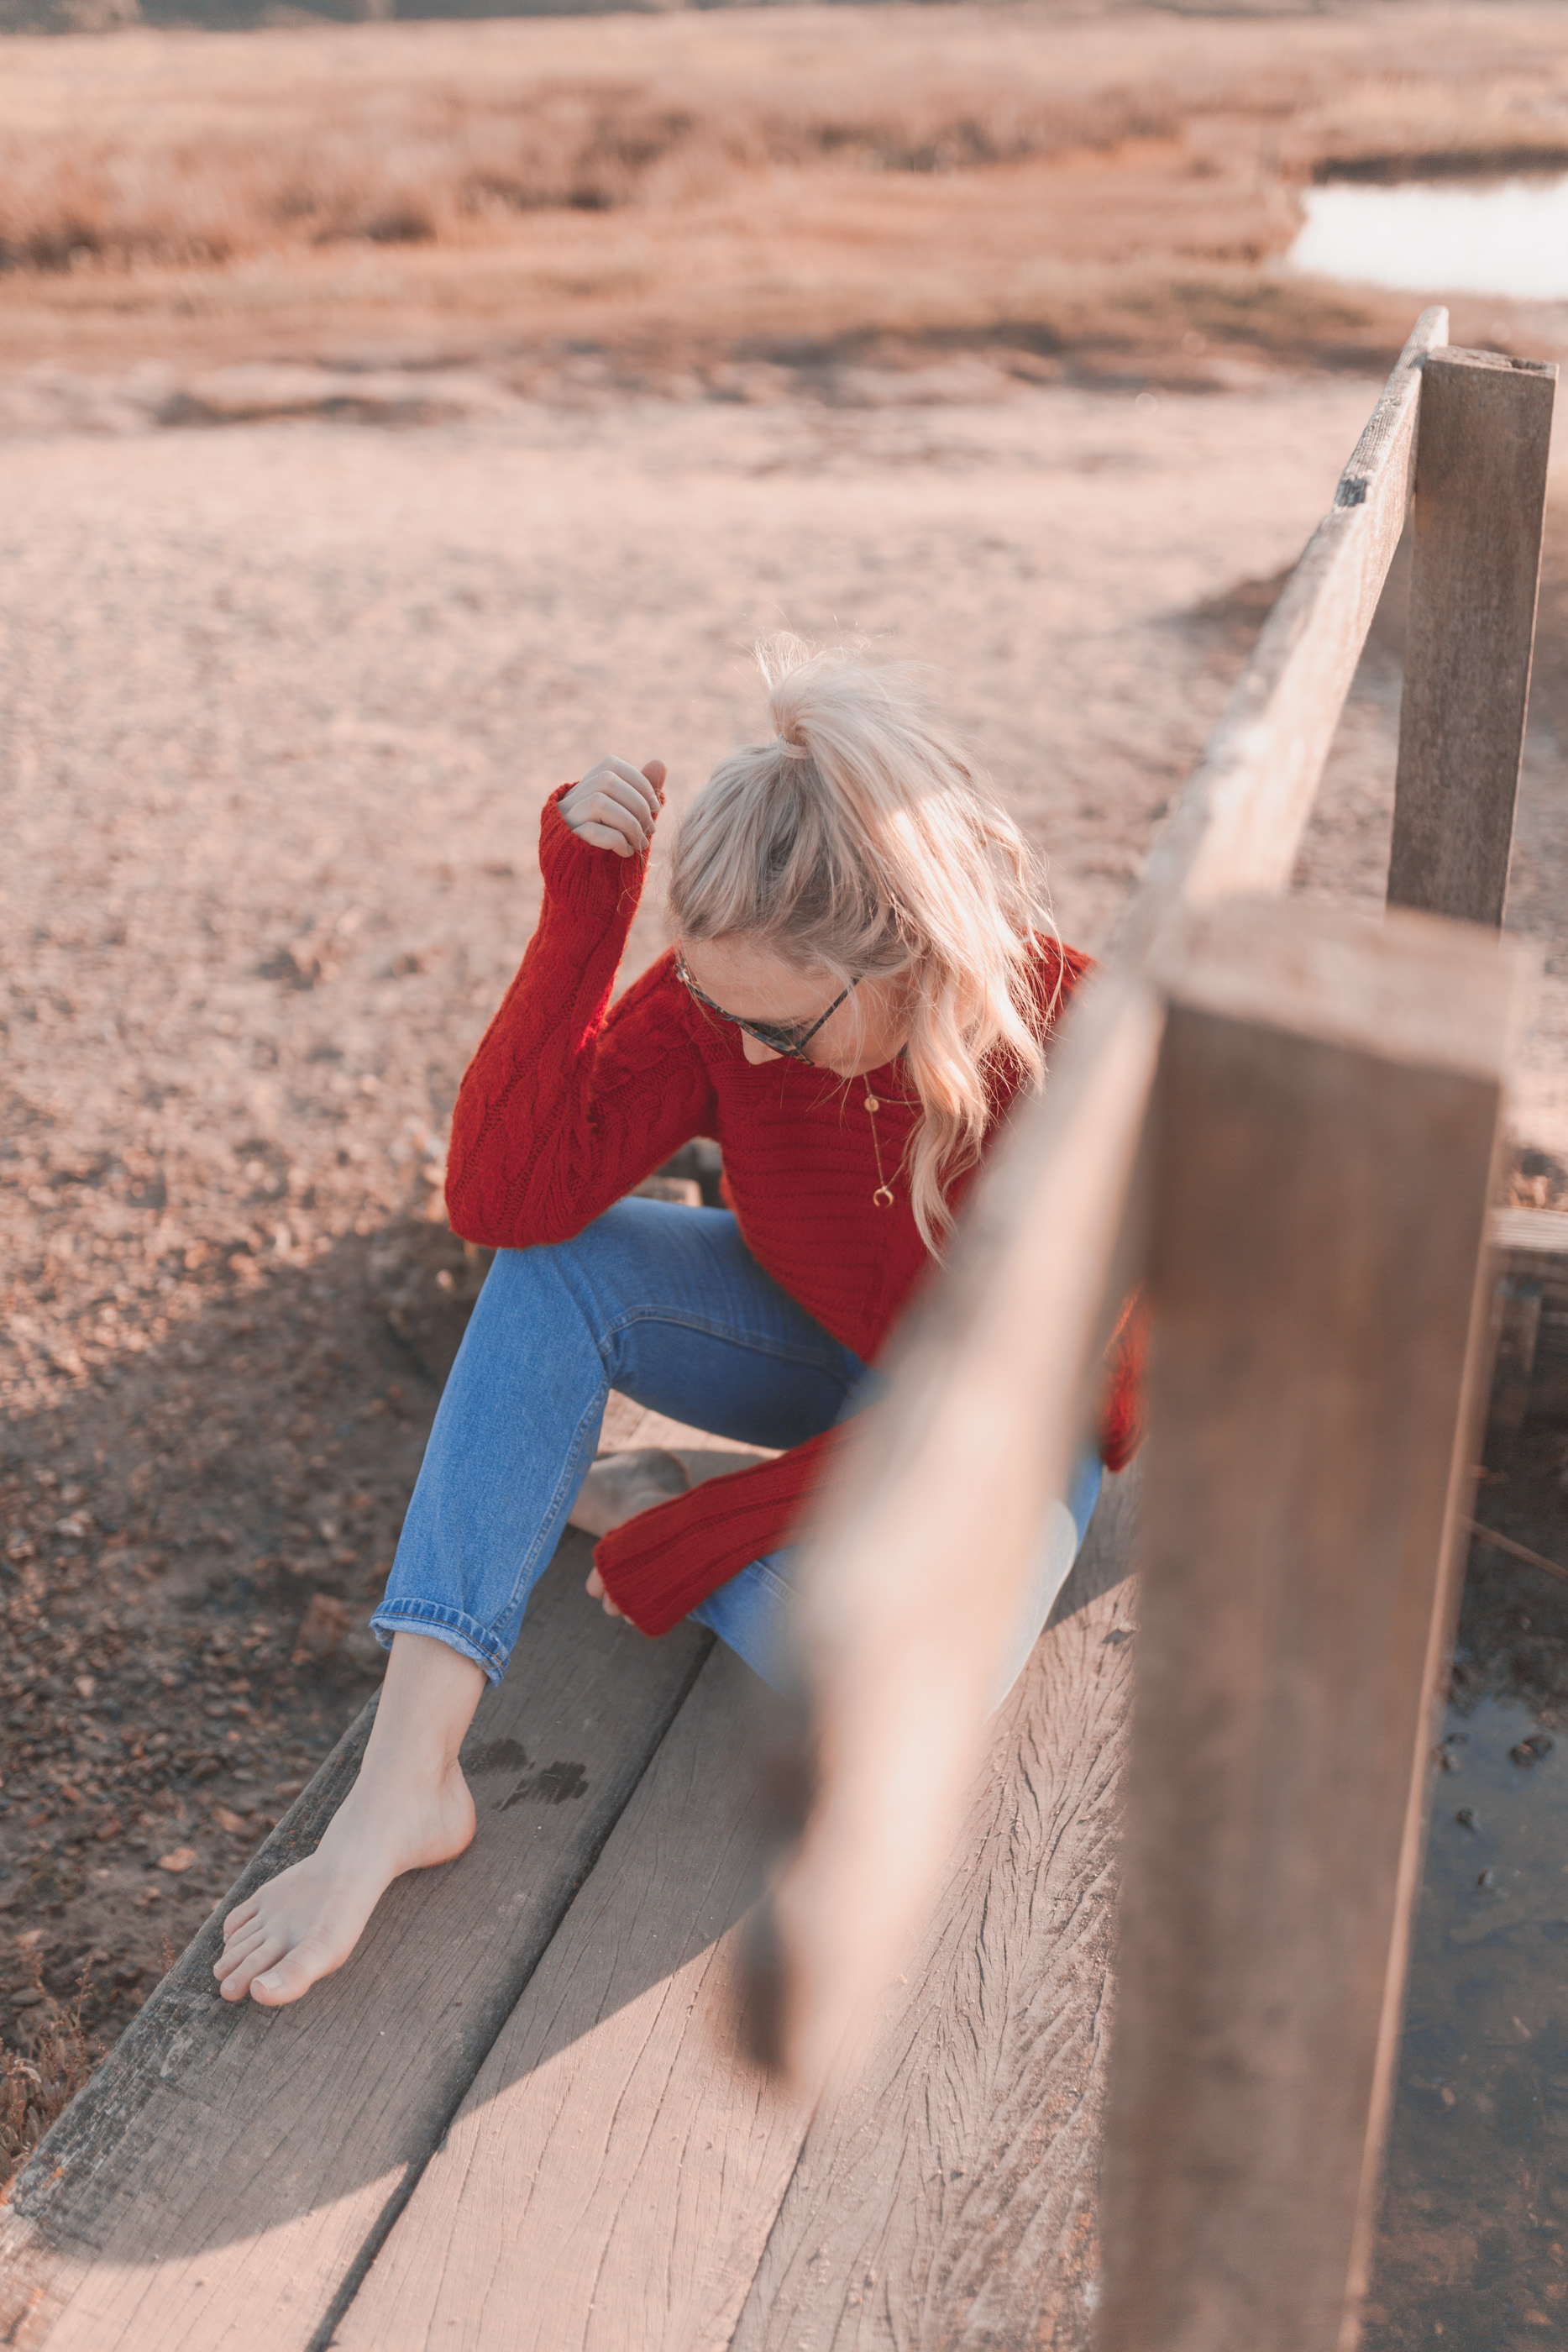
THREE TIPS FOR VISUAL EDITING
DON’T OVER EDIT
–
I’ve said it before and i’ll say it again, over editing in my opinion is super unattractive. It distorts the quality, obscures the reality and if anything just tries too hard. Editing is best kept subtle & often subtle is all a visual needs. If you’re shooting properly often all a photo needs is a little exposure adjustment & a subtle touch of styling to make it ‘you’ – and making it ‘you’ is key, don’t be tempted to copy & recreate someone else’s style, find your own style, evolve it & stay true to it, it’ll make your visuals distinctive & original.
TRY TONE CURE
–
The tone curve is a great place to start with your editing, playing with your colours, shades, whites in a very simple but effective mechanic. The thing to do is pop your curve on custom mode & very subtly play with the various elements of the tone curve – creating a subtle S shape with your tone curve is a very common & popular editing approach and often the colour curve in lightroom is what makes someones style so distinctive & consistent.
SHOOT ON MANUAL
–
I say this for two reasons. Firstly it’s the only way to truly know how to use your equipment and therefore capture the sorts of photos you want! Learning to shoot on manual and master your DSLR or camera really is the number one way of creating great quality photos & understanding aperture, ISO & shutter speed is key for this (you can learn more here). Secondly, shooting in raw is ideal for post editing, allowing you to tweak the raw elements of the visual without ruining the quality.
MY CAMERA KIT
HOW TO SHOOT ON MANUAL . HOW TO GET THE MOST FROM YOUR OLYMPUS PEN . LEARN TO USE YOUR DSLR
–
For me editing is the finishing touch to something you’ve already taken love and care creating, it’s that little touch of lipstick to finish a look or the cherry on top of the cupcake! It’s not the bread and butter, and that’s always important to note. There’s also no right or wrong, and most definitely not one size fits all. In fact one thing is for sure, even when creating my own visual editing settings, what may work on one shot might look utterly terrible on another photo. So remember this before buying into presets or hoping a pre made edit will transform your image. It likely won’t because every image is so different and everyone’s shooting style varies significantly, so every image requires it’s own unique touches.
I’ve been really enjoying playing with my own editing style and gradually edging towards warmer tones & settings in the last few years. With my San Fran blog posts WIP and an upcoming trip to Morocco booked, i’m so excited to share more of my visuals with you!
–
I’d love to hear about your photography journey, your editing style & the types of photos you love & feel inspired by?


I agree on not over-editing! It irks me when I see people filter their photos right now. It just doesn’t look natural.
Charmaine Ng | Architecture & Lifestyle Blog
http://charmainenyw.com
These are really good tips. I agree with you about not over editing.
http://sugarcoatedbears.blogspot.com/
You certainly have a beautiful set of photos! I really need a proper editing programme as I only use the apple desktop options!
I’d love it if you visited my latest post and helped me choose a handbag:
http://www.ingridhughes.com
xx
Ingrid
I love your editing style! Beautiful, “soft” and dreamy photos… I like your chunky red knit too! :)
https://lartoffashion.com/baker-boy-hat/
I definitely agree about not over editing your photos! It can be a difficult balance to strike though – sometimes I’ve stared at a photo for so long that I can’t tell if it’s good or not anymore. In those moments I just need to take a little break and come back, which usually helps! :’D xx
Laura // Middle of Adventure
Not over editing but fixing some tones! Just a touch to look good!
I really want to invest in the Olympus pen! At the moment I have a panasonic but I feel like I could up my game with a better camera
http://www.petiteelliee.com
Ellie xx
One day I will get better at taking pics but that is not today :)
Heey! :)
The pictures in this blogpost.. did you take them with a tripod or did you have someone take them?
Love, Franziska
Such good tips! Its definitely a challenge as a creator to find the editing style but it’s a fun thrill and experiment :) Your insta looks lovely!
http://www.desiringsme.com/fall-outfits-black-jeans/
Really like the matte effect you are using for your photos! xx